Dashboard - Textboxes
Background
Text is often used to communicate insights alongside charts, tables, or other data visualizations. Redbird supports multiple approaches to adding text in dashboards, including basic text boxes, dynamic text tied to underlying data, and AI-generated text.
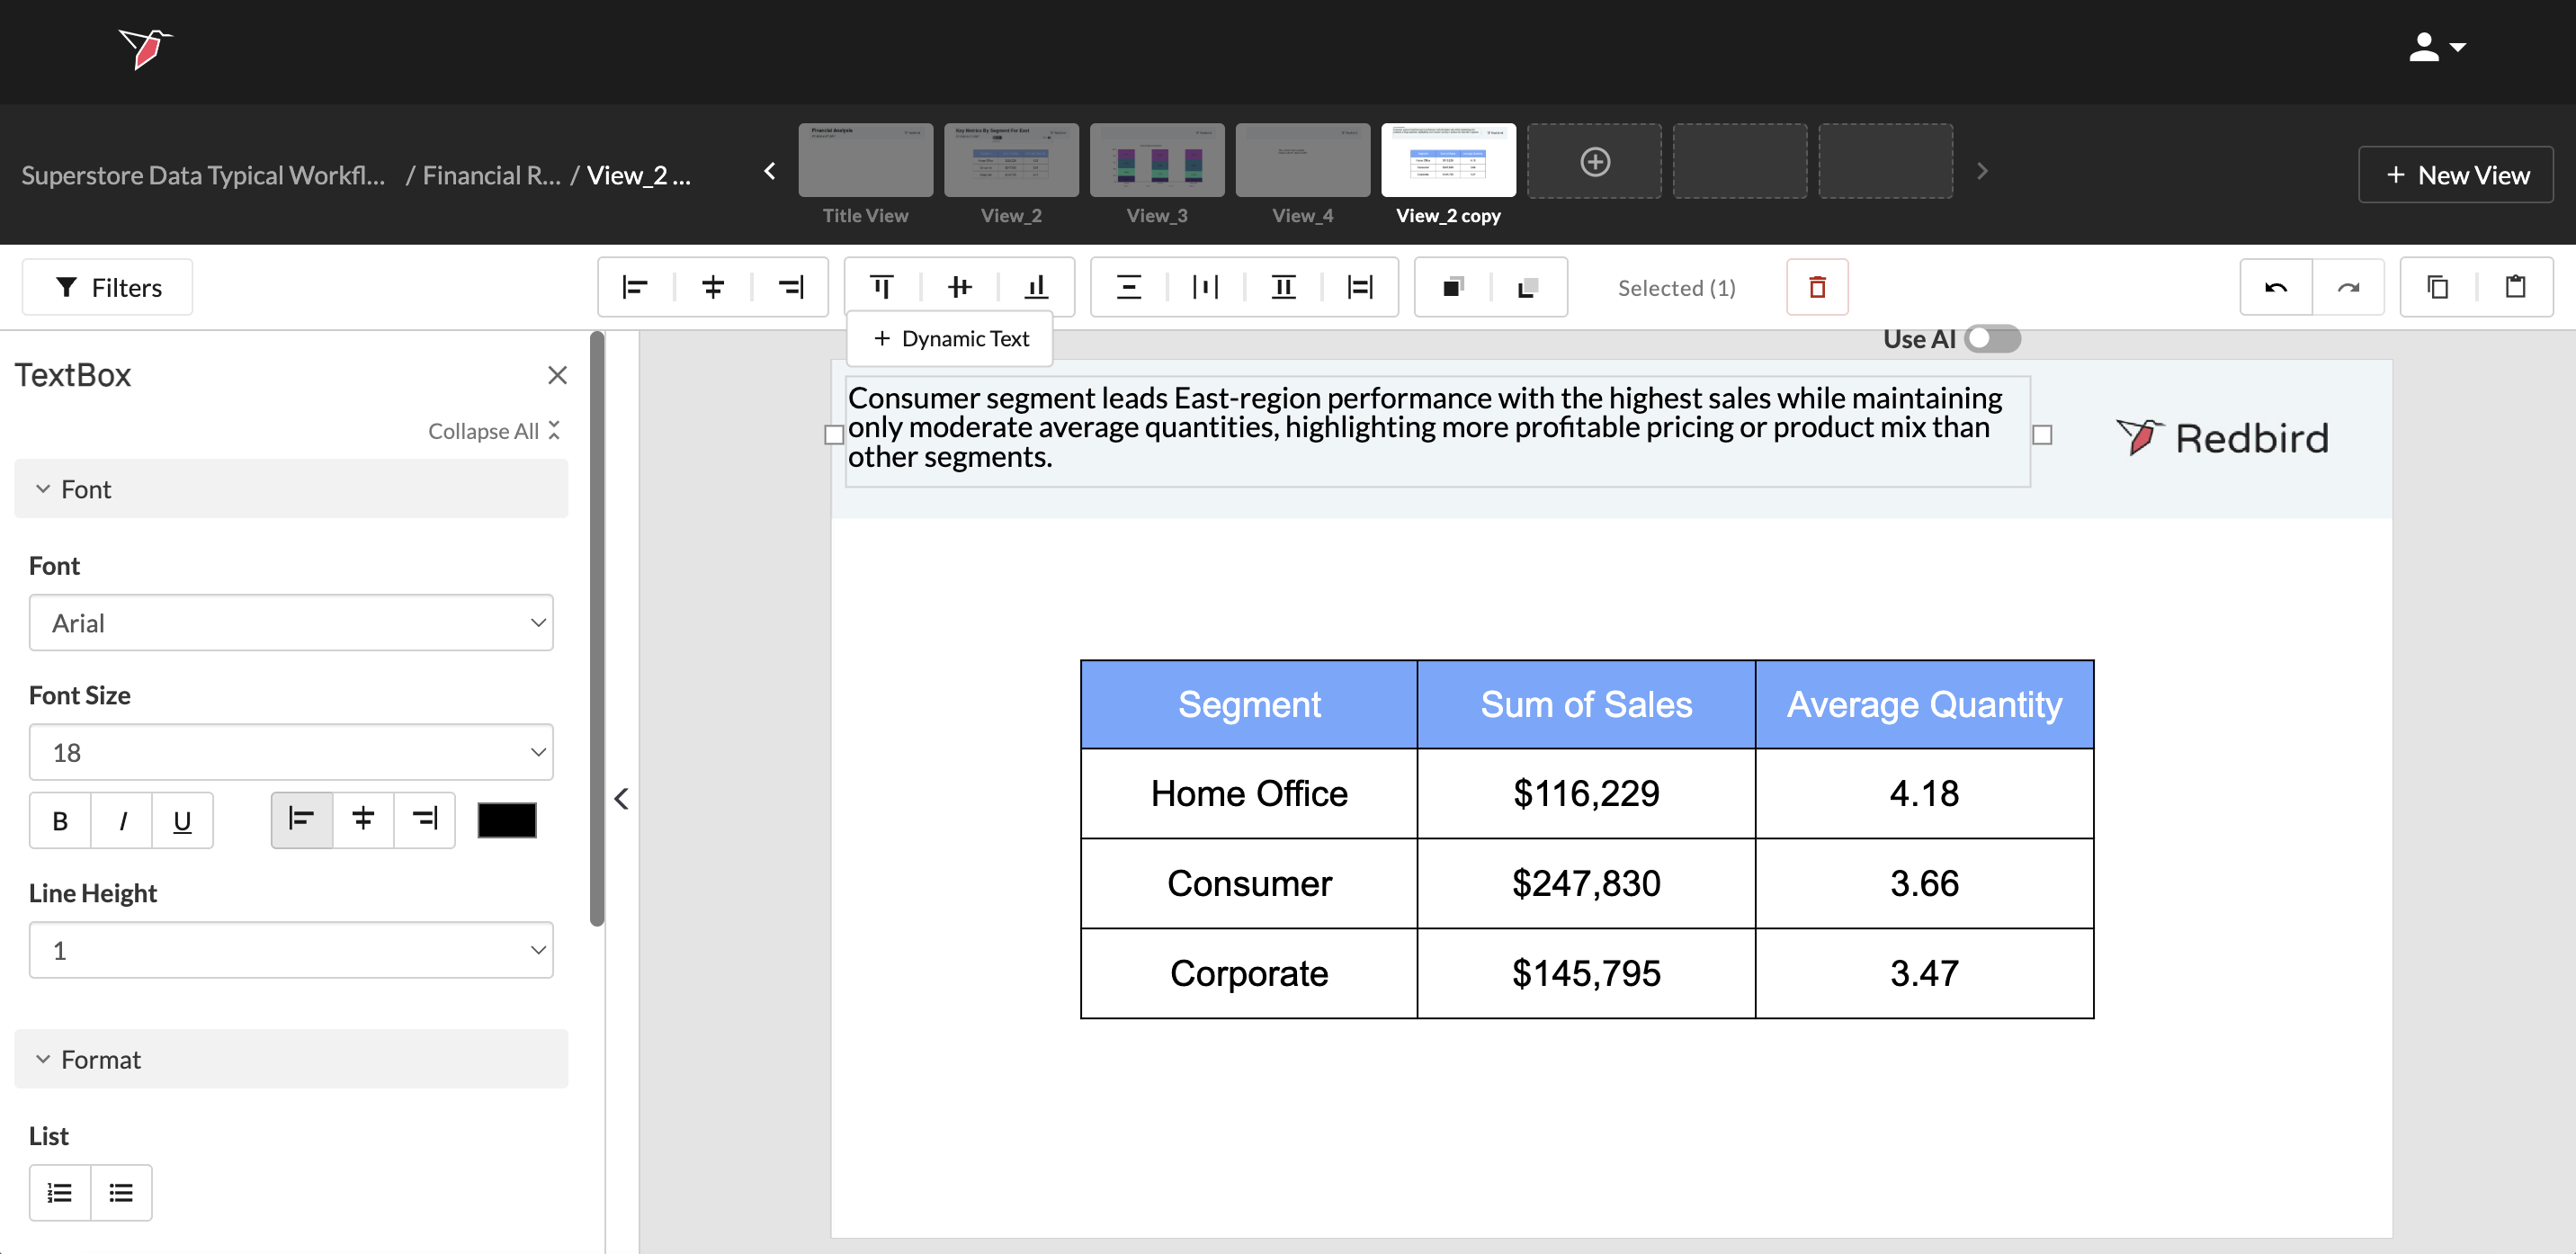
AI-generated text allows users to describe the insight they want in natural language, with AI agents generating context-aware headlines or summaries based on the underlying data. This enables faster insight generation while keeping dashboards up to date as data changes.
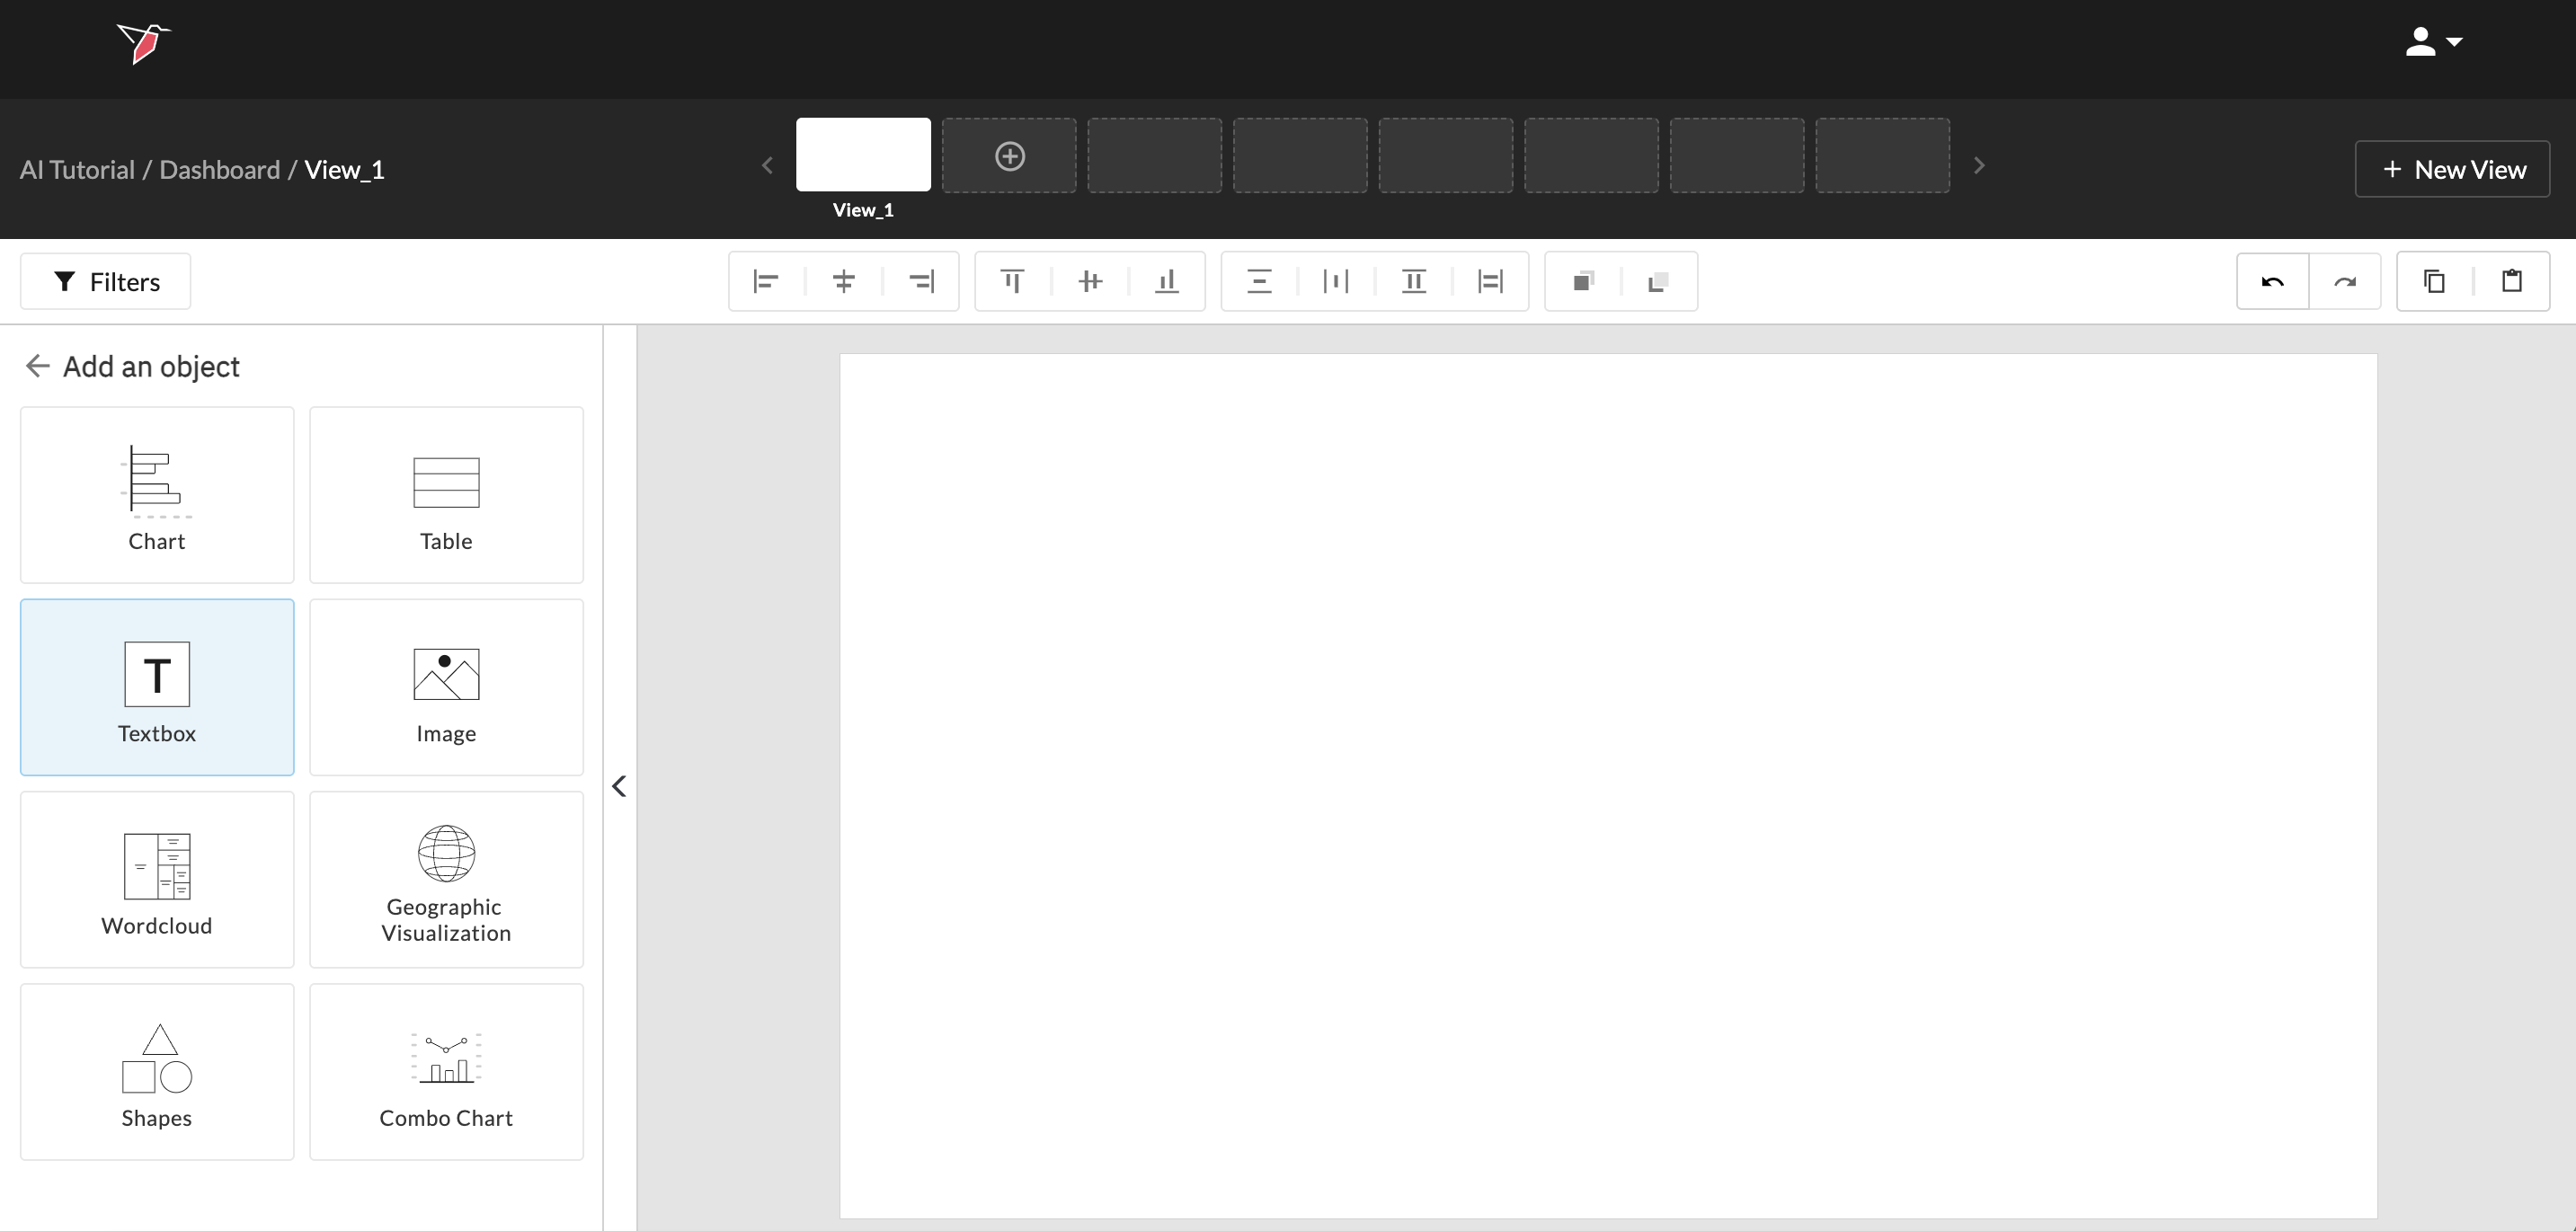
How to Add a Basic Textbox
Once you have identified the dashboard and view you are interested in updating, follow the below steps to add a textbox:
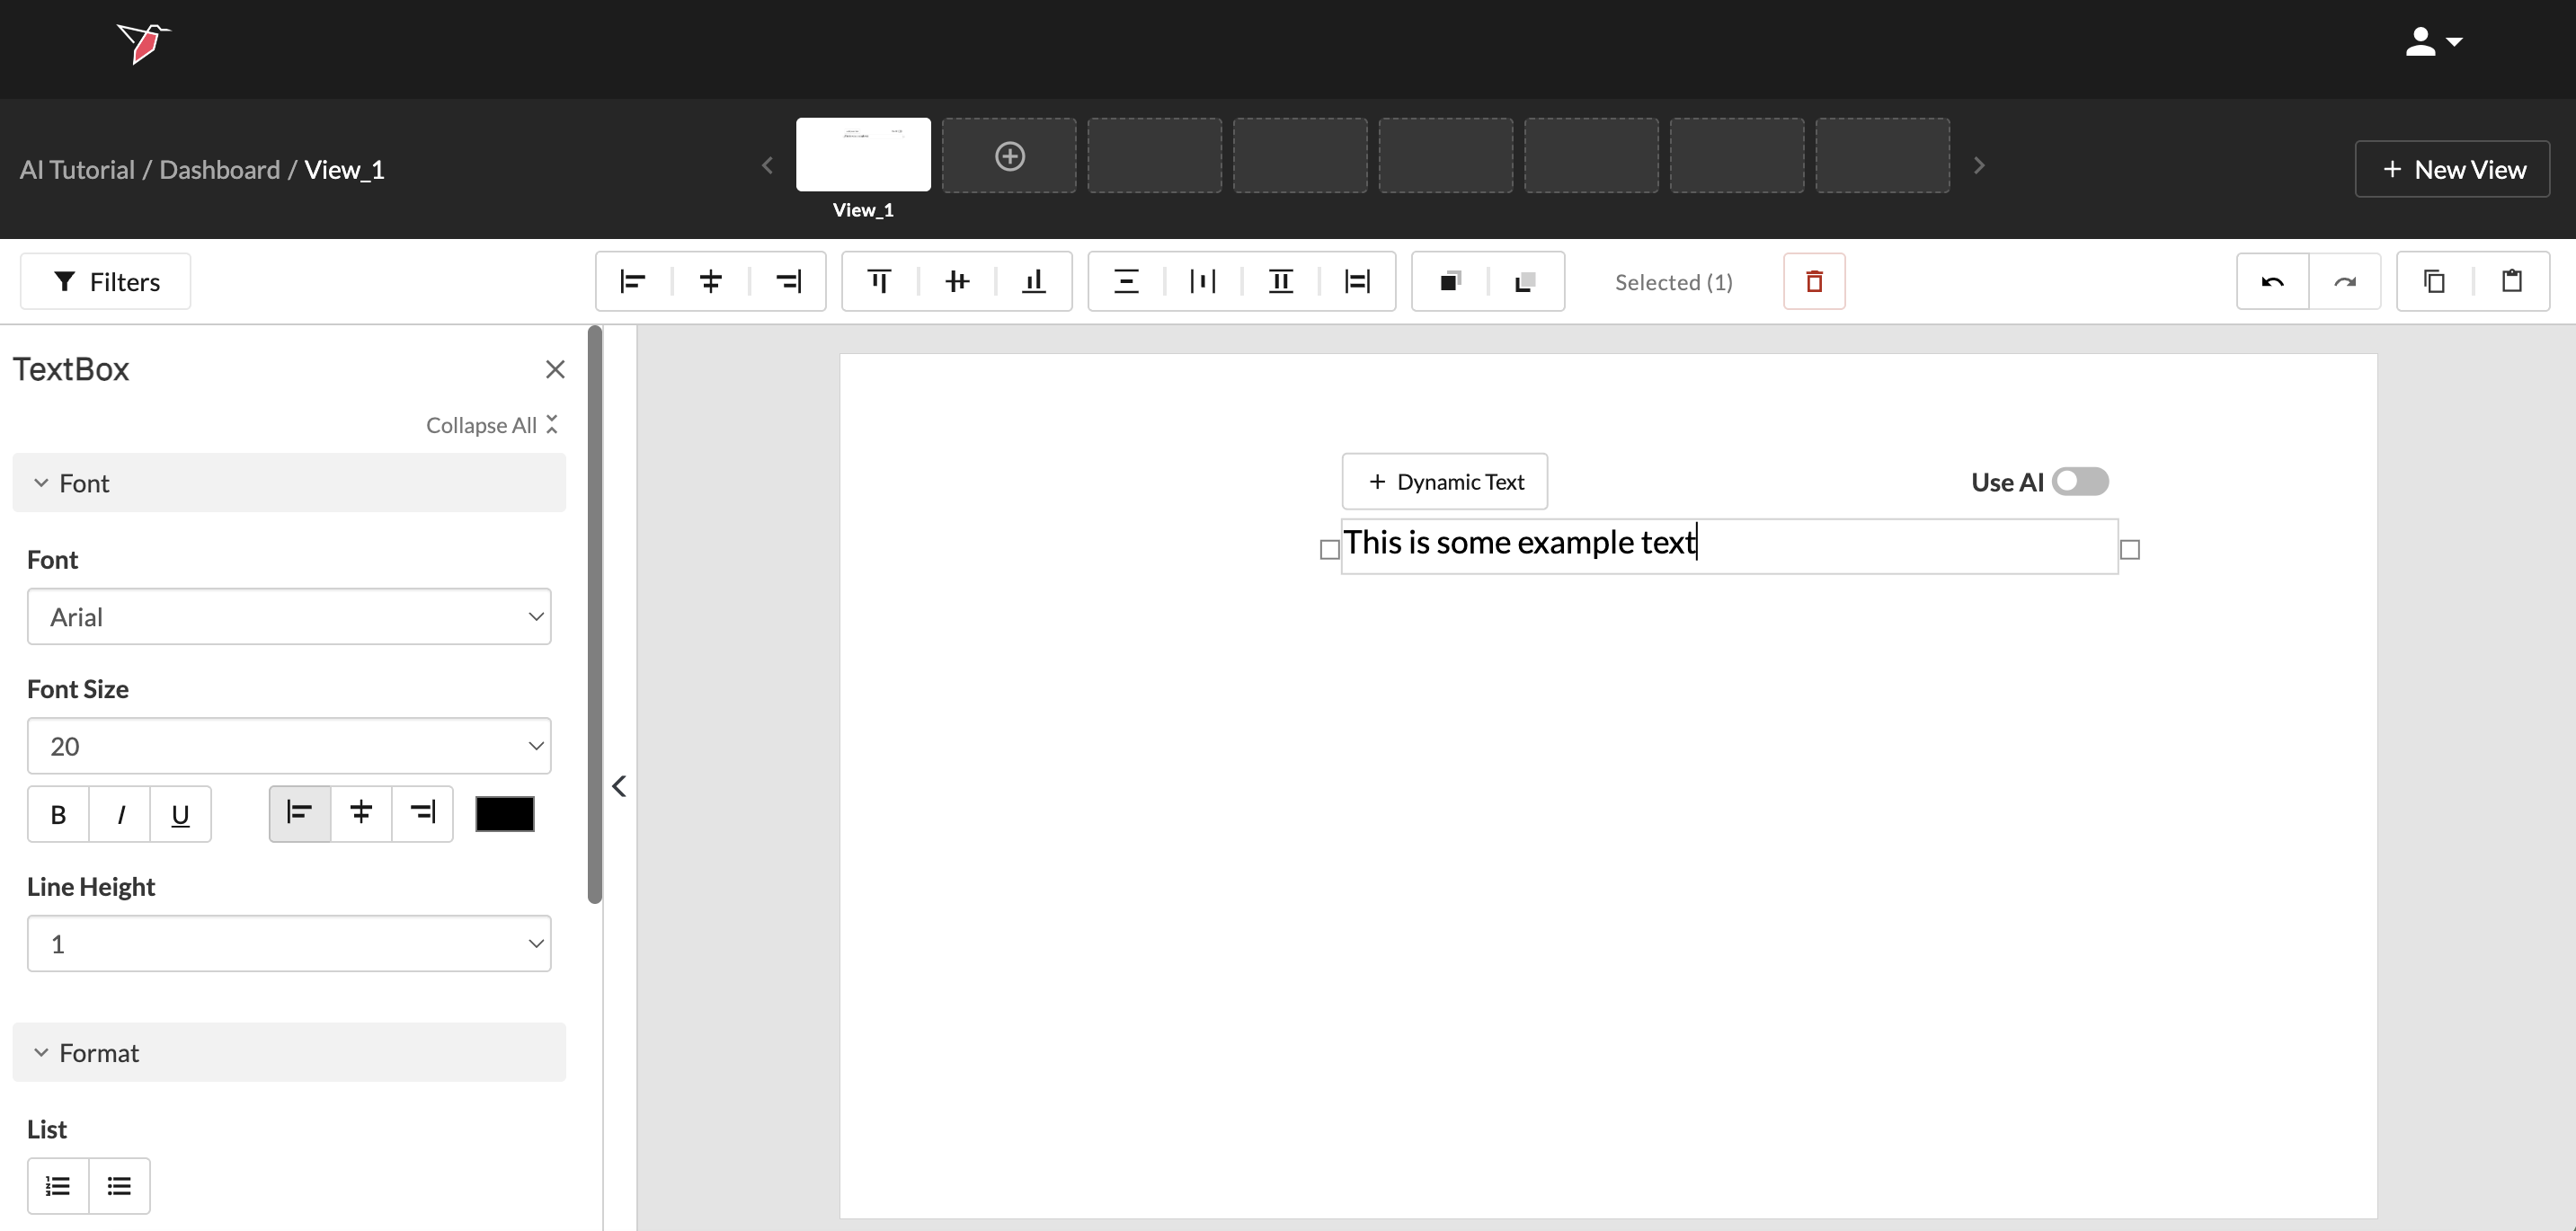
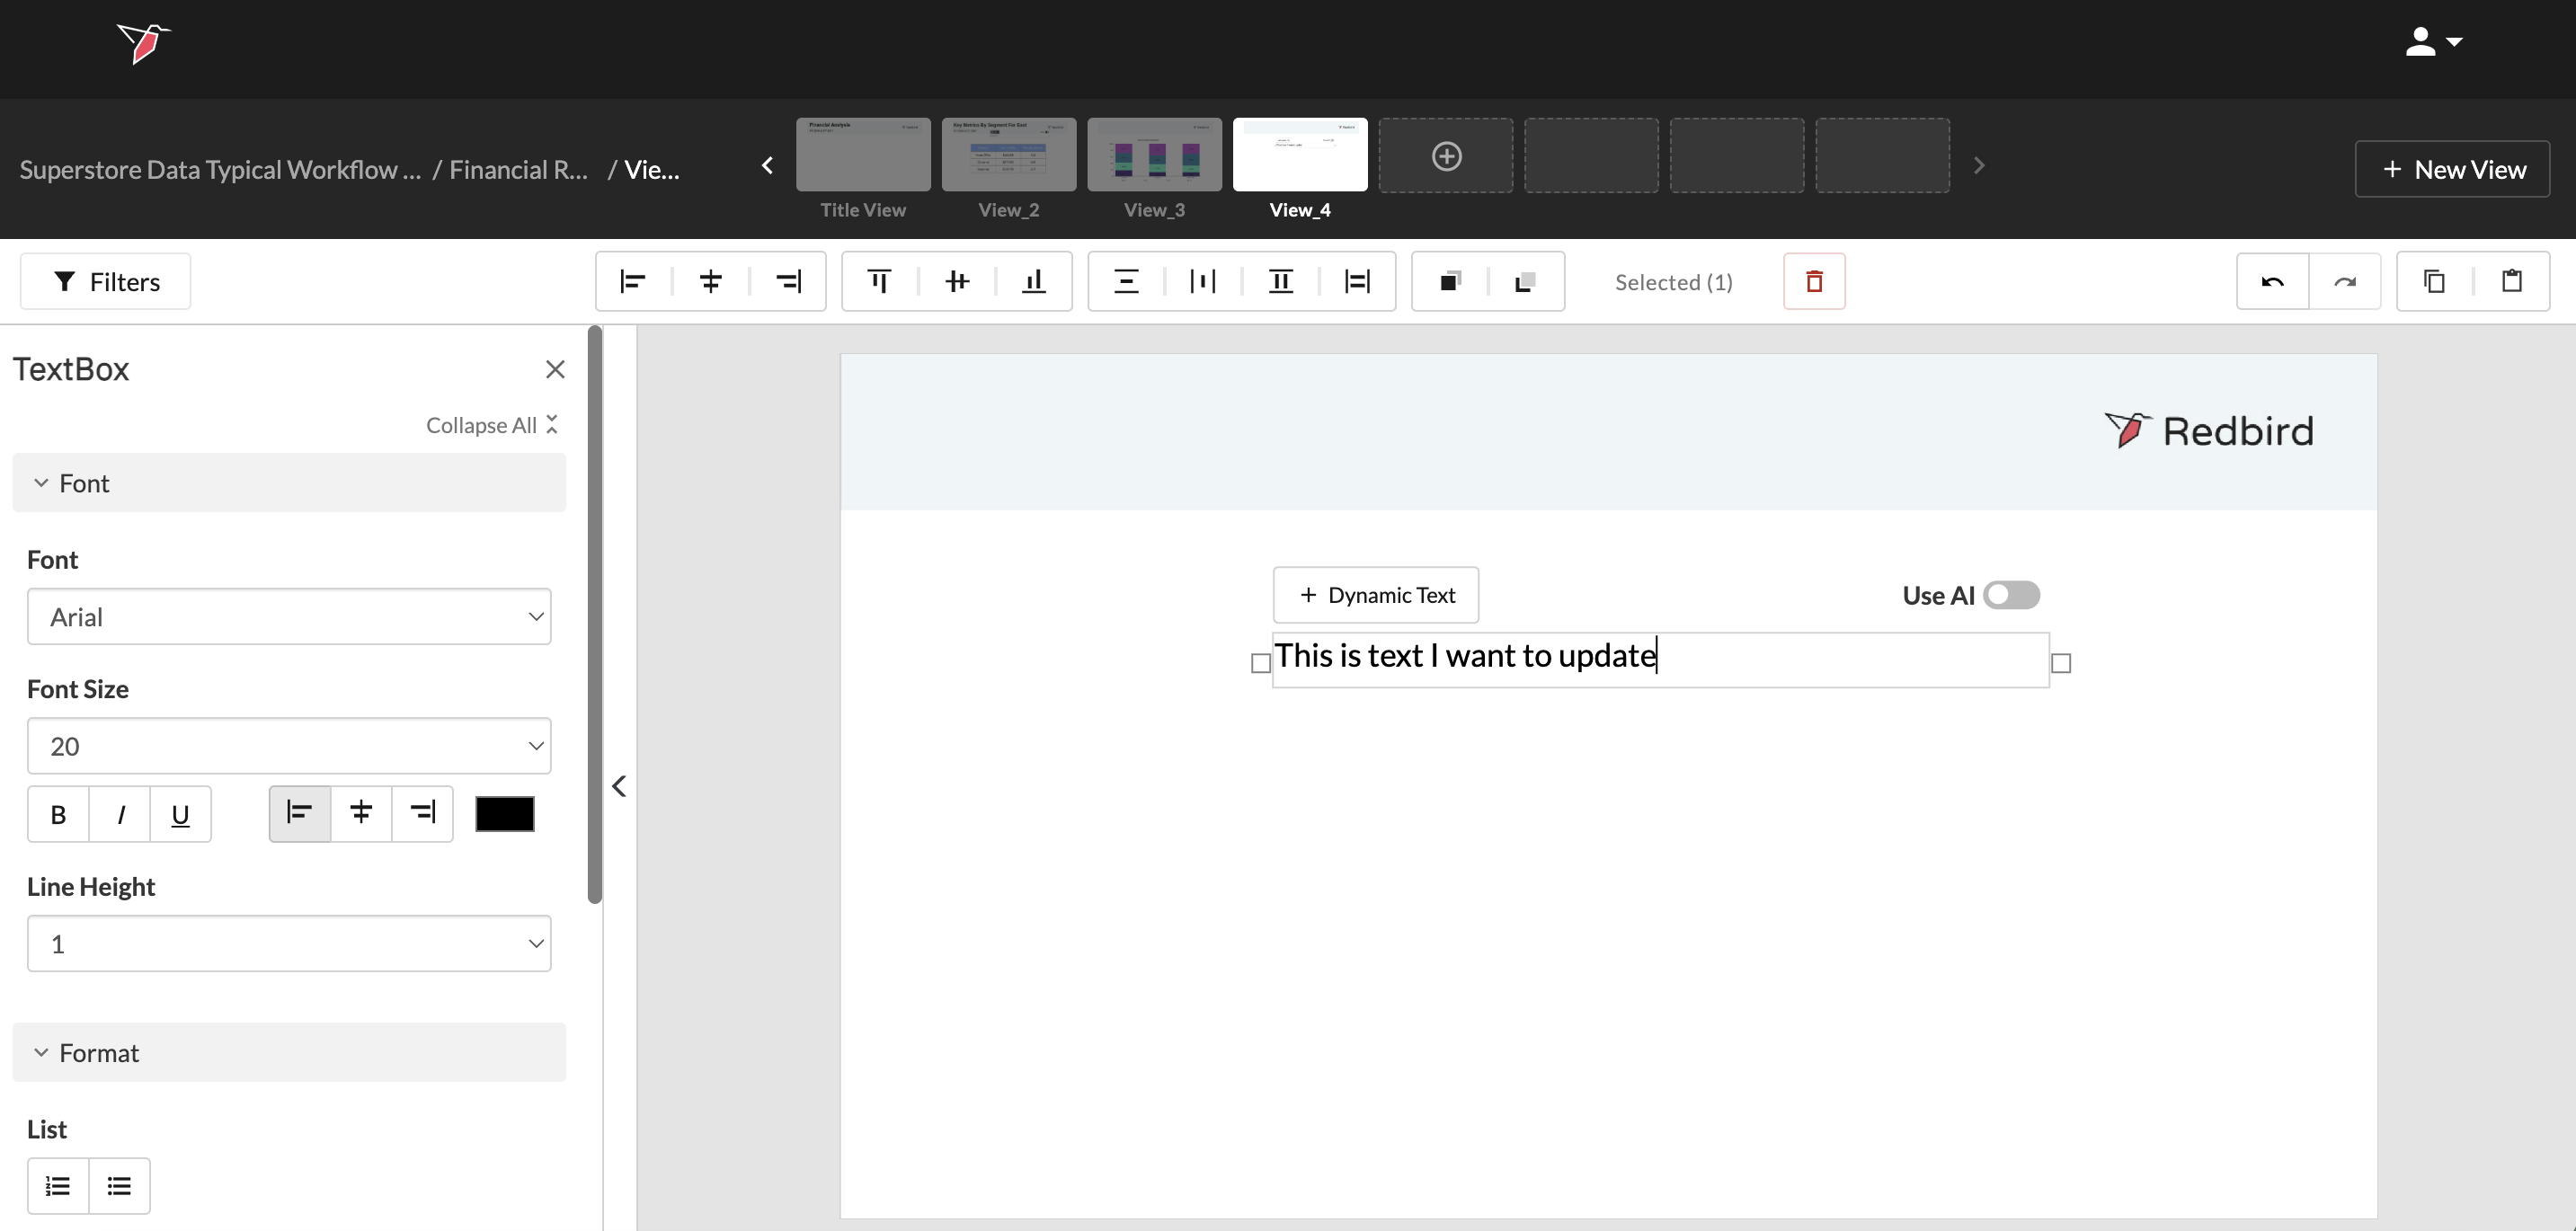
- Click Add Object in the left Actions Panel and select Textbox.
- You can start typing in the text box and you will see the text appear.
AI-Generated Text
AI-powered text boxes allow you to generate insights, summaries, or headlines using natural language prompts. Instead of defining fixed logic (as with dynamic text), you describe what you want, and AI agents generate the output based on the underlying data.
Enable AI-Generated Text
- Add a text box to your slide.
- Toggle Use AI on from the top-right of the text box.
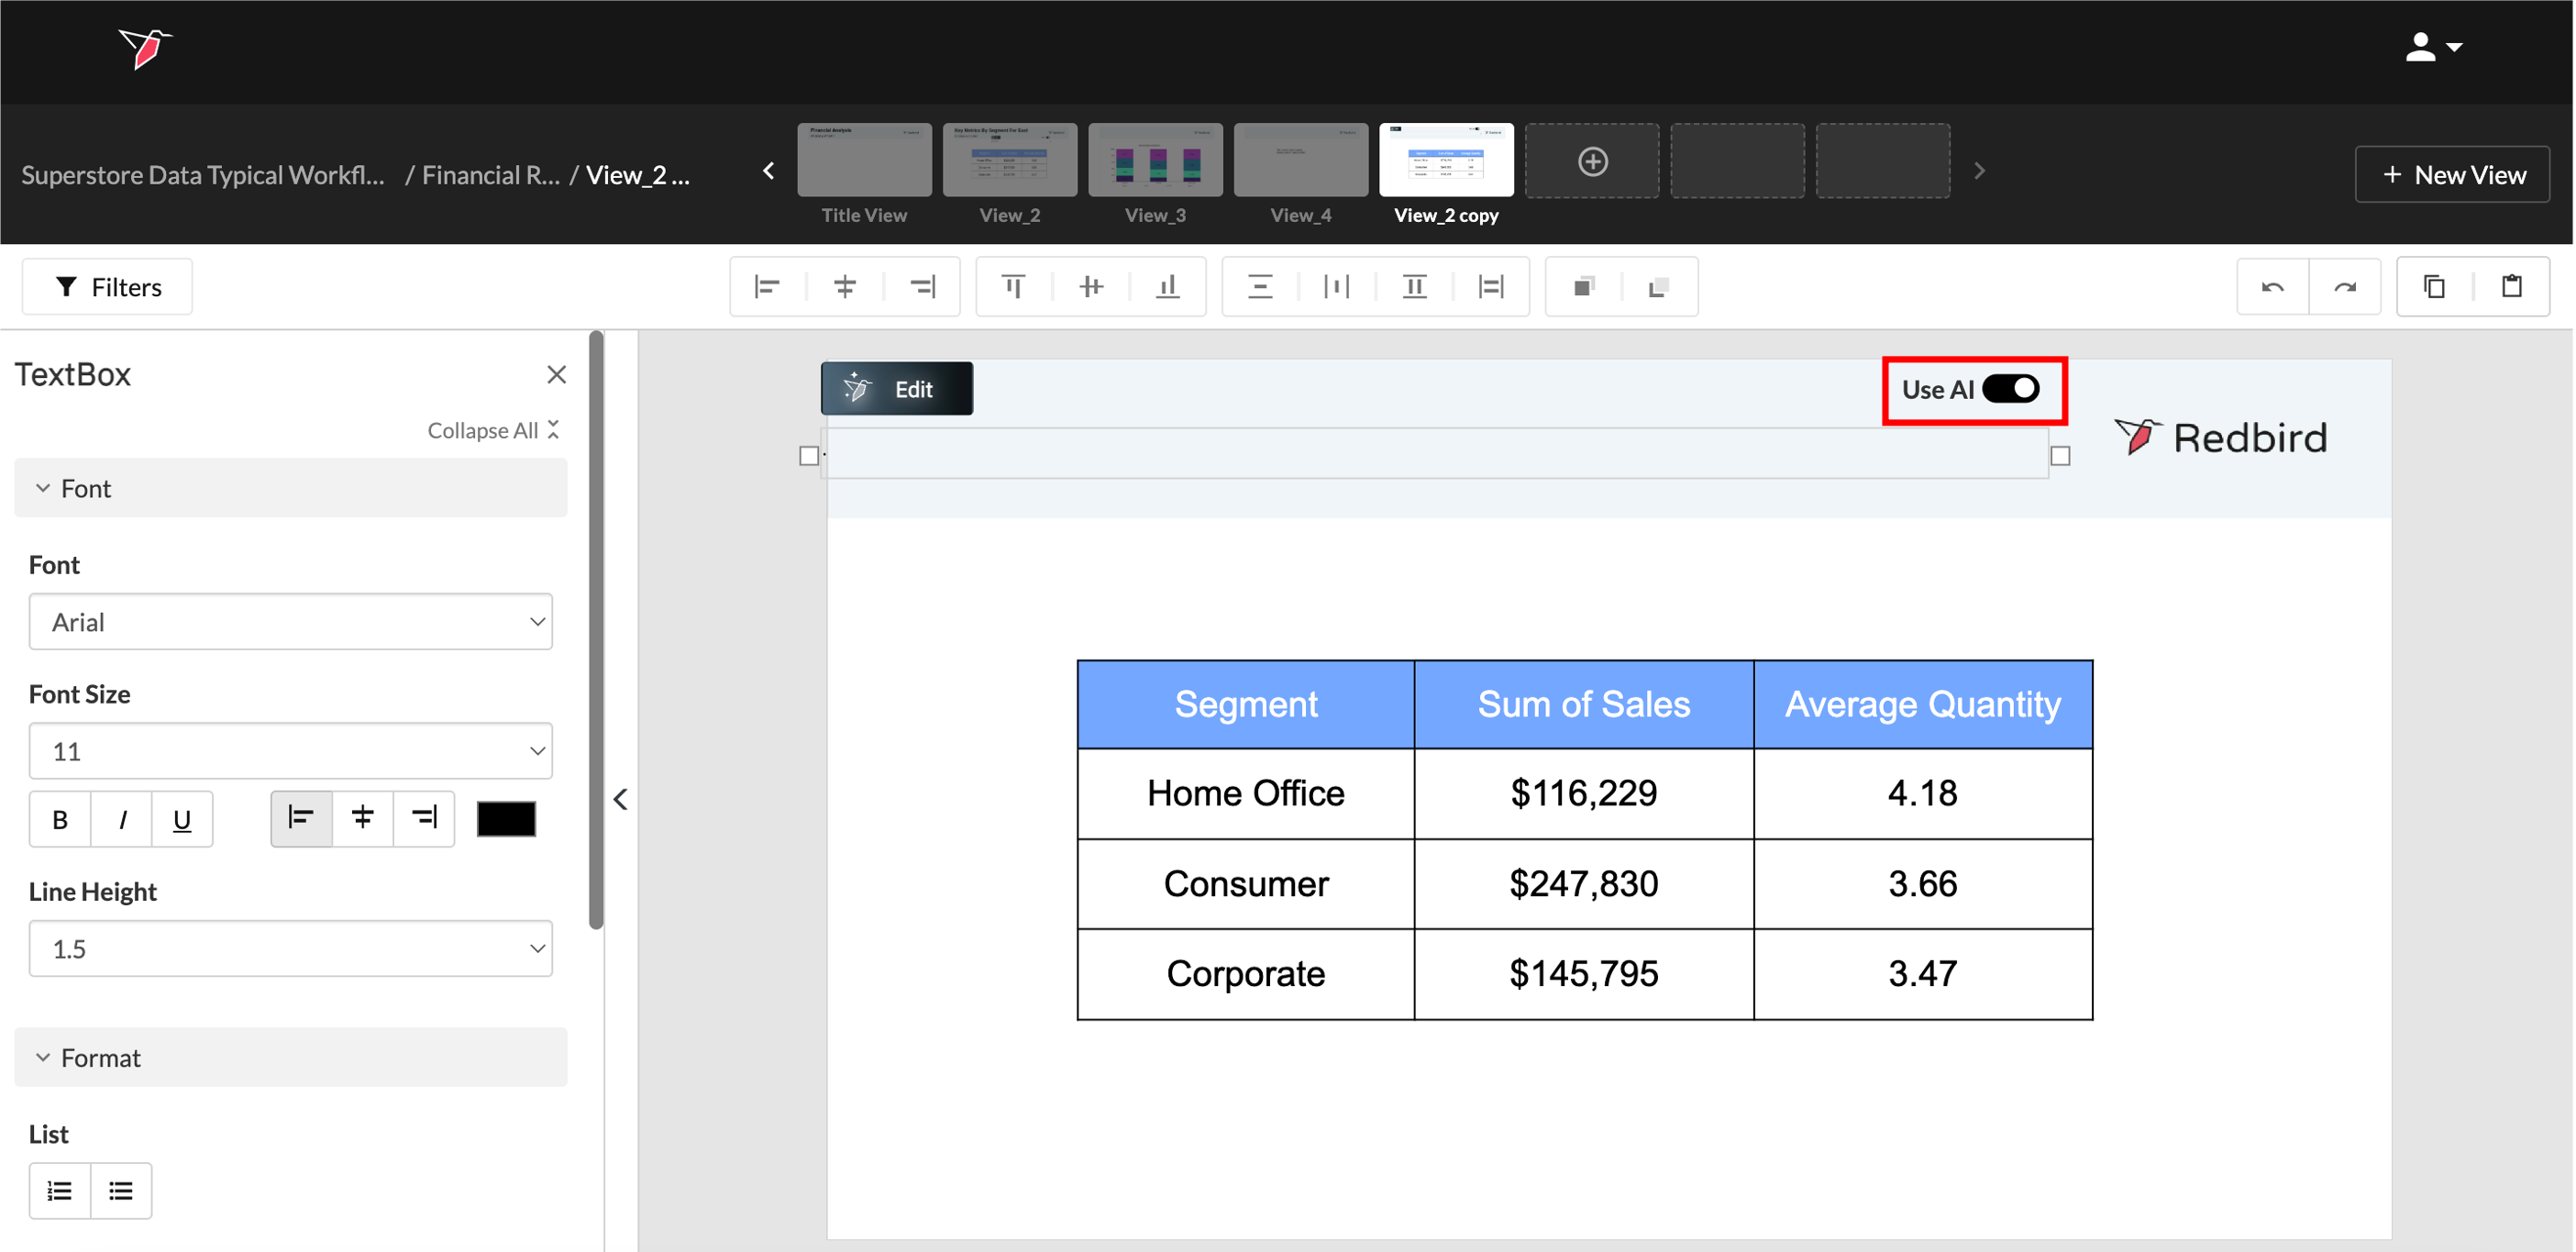
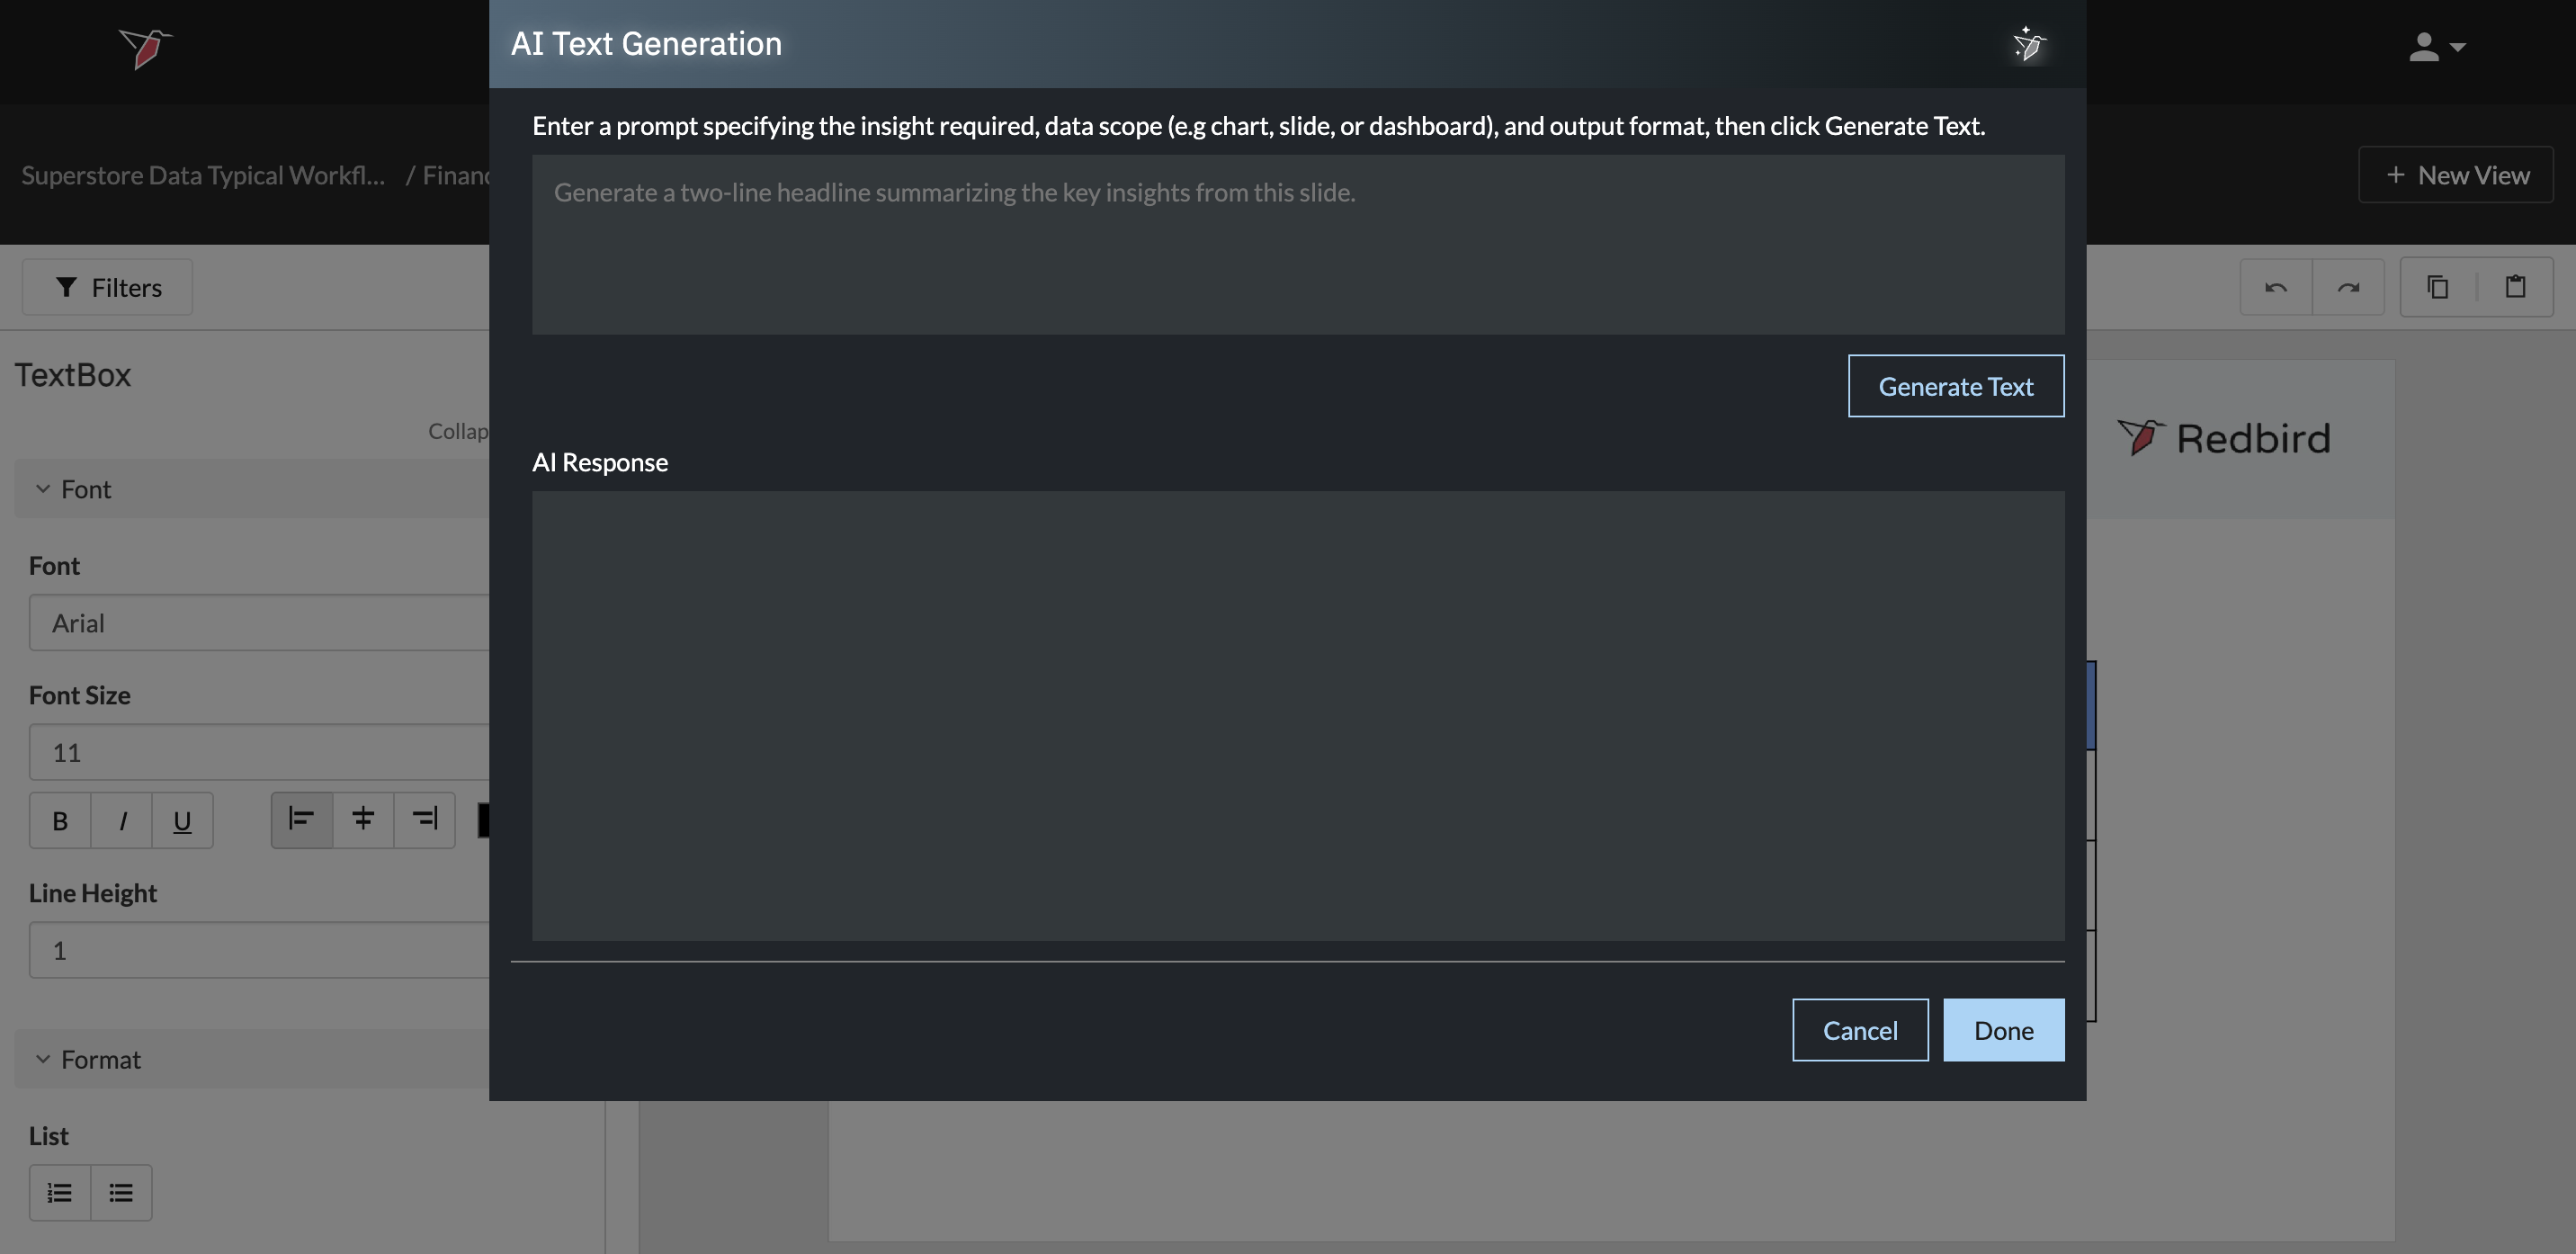
- The AI Text Generation modal will open.
Note:
If the text box already contains manually entered text before, enabling Use AI will replace that text with AI-generated content.
Define the Required Insight
-
You can write your prompt in natural language to describe what you want the AI agent to do. Including the following can help make the request more focused and guide the agent toward the intended output:
- The insight required (e.g. summary, headline, key trend)
- The data scope (chart, slide, or entire dashboard)
- The output format (e.g. short headline, paragraph, bullet points)
Note: By default, the AI generated text will based on all objects in the dashboard (slides and charts/tables on those slides) and any datasets connected to the dashboard. You can override this in your prompt by specifying a different scope, to include or exclude a specific chart, slide or a particular dataset.
- Example prompt:
Generate a concise headline summarizing the main trend in this slide. Focus on changes in performance and highlight any significant increases or decreases.
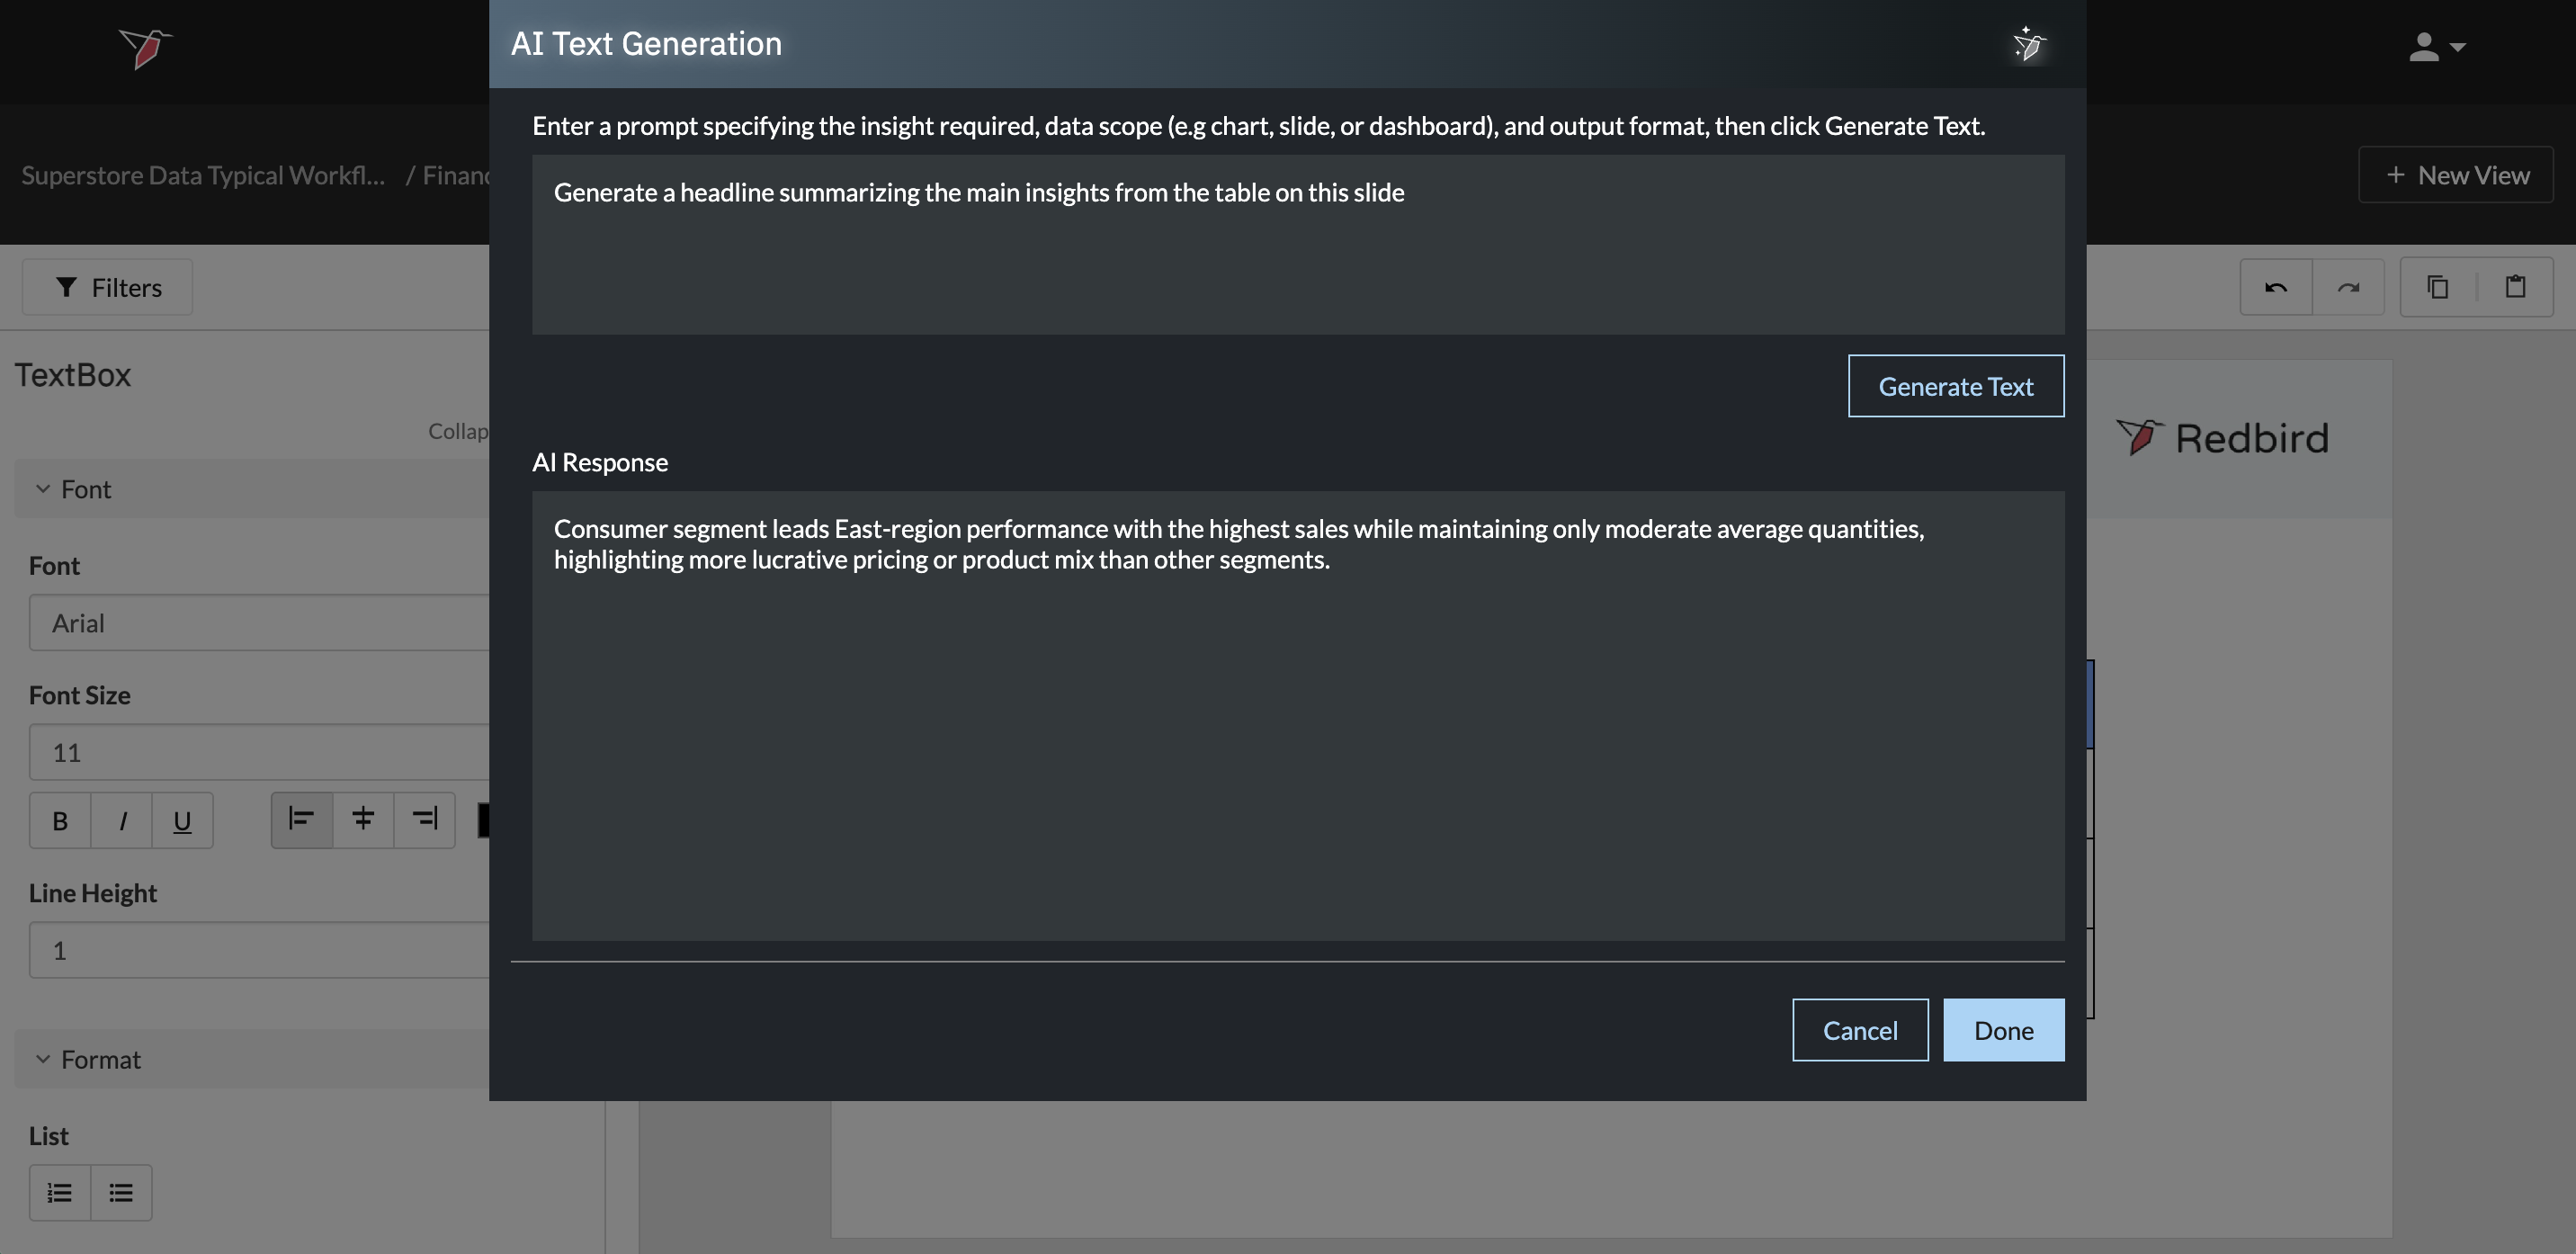
- Click Generate Text and wait for it to generate the insight.
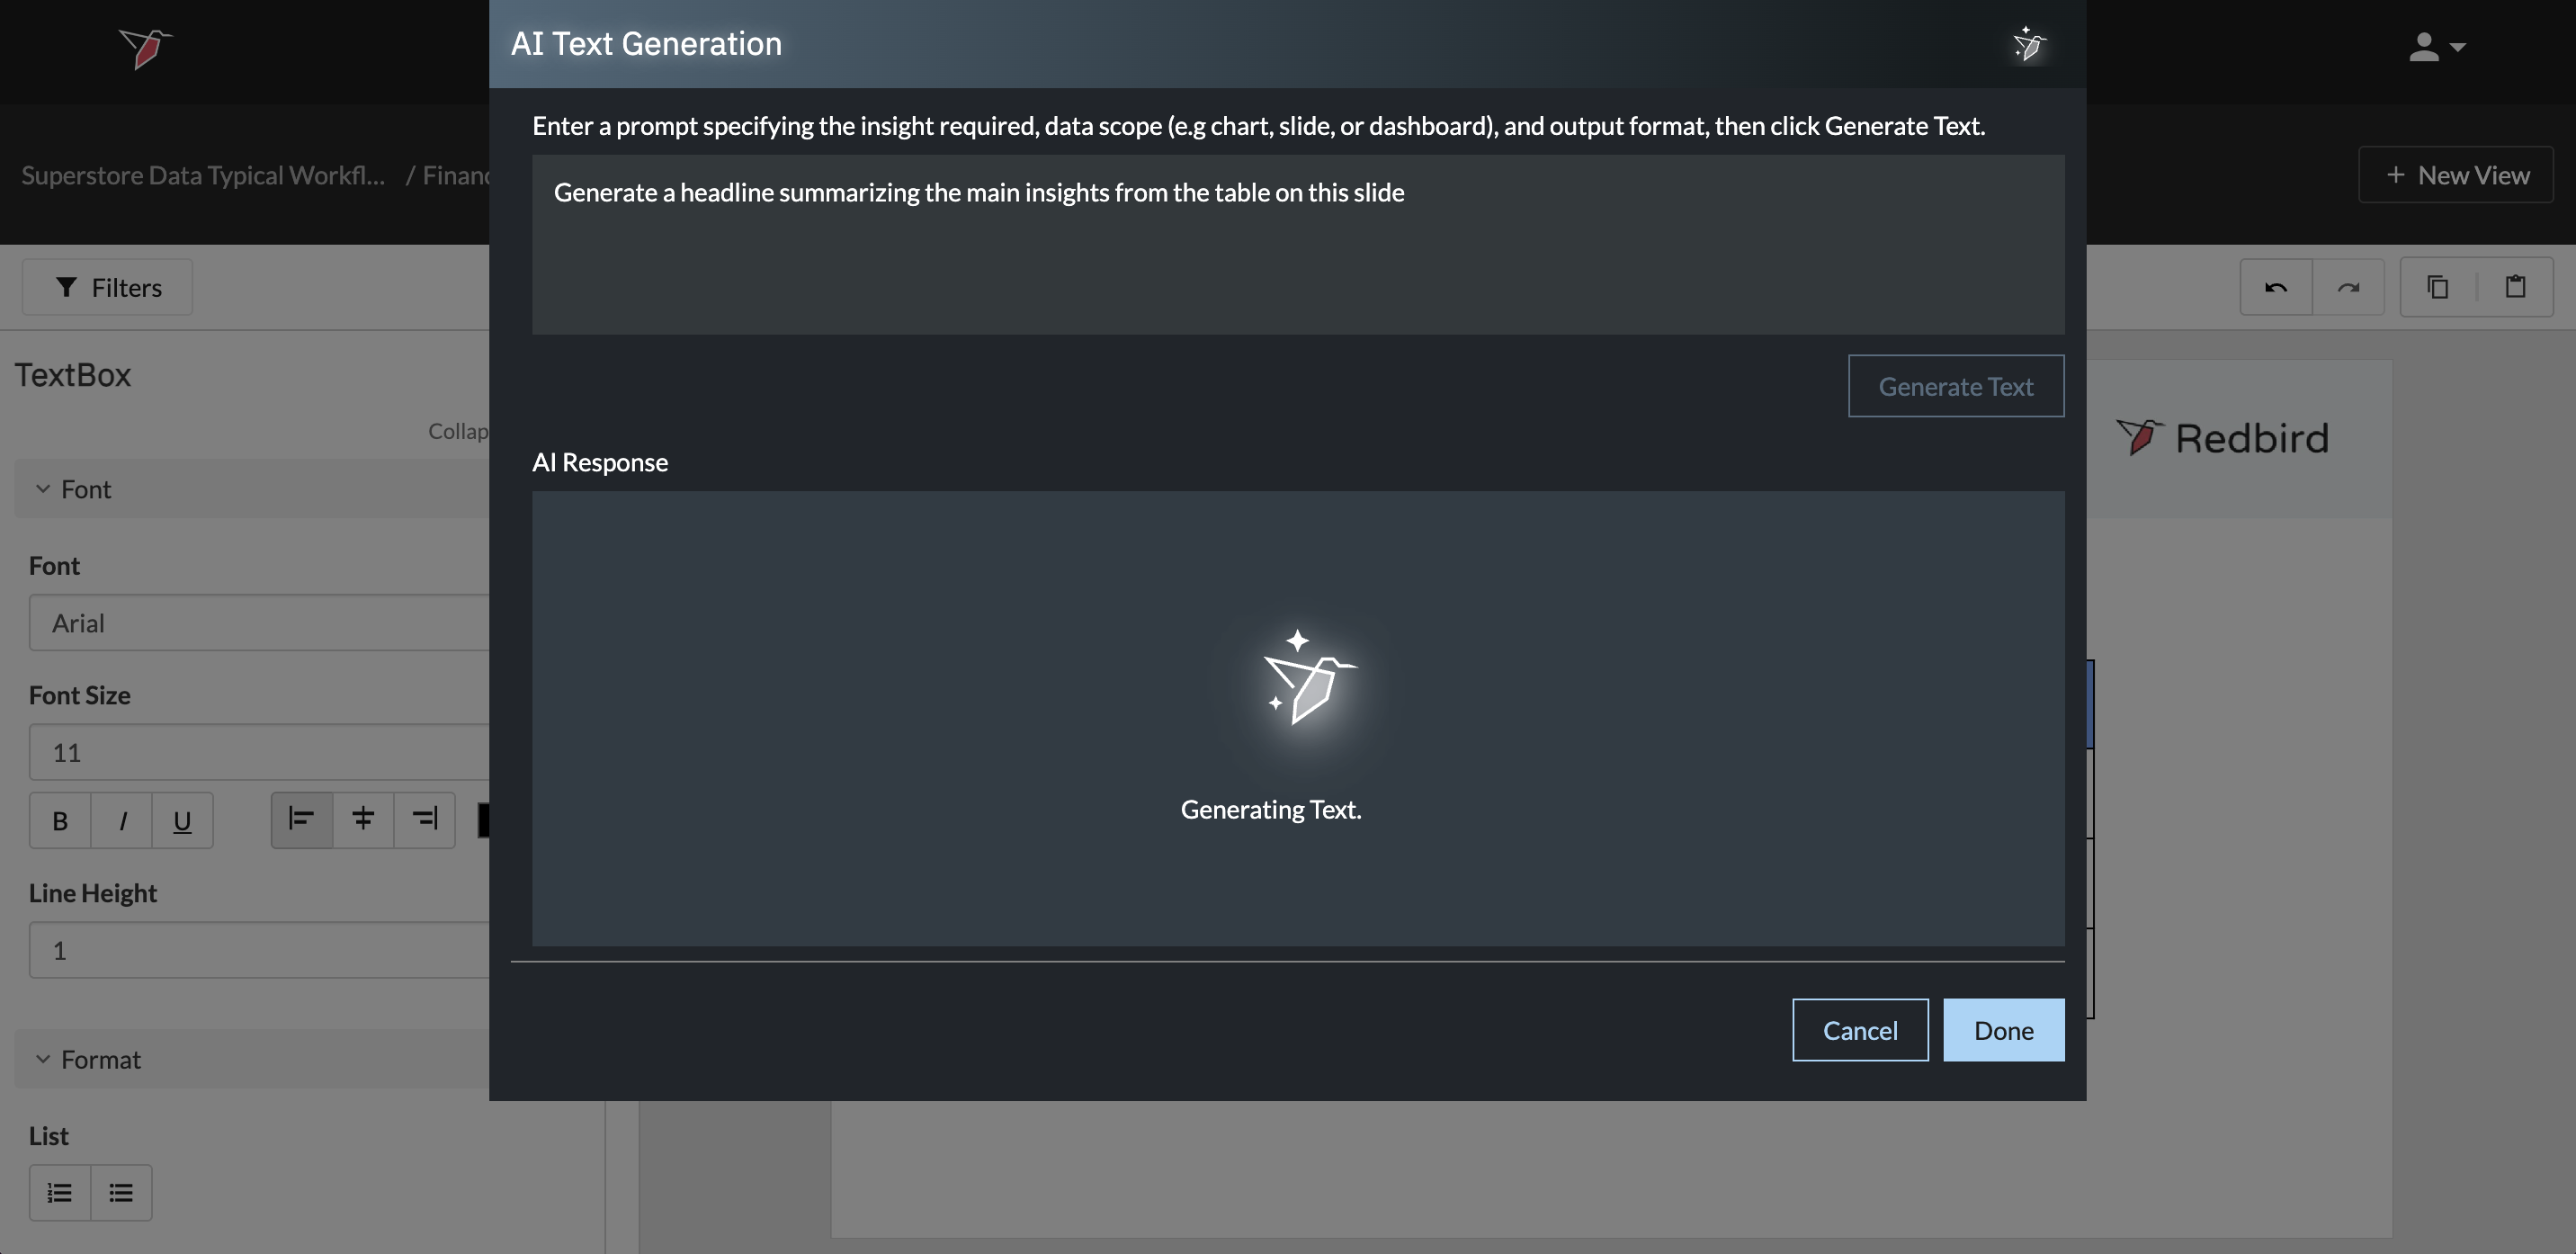
- Review the generated output in the preview area.
Iterate and Apply
- If needed, modify your prompt to refine the output.
- Click Generate Text again to update the response.
- Once satisfied, click Done.
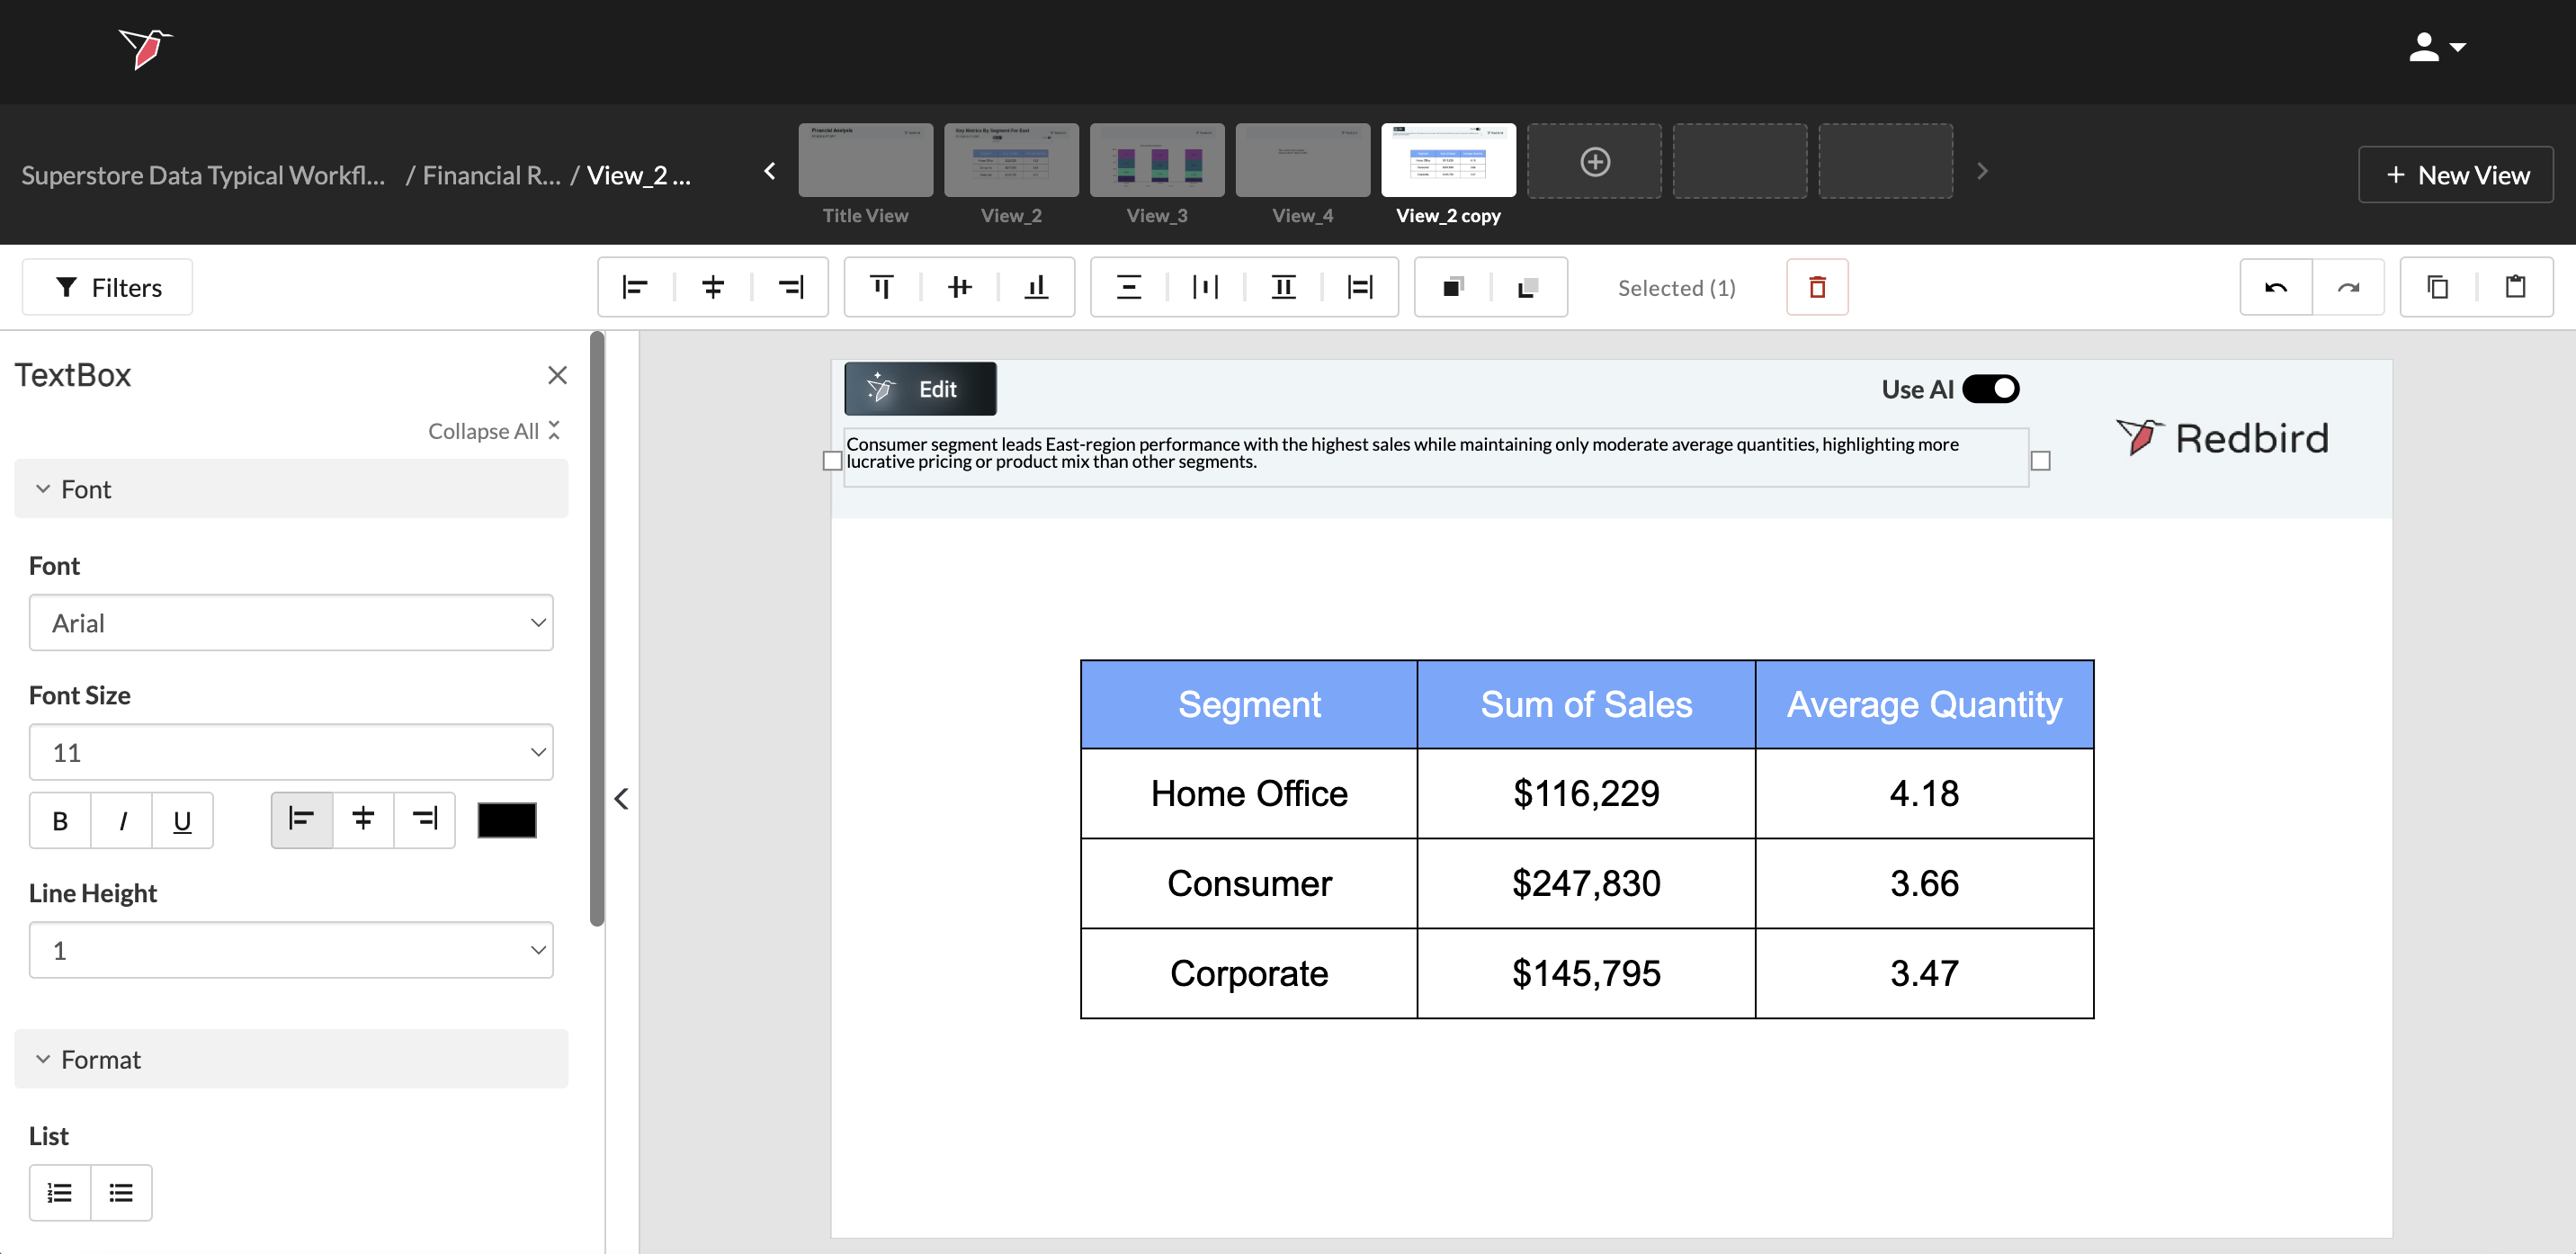
The generated text will populate the text box on your slide, you can then format it if required e.g. increase font size or change font.
Edit, Override, or Disable AI Text
-
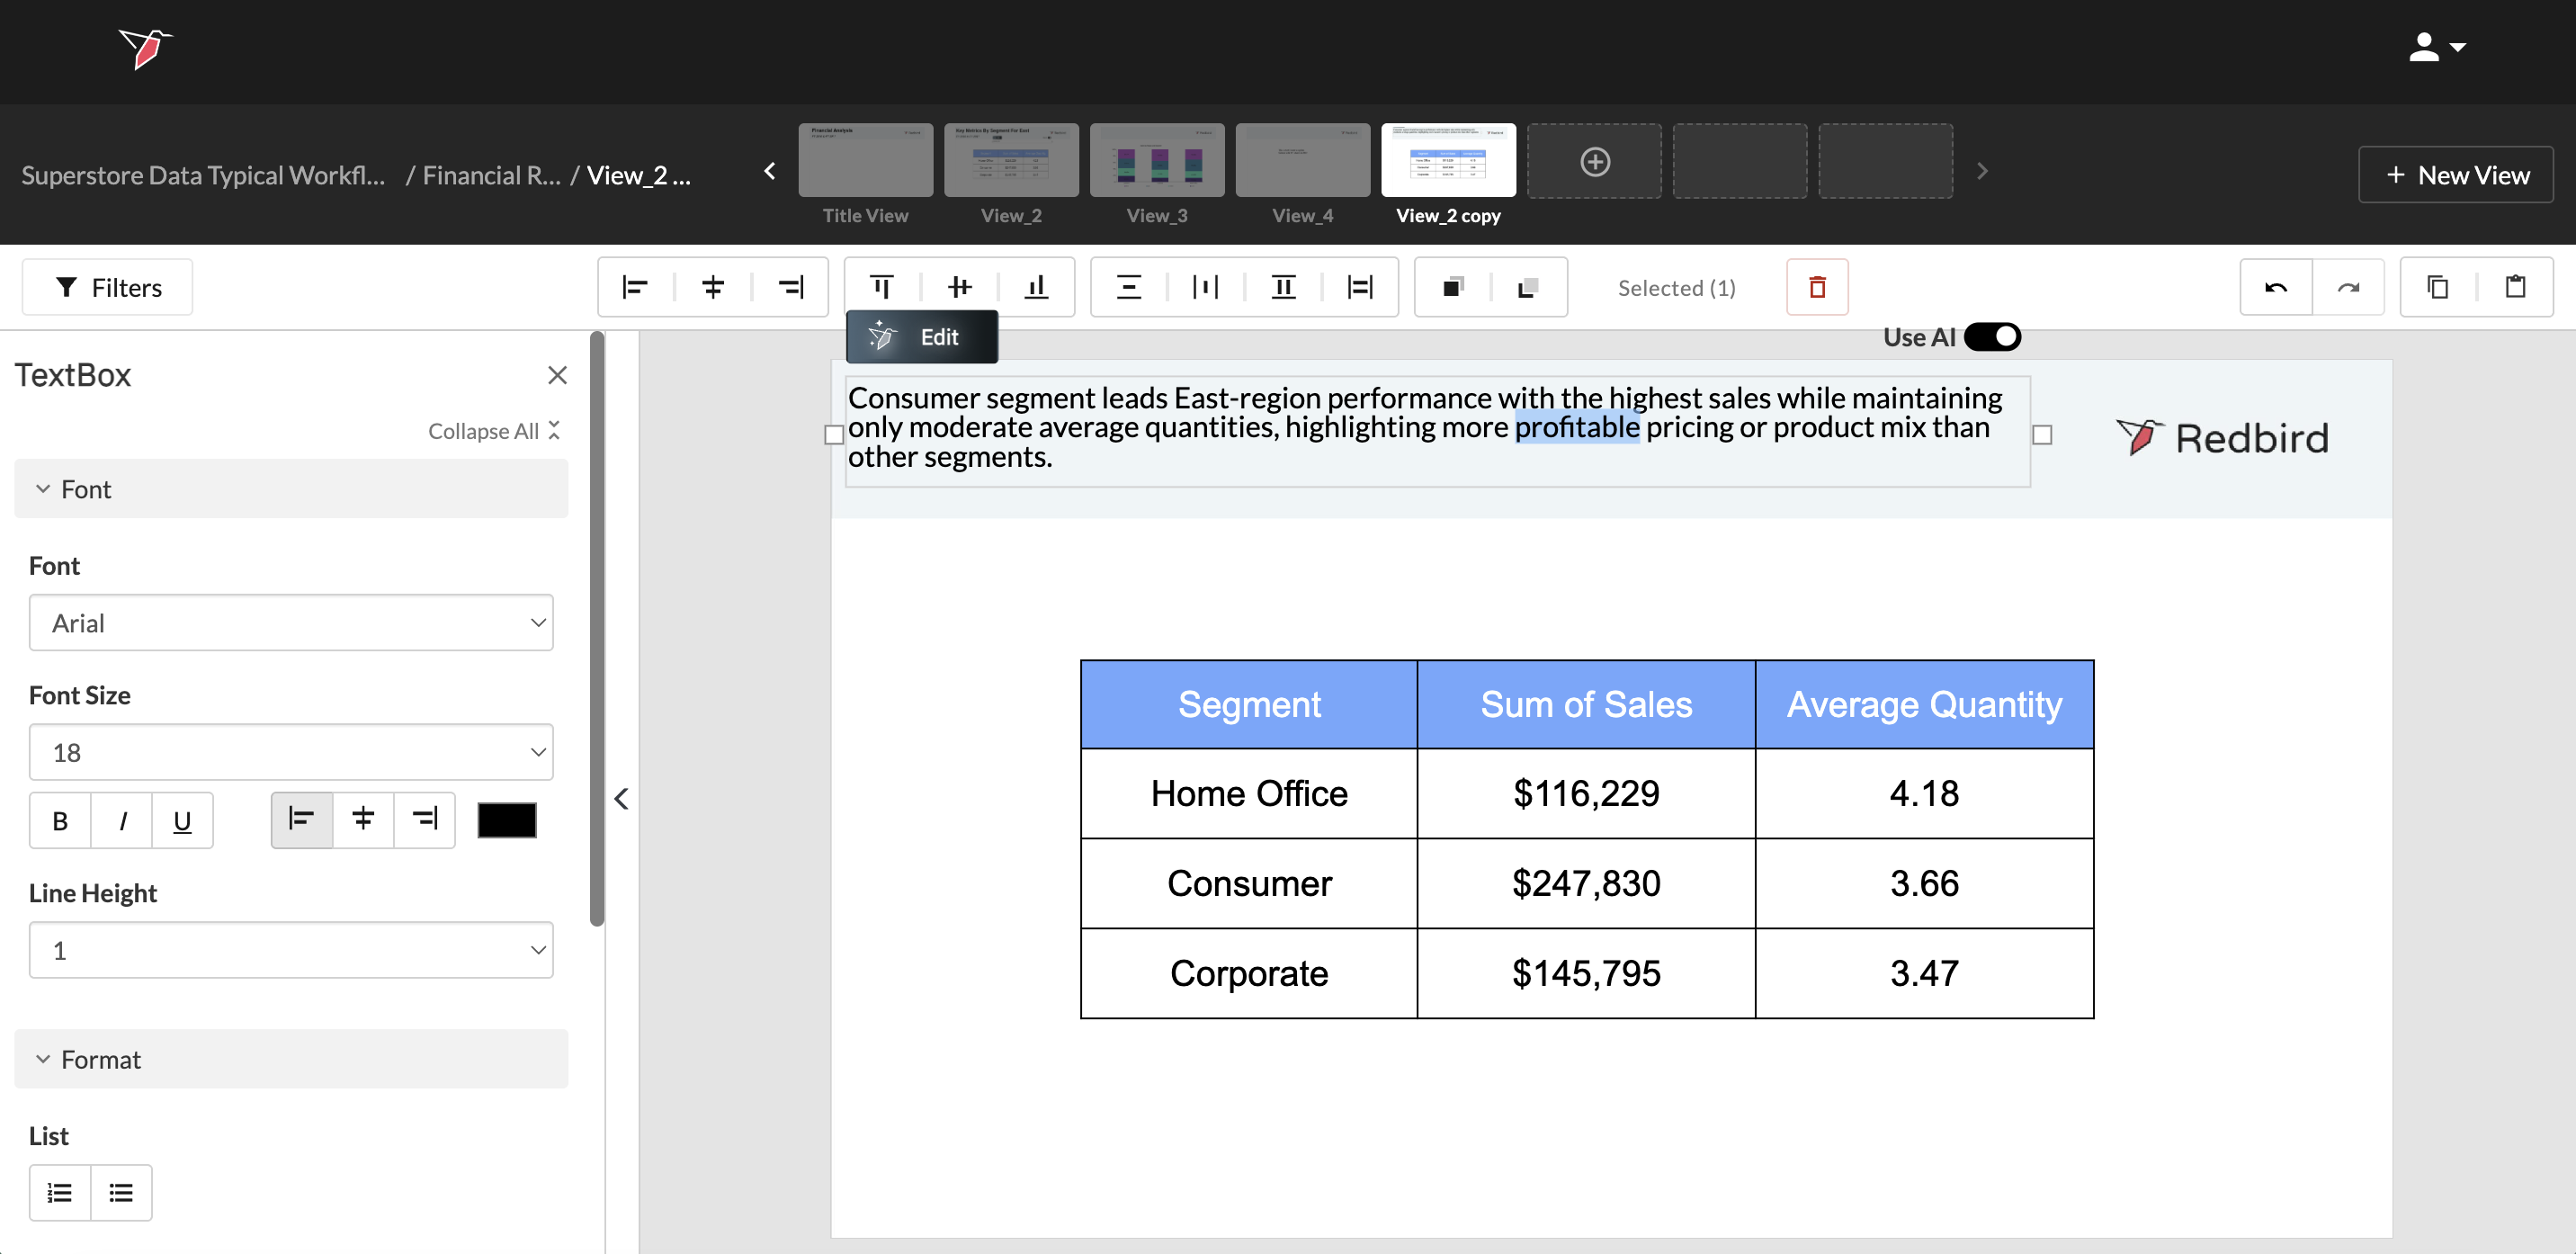
Click the Edit button on the text box to:
- Review or modify the prompt
- Regenerate the text
-
You can manually edit the generated text directly in the text box without turning AI off.
- These edits persist until the next refresh/run, when AI regenerates based on the prompt
-
Toggle Use AI off at any time:
- The current text (AI-generated or manually edited) remains in the box
- The text box becomes static and will no longer regenerate from the prompt
Dynamic Text (logic driven)
How to Insert Dynamic Text Driven by a Calculation
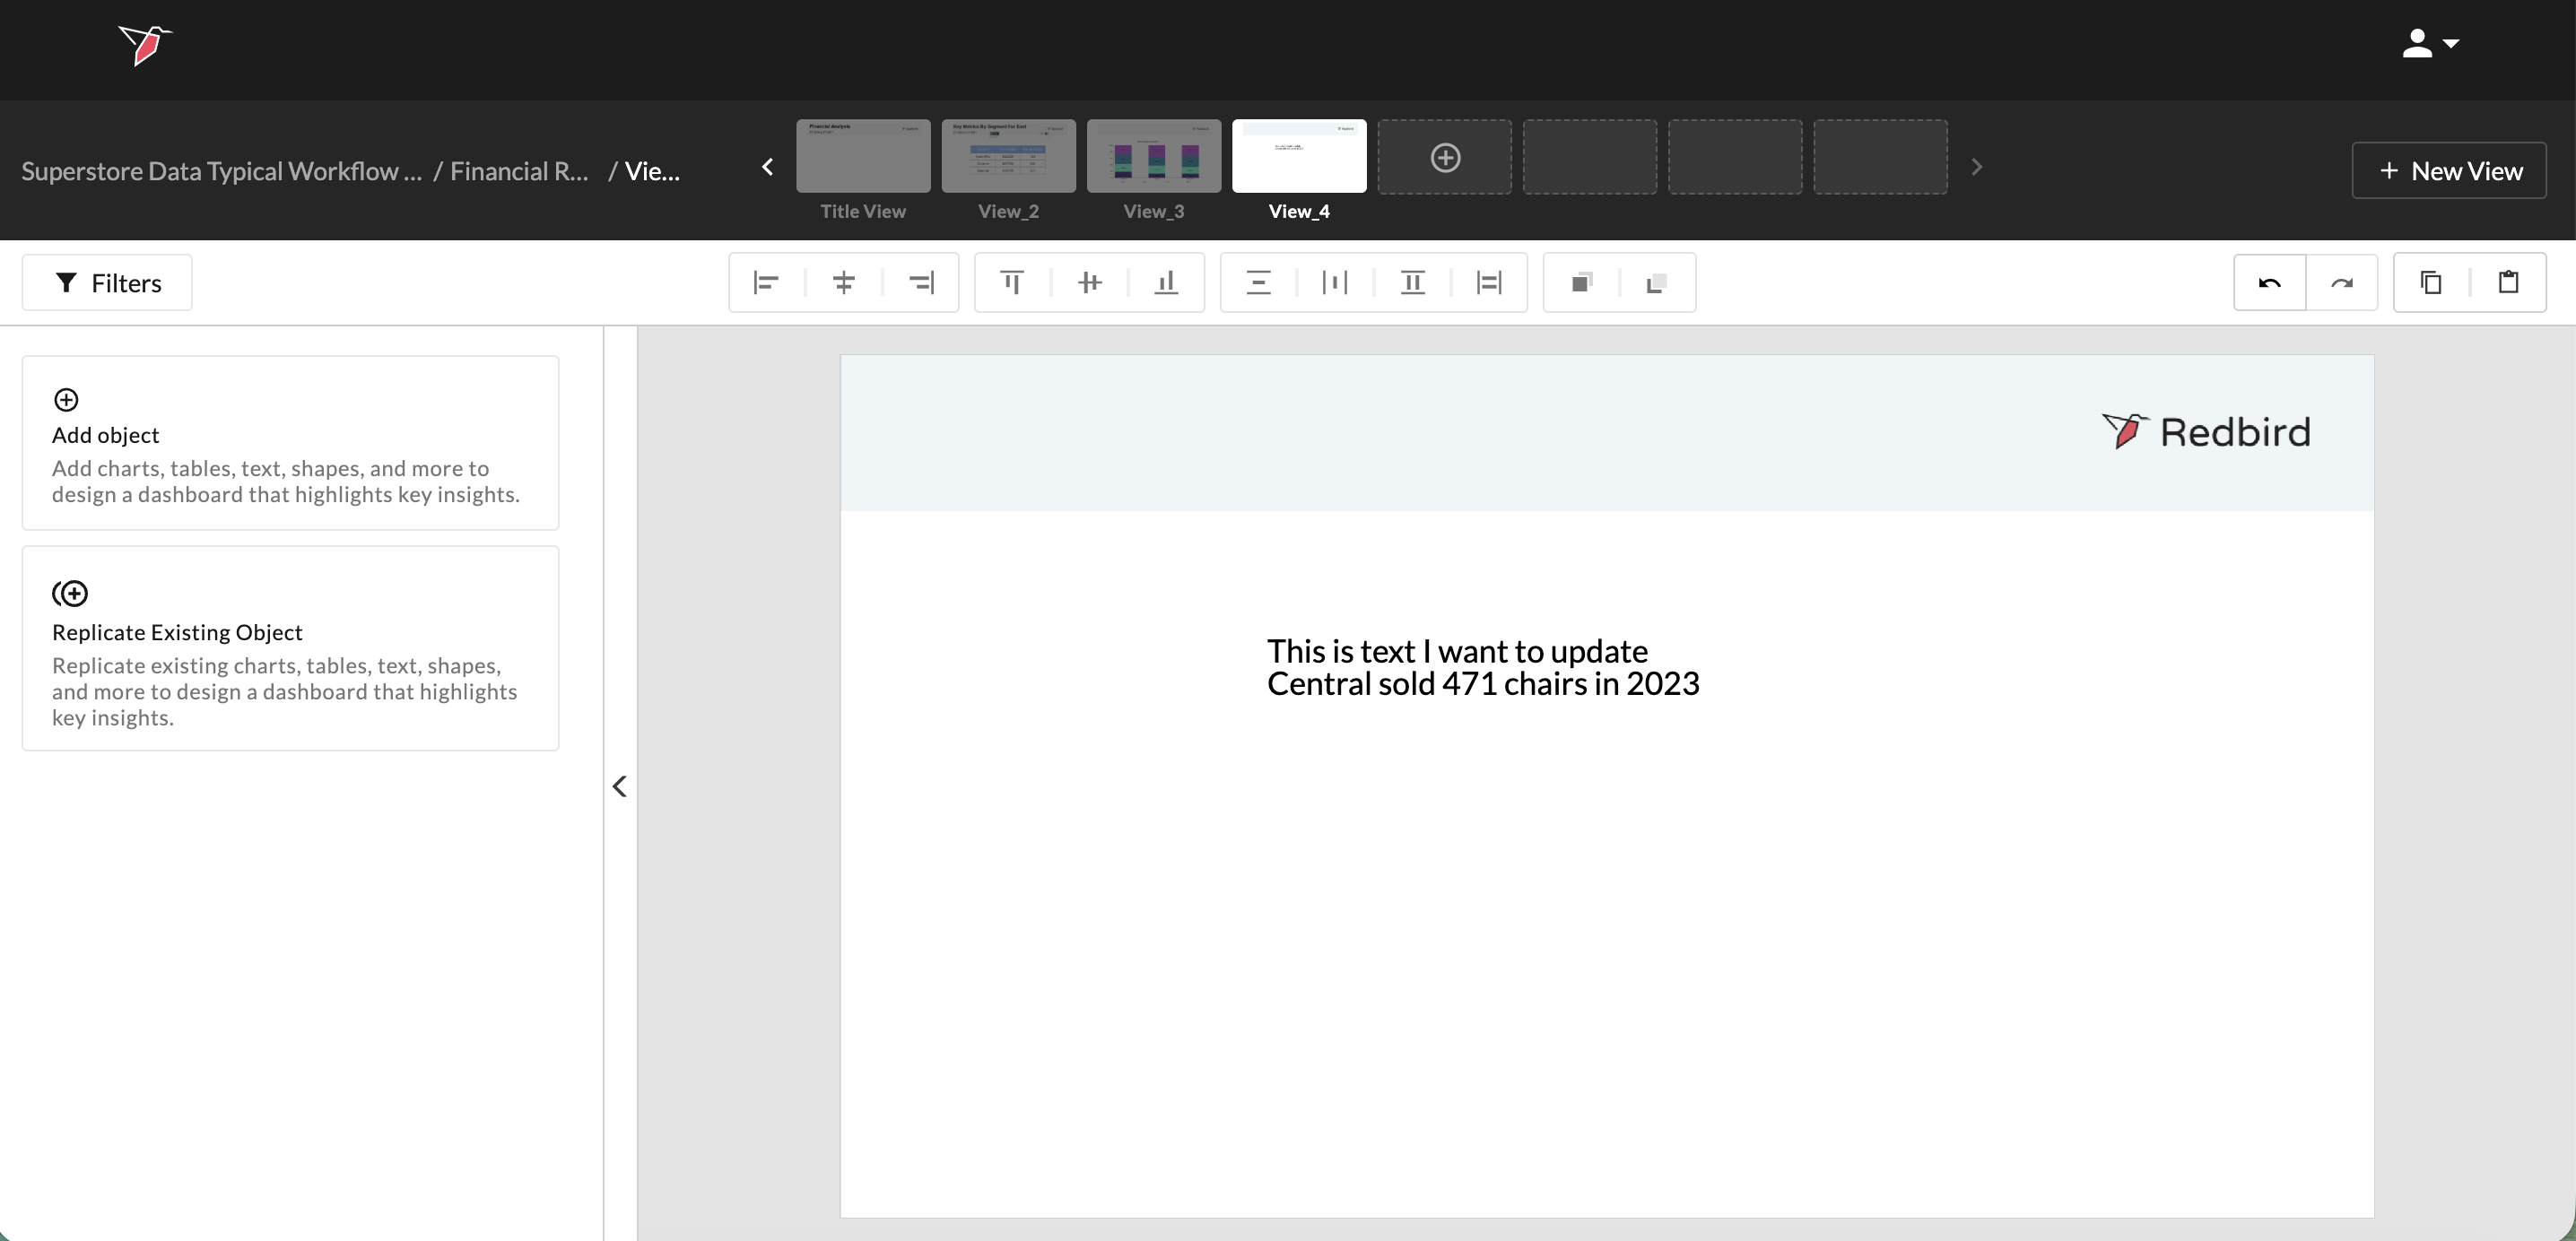
After you have created a textbox, you may decide to refer to a calculated number from one of your datasets. For example, you may want to highlight a single number in your dashboard (e.g. sum of sales, maximum orders, average wait time). Instead of doing a calculation outside of Redbird and manually adding it to your dashboard, you can use dynamic text to run a calculation on a dataset and tie the result to text within your textbox. You can also update dynamic text to reference new datasets as data is updated over time.
In the example below, an analyst working at a superstore is going to use dynamic text to update his dashboard with the total quantity of chairs sold.
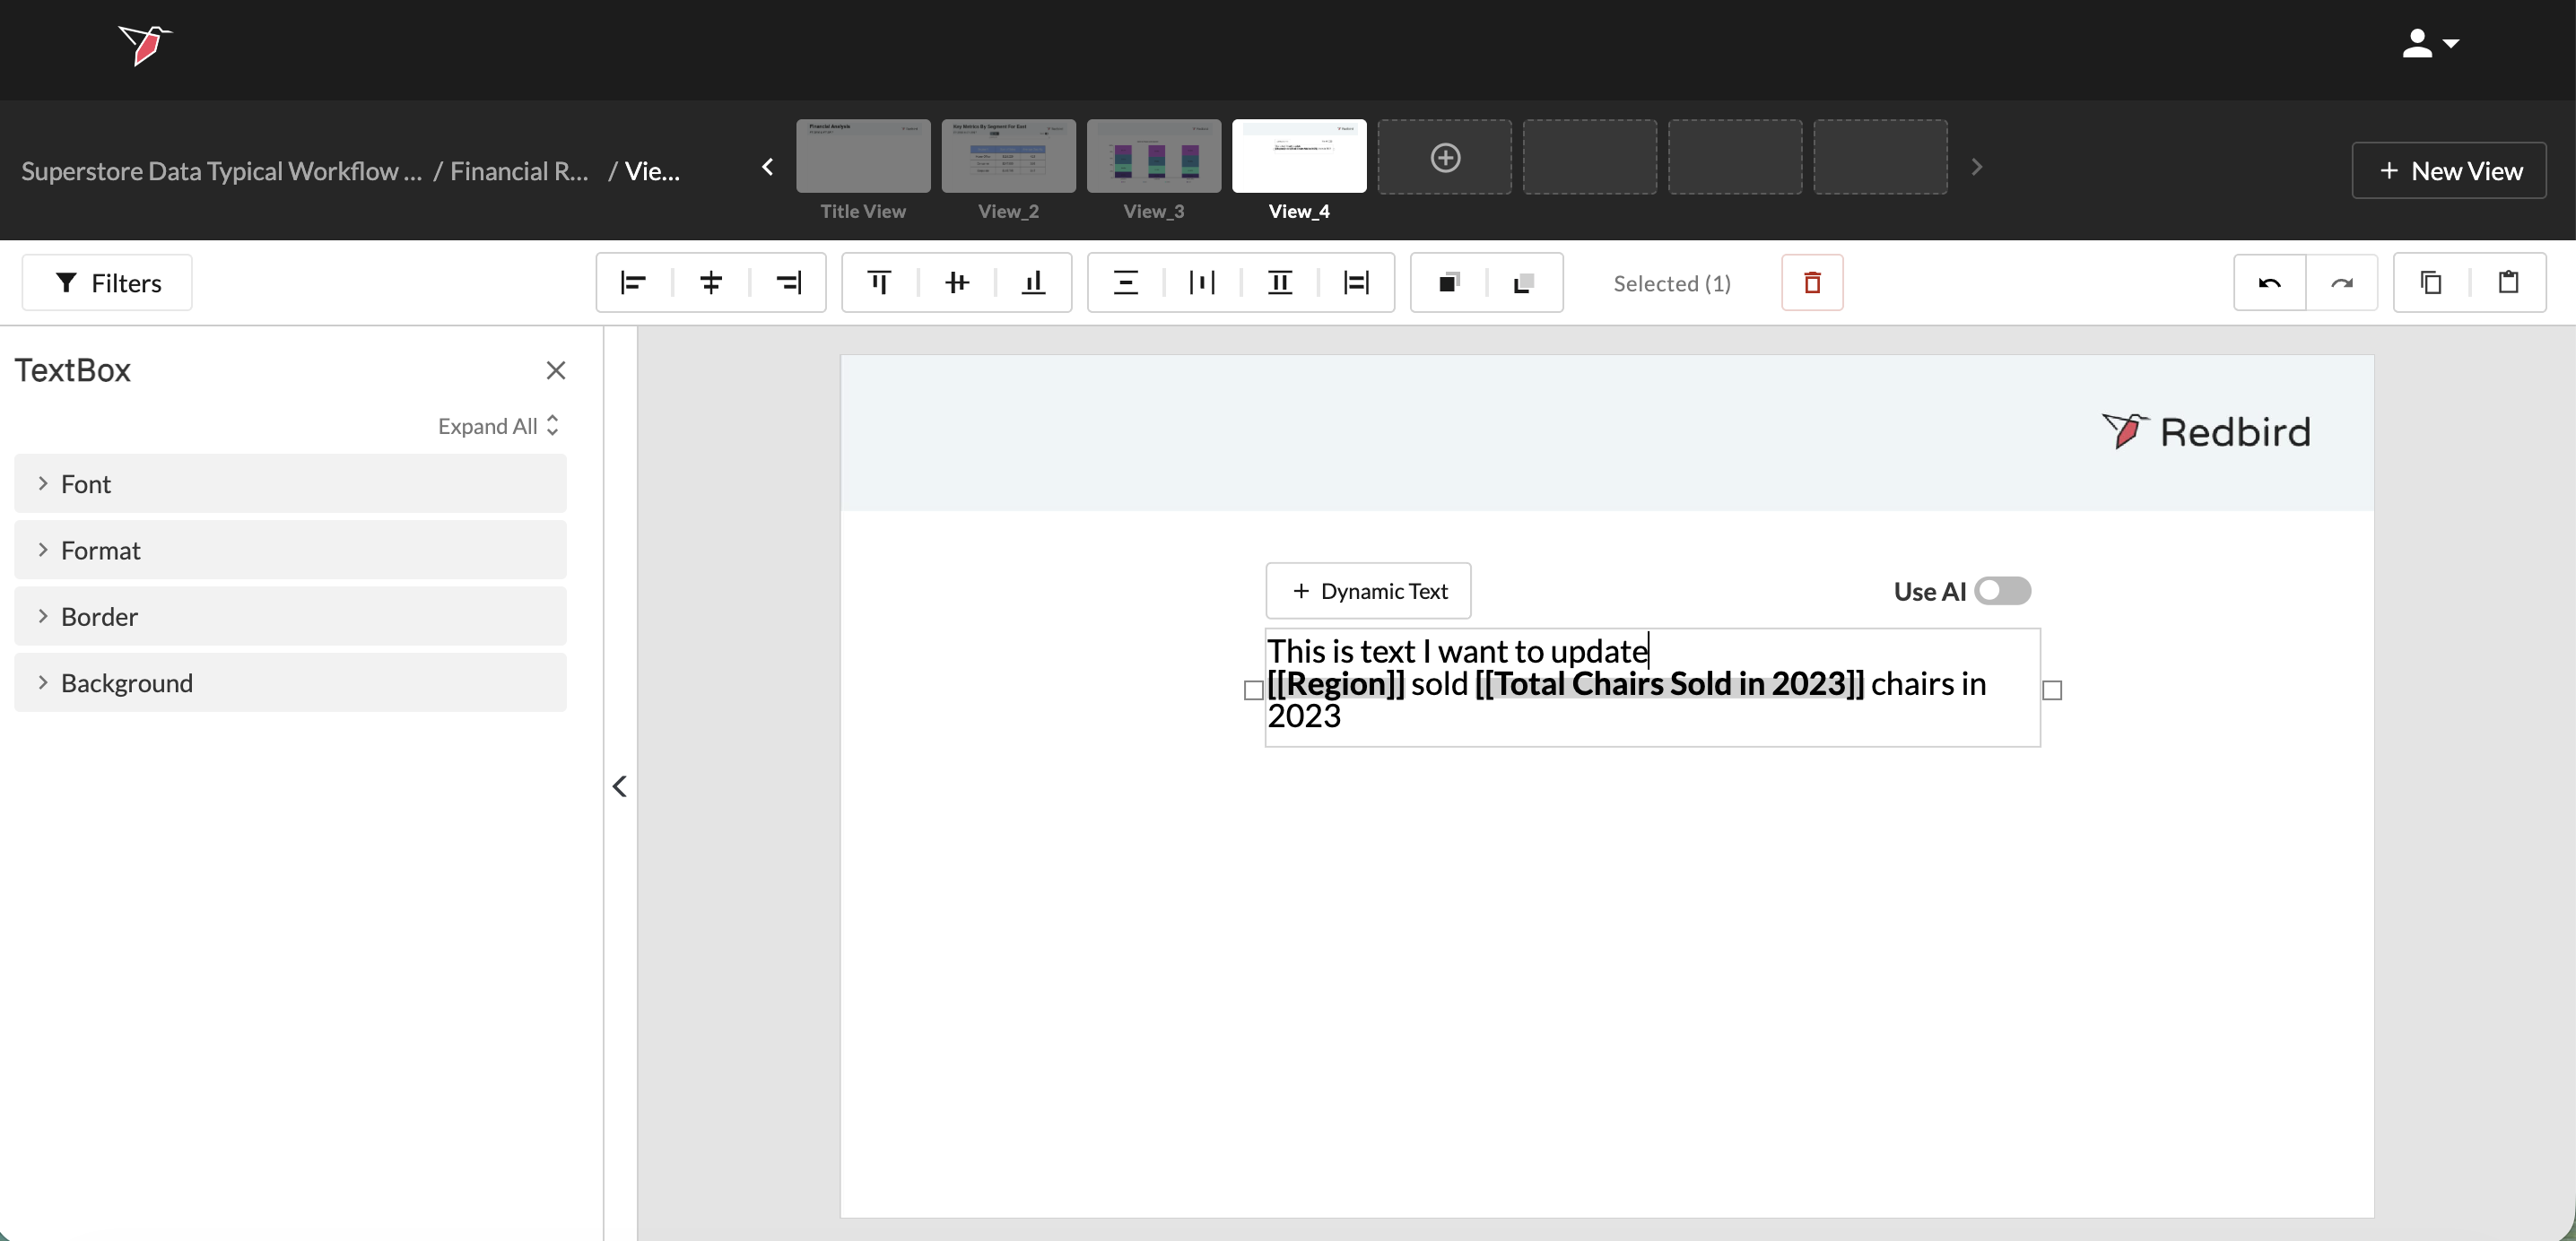
- Click on the textbox you are interested in updating. This will select your textbox.
- Click into the part of the text where you would like dynamic text to render.
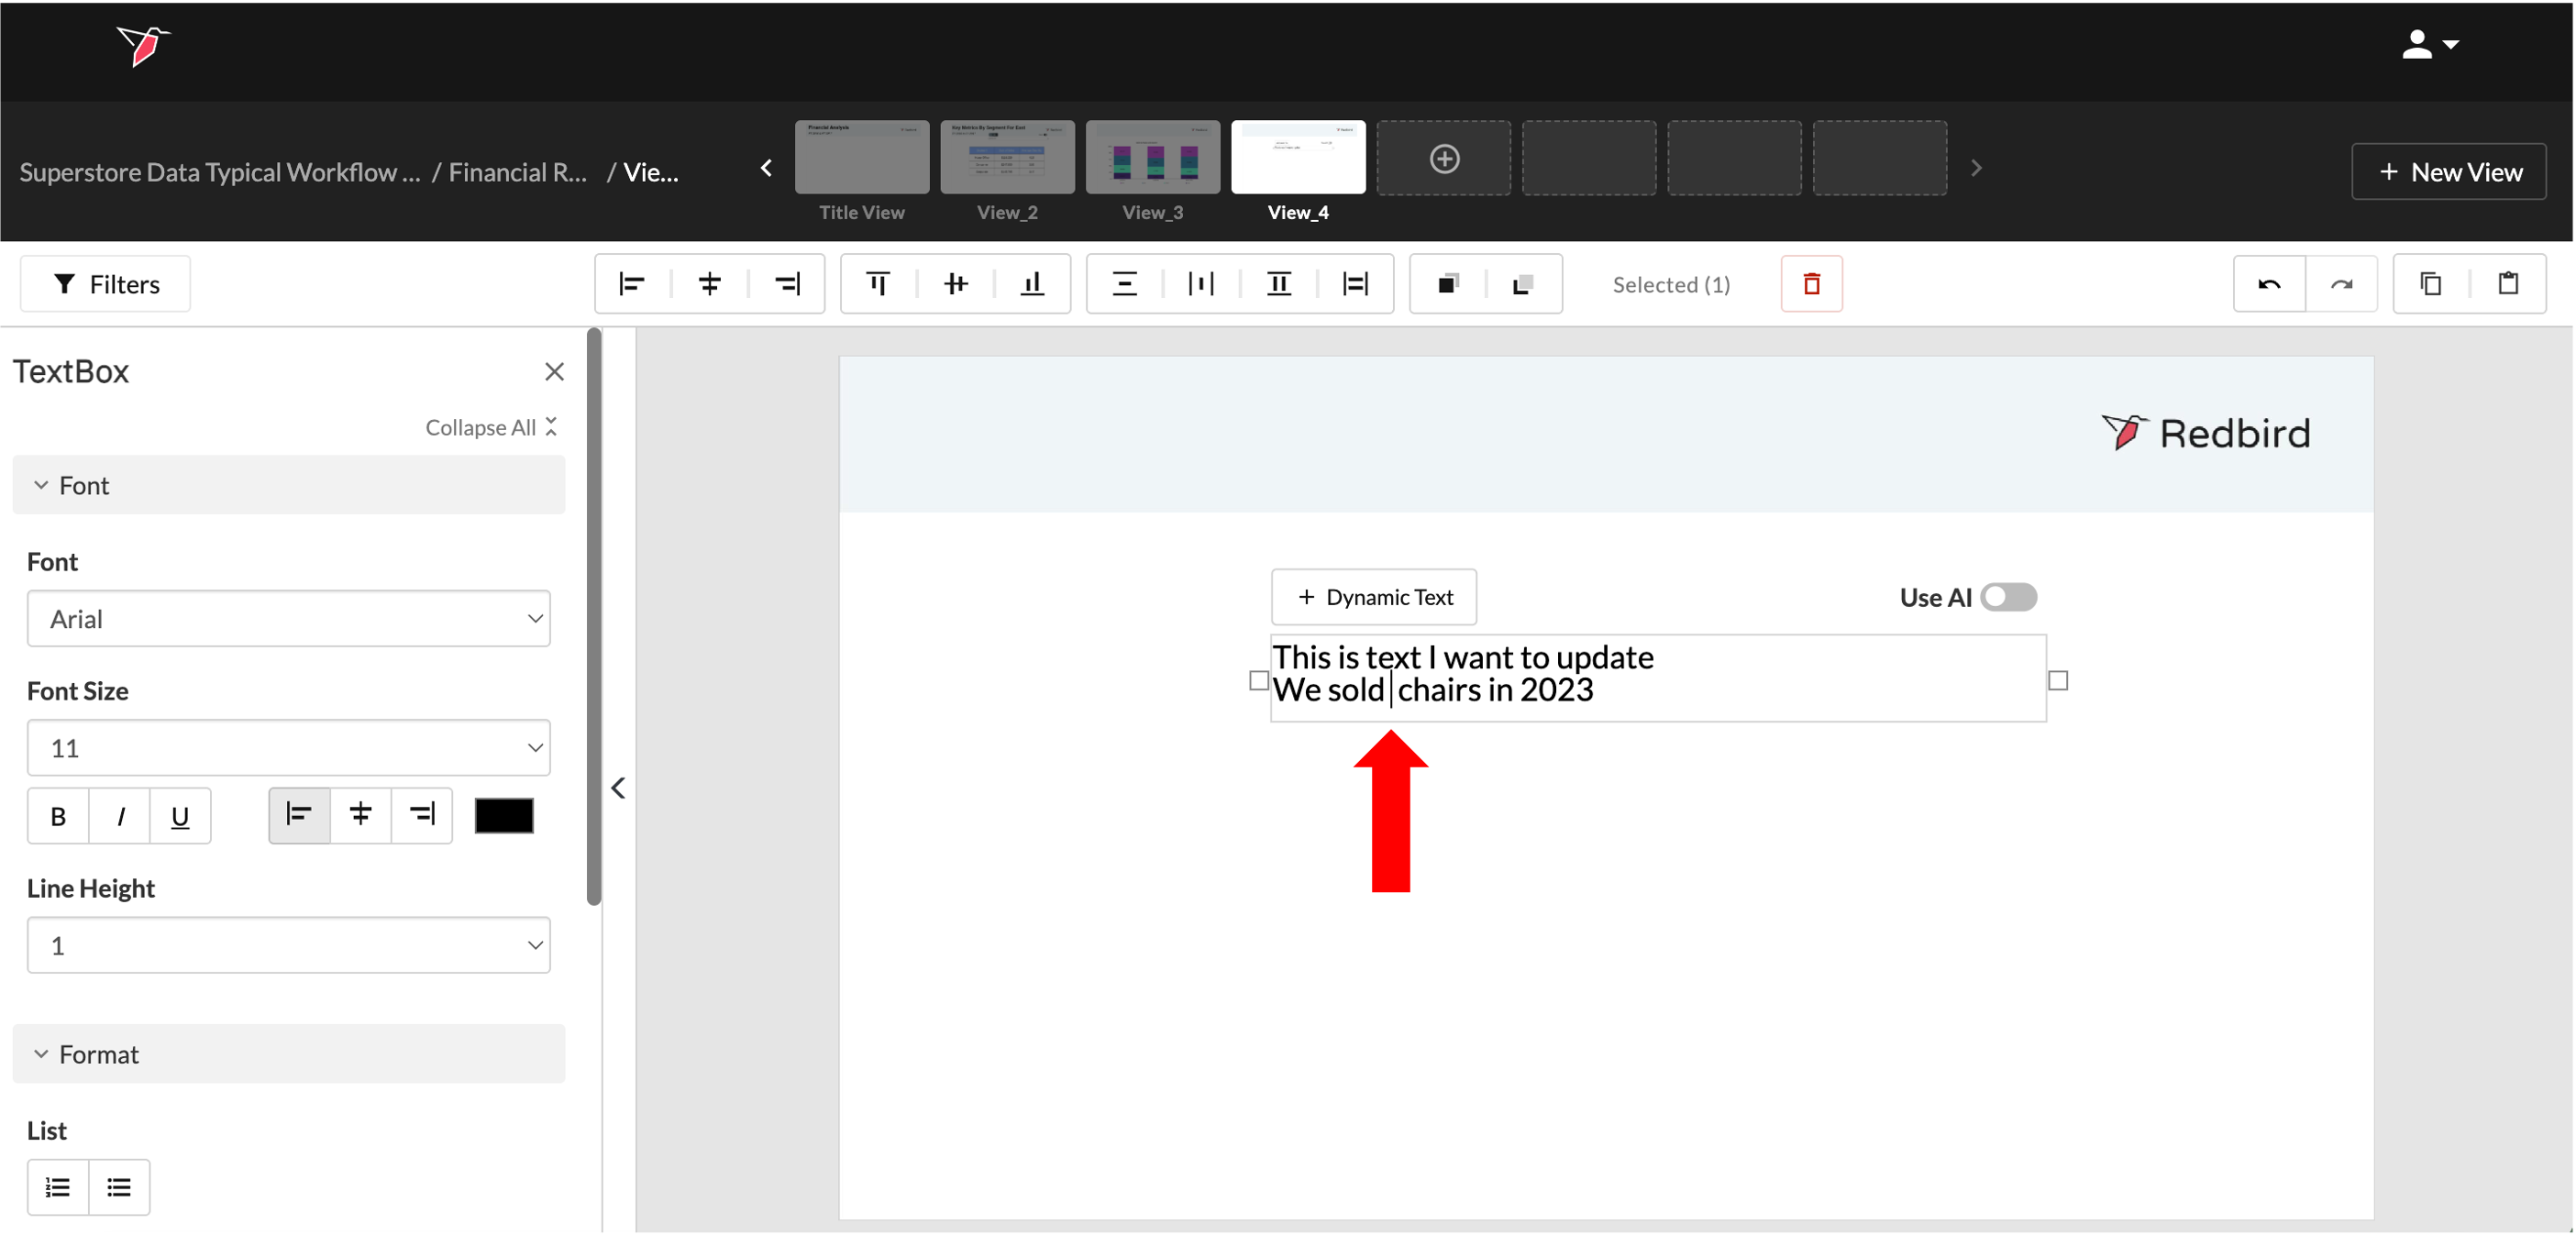
- Click Dynamic Text on the upper left-hand side of the textbox. This will bring you to the dynamic text configuration page.
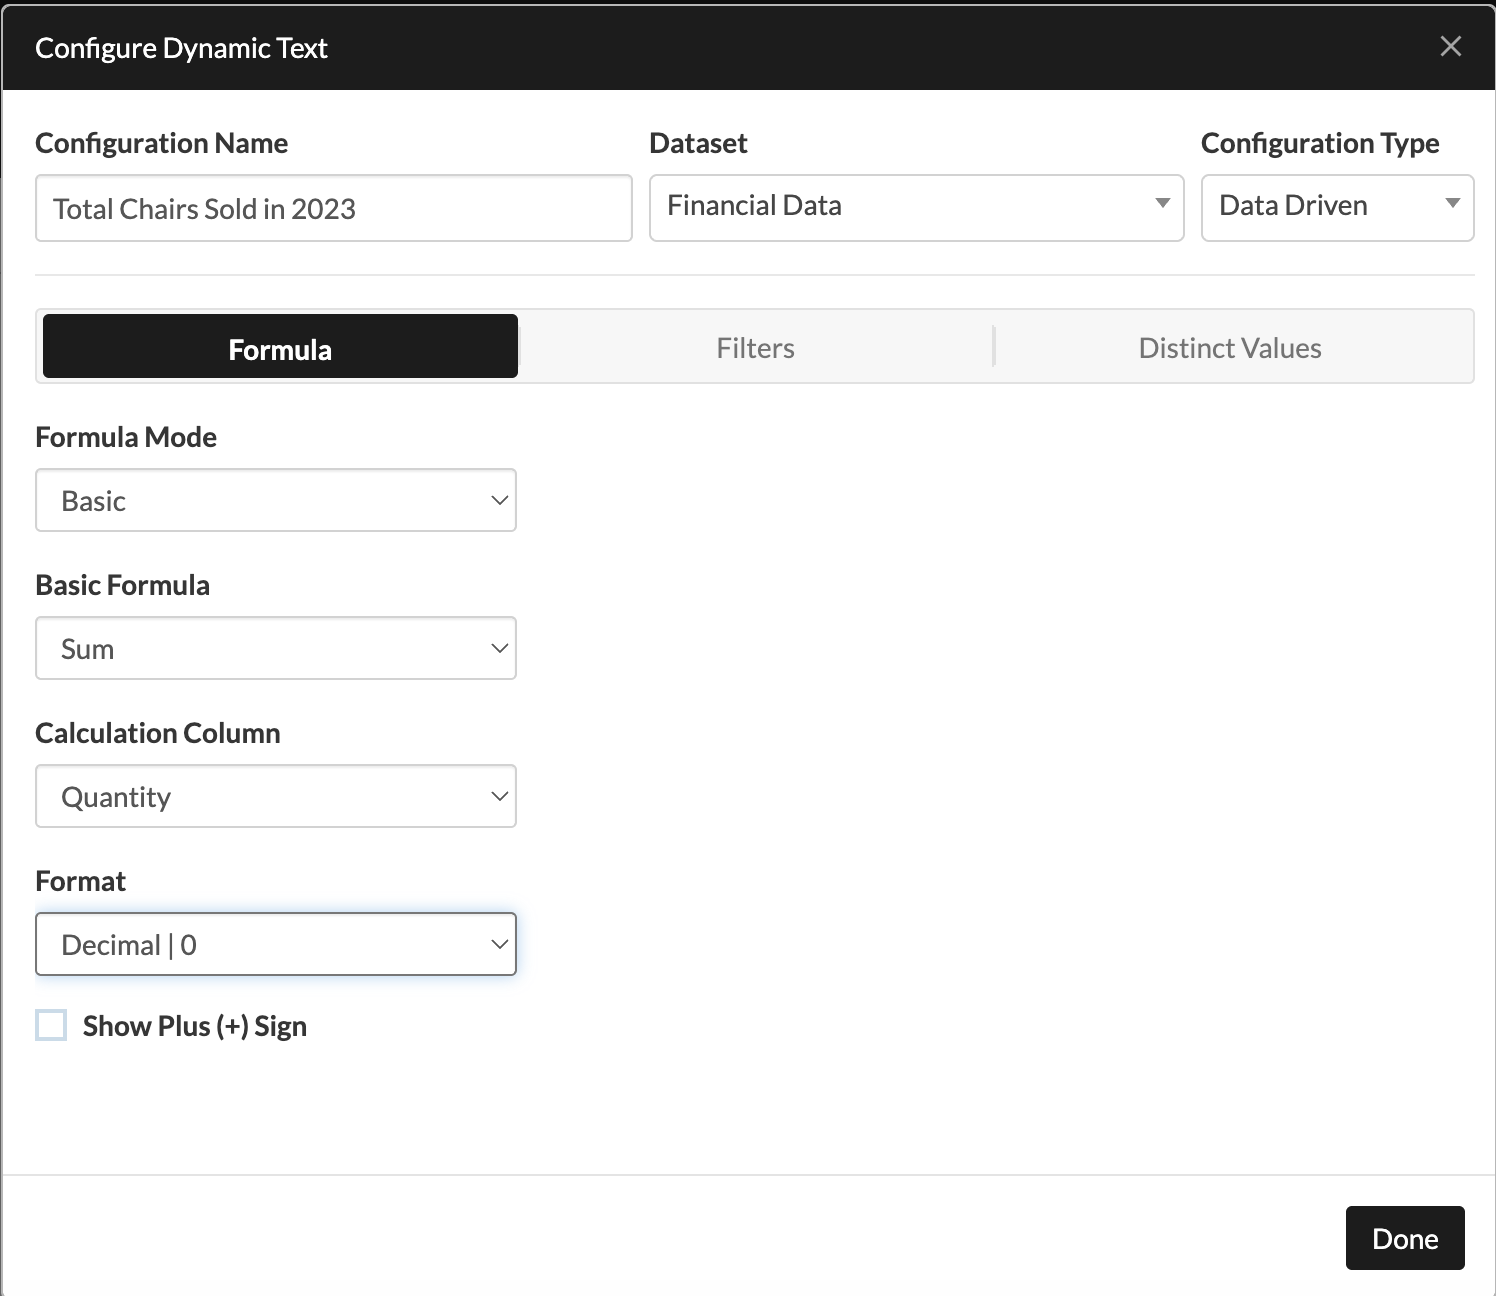
- Configure the dynamic text by providing:
- Configuration Name: The configuration name should help you reference the data point you want your dynamic text to represent. It will appear in the textbox as you make updates to your text.
- Dataset: The dataset is the underlying data that you want to run a formula on.
- Configuration Type: Select Data Driven. This will provide a specific set of inputs that need to be completed to run a calculation on your dataset properly.

- Complete the necessary inputs.
- Formulas: Calculations that can be run on a dataset. There are two types of formulas you can use, accessed via the Formula mode toggle:
- Basic formulas (count, sum, average, mode, max, and min) that you can access from the drop-down menu. In our example, we want to use the sum calculation.
- Advanced formulas which you can type in the free-form expression box or enter via the formula builder by clicking Edit next to the free-form box. In this formula builder modal, you can also make use of other advanced building blocks such as calculated columns or scopes. See here for more on configuring advanced formulas.
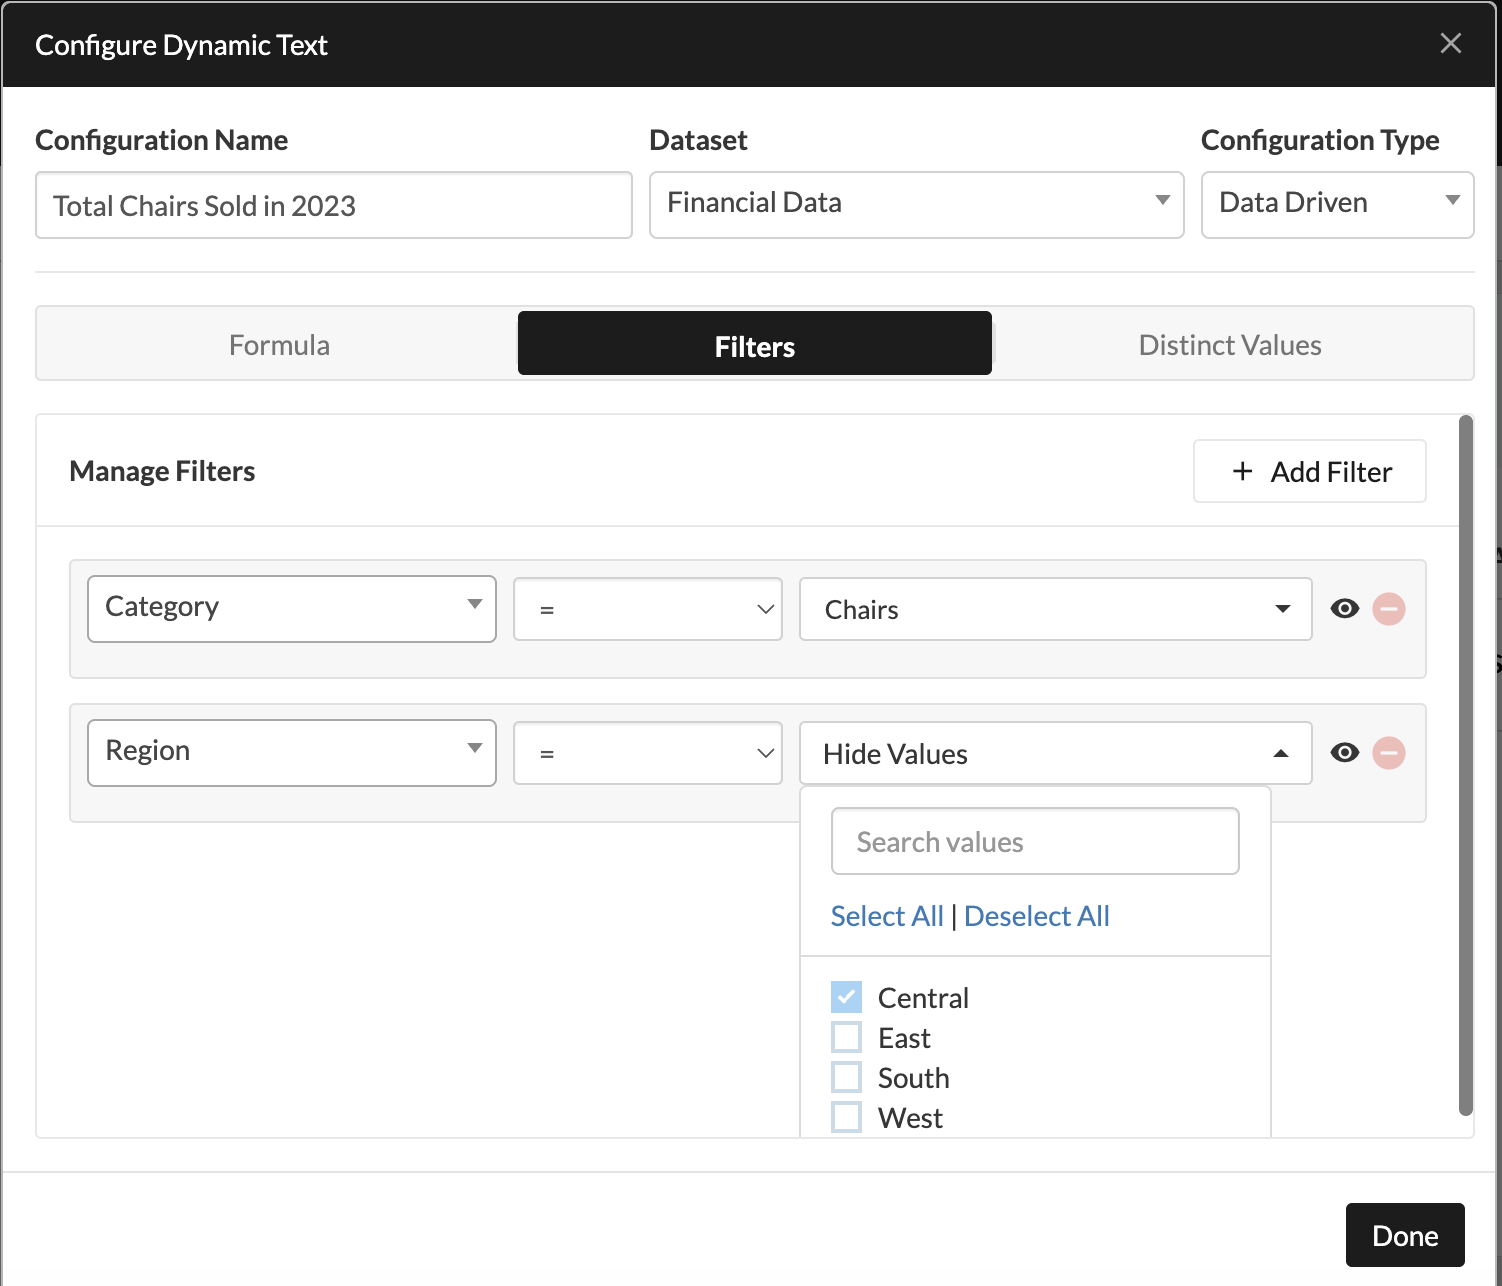
- Calculation Column: Calculation Column is the column in your dataset that you want to run a calculation on. In our example, we want to run the sum calculation on the Quantity column, as this denotes the amount sold.
- Format: This is the text format in which you want your dynamic text to render. In our example, we want our data returned as a whole number.
- Show + sign: In the case of outputting a number you can choose to show a "+" when the number is positive.
- Filters: Filters will allow you to run a calculation on data that meets specific criteria. In our example, of all the product types that our company sells, listed in the Category column, we are only going to focus on chairs.
- More options: Here you can choose to calculate using distinct values.
- Formulas: Calculations that can be run on a dataset. There are two types of formulas you can use, accessed via the Formula mode toggle:
- Click Done. This will return you back to the dashboard workspace.
- Click outside of the textbox. Review your text to ensure that the calculation meets your expectations and that the spacing is correct.

How to Insert Dynamic Text Driven by a Filter
After you have created a textbox, you may decide that you want to update your textbox by filtering data within a dataset. For example, an analyst for a large corporation may need to produce a similar dashboard for several regional stores, which could require her to manually update the region name in each textbox. Redbird can help you automate this type of workflow using dynamic text.
- Click on the textbox you are interested in updating. This will select your textbox.
- Click into the part of the text where you would like dynamic text to render.
- Click Dynamic Text on the upper left-hand side of the textbox. This will bring you to the dynamic text configuration page.
- Configure the dynamic text by providing:
- Configuration Name: The configuration name should help you reference the data point you want your dynamic text to represent. It will appear in the textbox as you make updates to your text.
- Dataset: The dataset is the underlying data that you will use to filter.
- Configuration Type: Select Filter Driven. This will provide a specific set of inputs that need to be completed to filter your dataset.
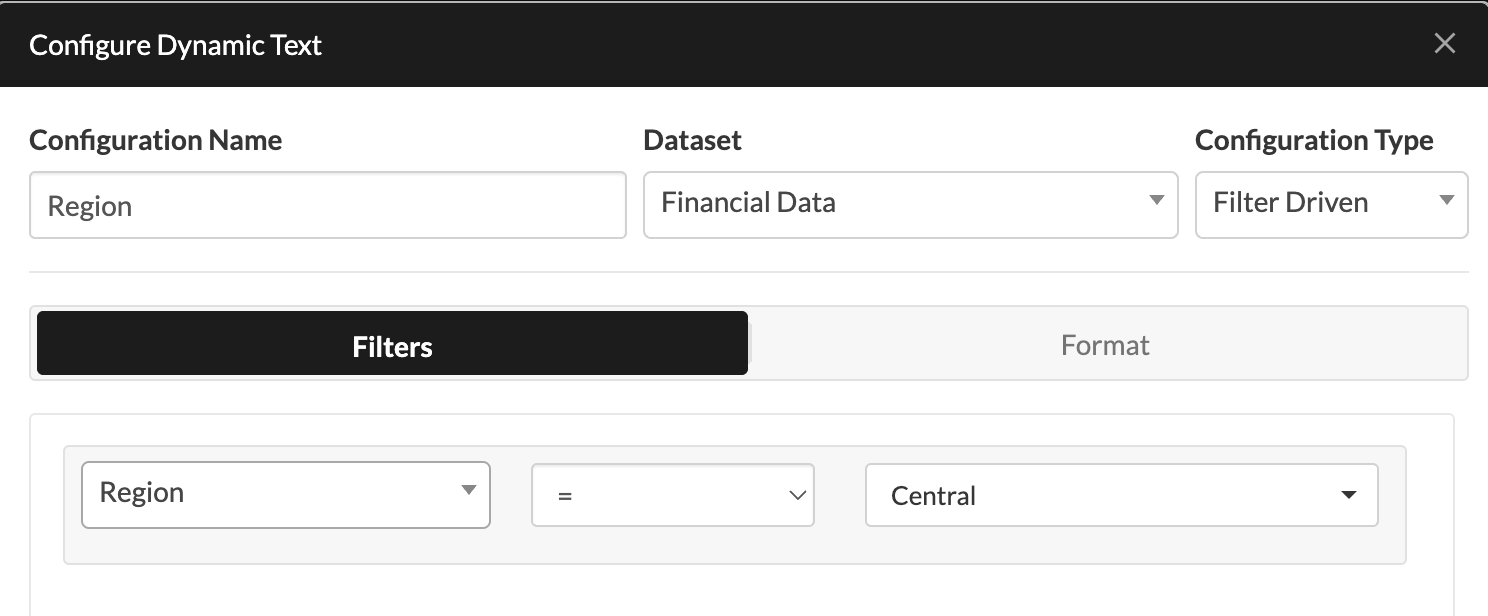
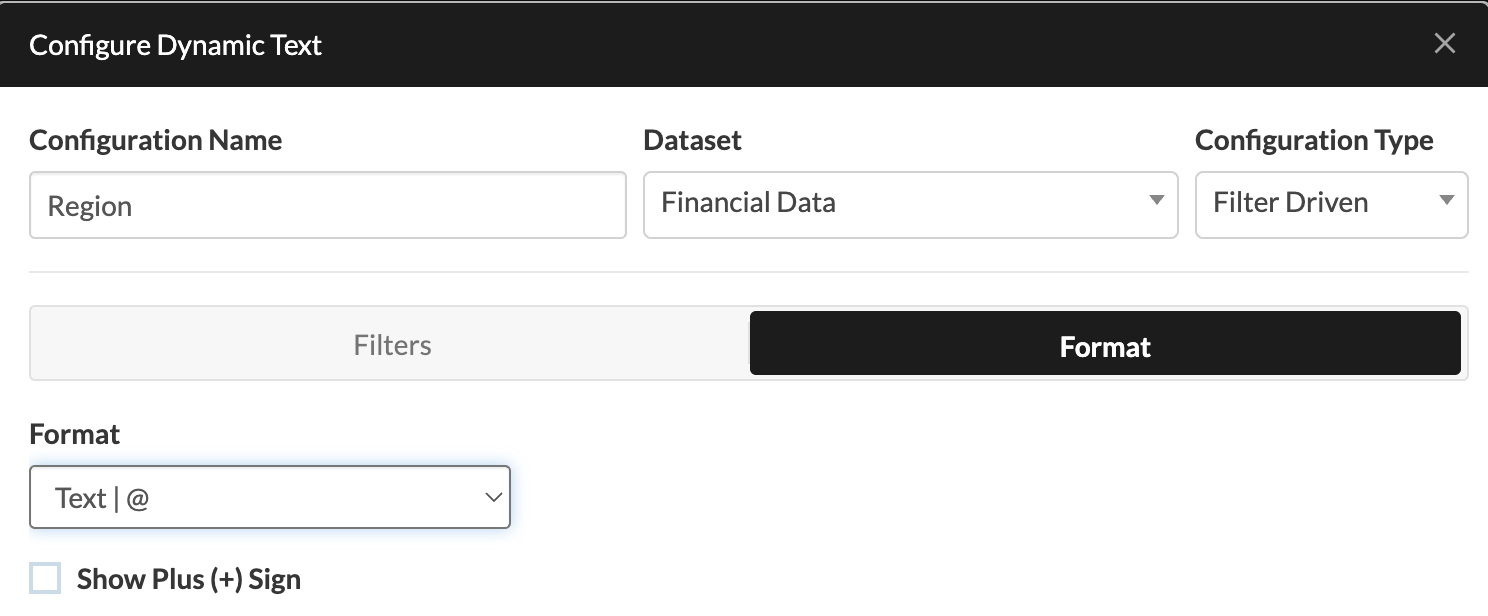
- Update the Format by selecting the Filter tab in the configuration modal. The format dictates how you want your dynamic text to render. In our example, we want the result to be returned as text.
- Click Done. This will return you back to the dashboard canvas.

- In this case, for the number of chairs sold to update based on the region, you need to update the other dynamic text element and add the region filter. To do this, first click on the textbox to see its contents, then double click on the dynamic text element you wish to edit (in this case "Total Chairs Sold In 2023").
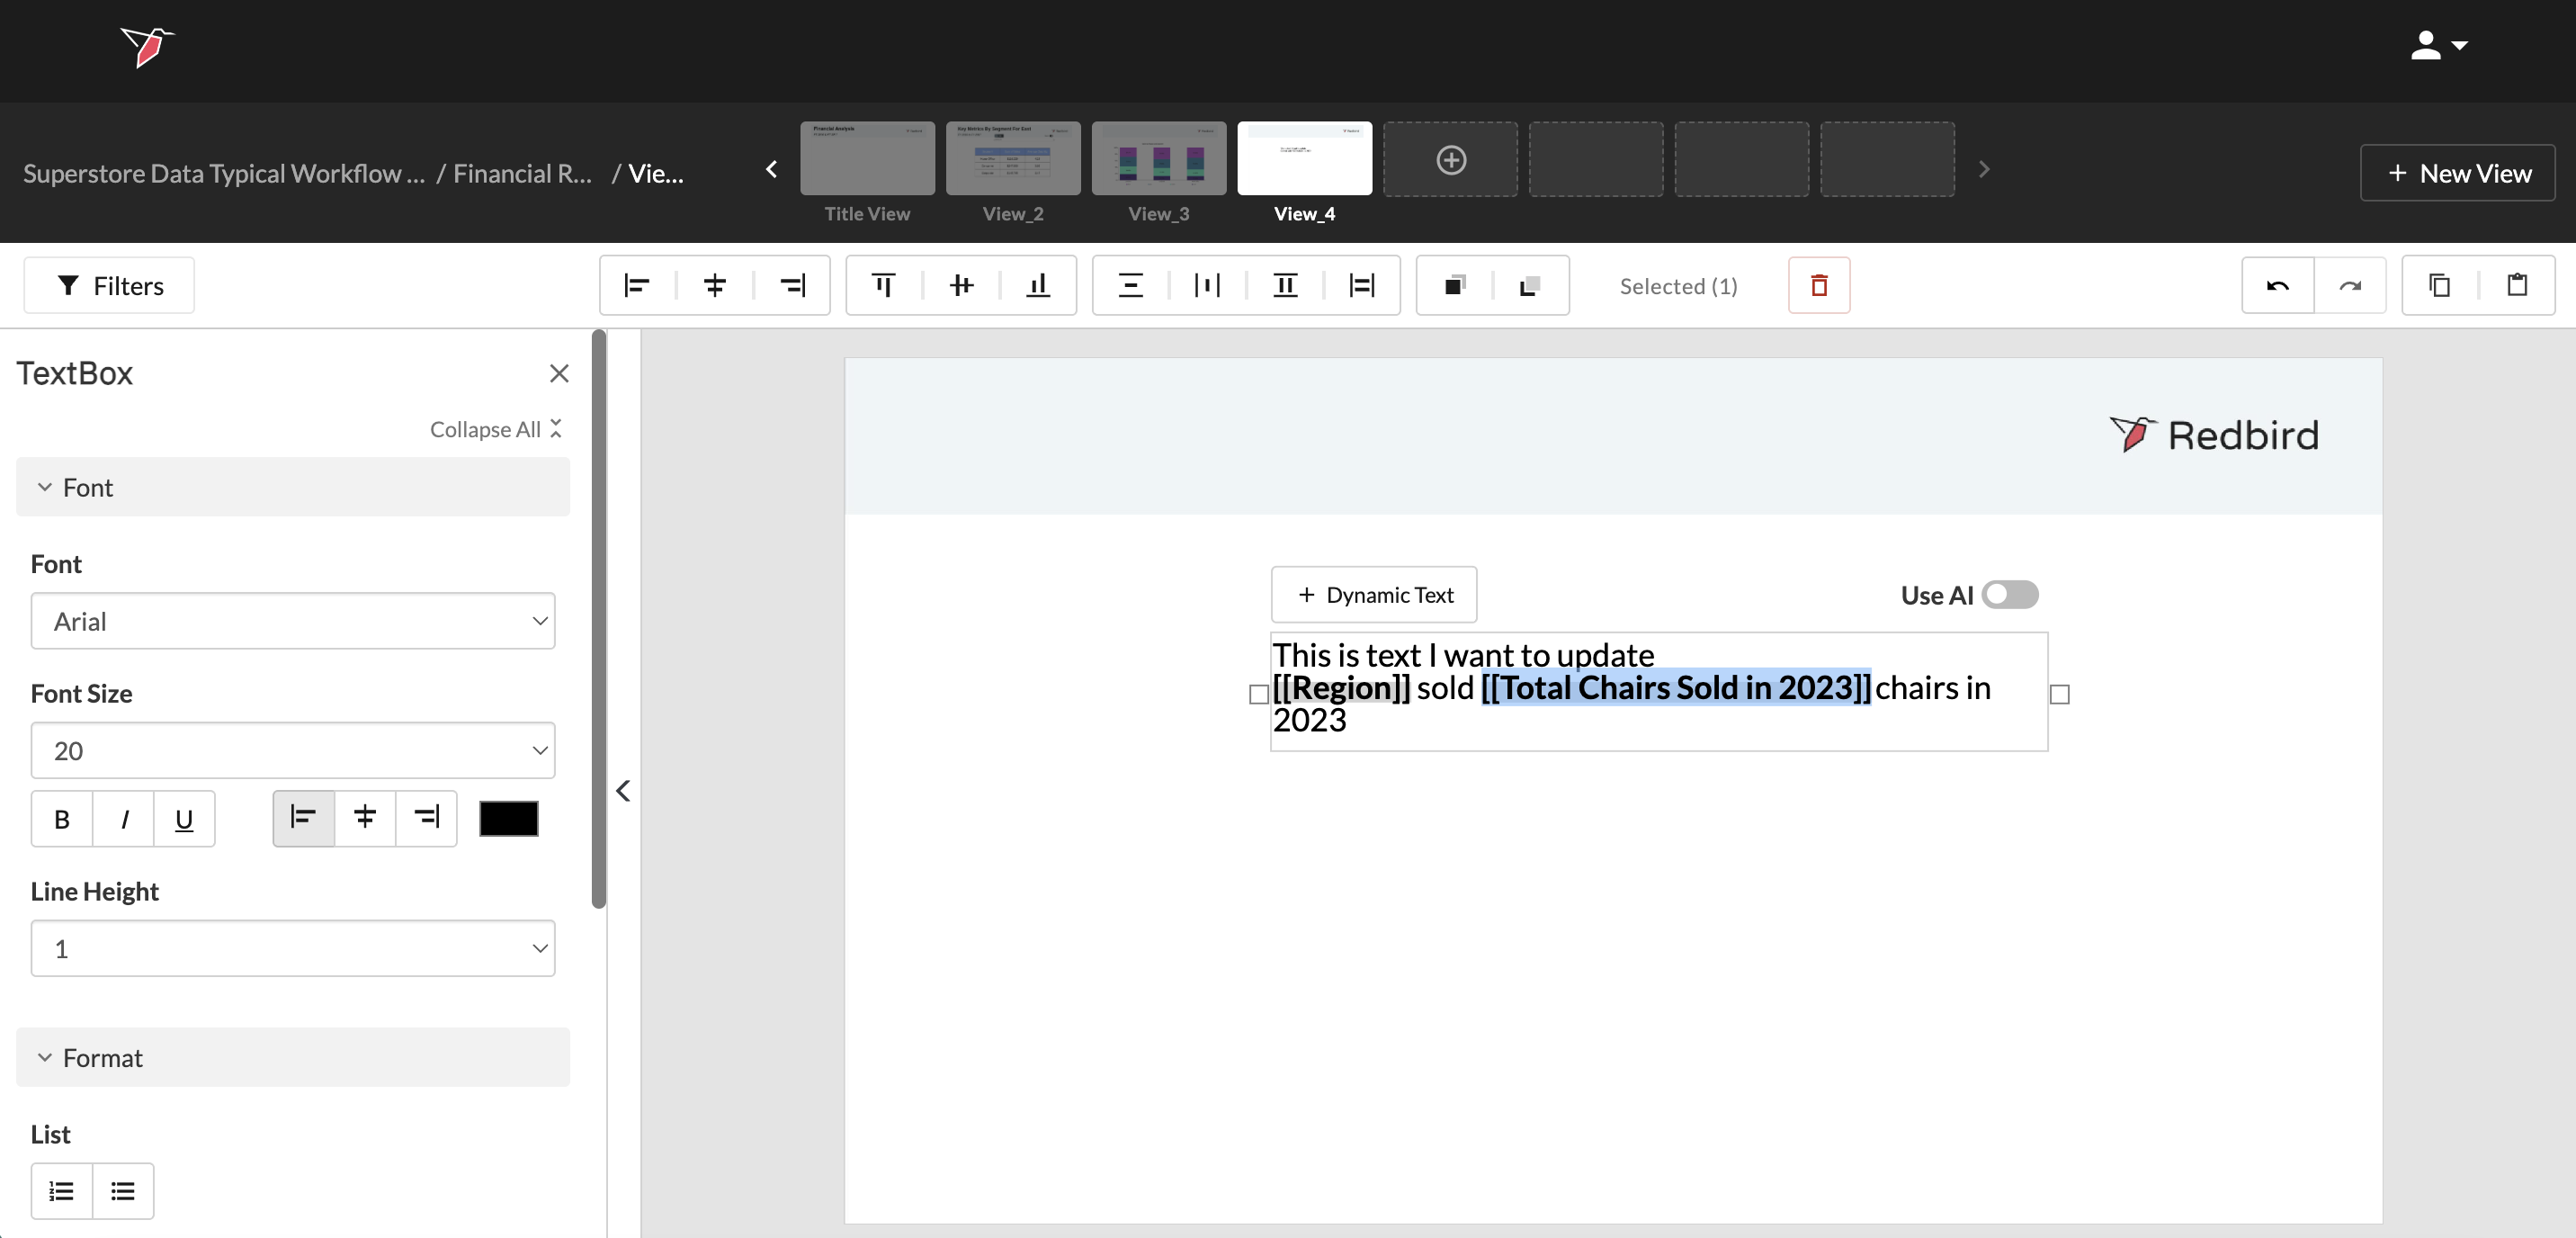
- Then click Add Filter and select the column and values you wish to apply. Click Done. This will return you to the dashboard canvas.
- Review your text to ensure that the calculation meets your expectations and that the spacing is correct.
How to Style a Textbox
Once you have added a textbox to a dashboard, you most likely will want to update specific styles of the text or the textbox itself to ensure that your dashboard aligns with your company’s style guide.
- Click the textbox you want to update. This action will highlight the textbox in the canvas and update the Actions Panel on the left to include a list of styling options. These options include:
- Font
- Format
- Border
- Background
- Utilize the styling options to ensure the presentation meets your design requirements.
- Move and resize the textbox within the workspace to ensure proper positioning of your text.
Important:To update characteristics of the text including the font, size, color or style, ensure that you highlight the specific text you wish to update prior to using any of the tools.