Adobe Analytics
For more general information on data collection in Redbird, check out: Getting Started With Data Collection
This guide explains how to pull existing reports from Adobe Analytics - a digital analytics / web & experience analytics tool. You will need to use your credentials to log in to the platform.
If you cannot see the Active Campaign collection app in the left-side panel on the workflow canvas, refer to: Enabling Collection Apps Guide
Entering Credentials
- Double-click on the node to enter configuration mode
- Click the pencil next to Configuration Name to name your collection
- Click the Manage Credentials at the top left of the page. Enter an Account Namefor the credential to differentiate it from the others.
- Enter your Username, Password and Set up Email Forwarding MFA if you have MFA turned on for your Adobe Analytics account. See here for more information on how to set up Email Forwarding MFA.
- If not automatically selected, then choose these credentials from the credentials drop-down. These credentials are used to authenticate your Adobe Analytics user and determine which projects and panels are available.
Project and Panel Selection
In order to pull data you must specify:
- Project – The name of the Adobe Analytics Workspace project
- Panel – The name of the panel within that project
Both fields are free-text inputs and must exactly match the names used in Adobe Analytics Workspace.
The connector will pull the data defined by that specific panel, including:
- The metrics included in the panel
- Any dimensions used
- Applied filters, segments, and date ranges
- Calculated metrics defined in the panel
In other words, the connector mirrors what is configured in Adobe Analytics, rather than requiring you to define metrics again in Redbird.
What Data Is Pulled?
The data returned by the connector is determined entirely by the selected Adobe Analytics panel. This means:
- There is no fixed or default metric list
- Changes made to the panel in Adobe Analytics will affect future runs
- The connector reflects Adobe Analytics as the source of truth for metric definitions and logic
Important Notes
- Ensure the Adobe Analytics user has access to the relevant project and panel
- Project and panel names are case-sensitive
- If a panel is renamed or deleted in Adobe Analytics, the connector will fail until updated
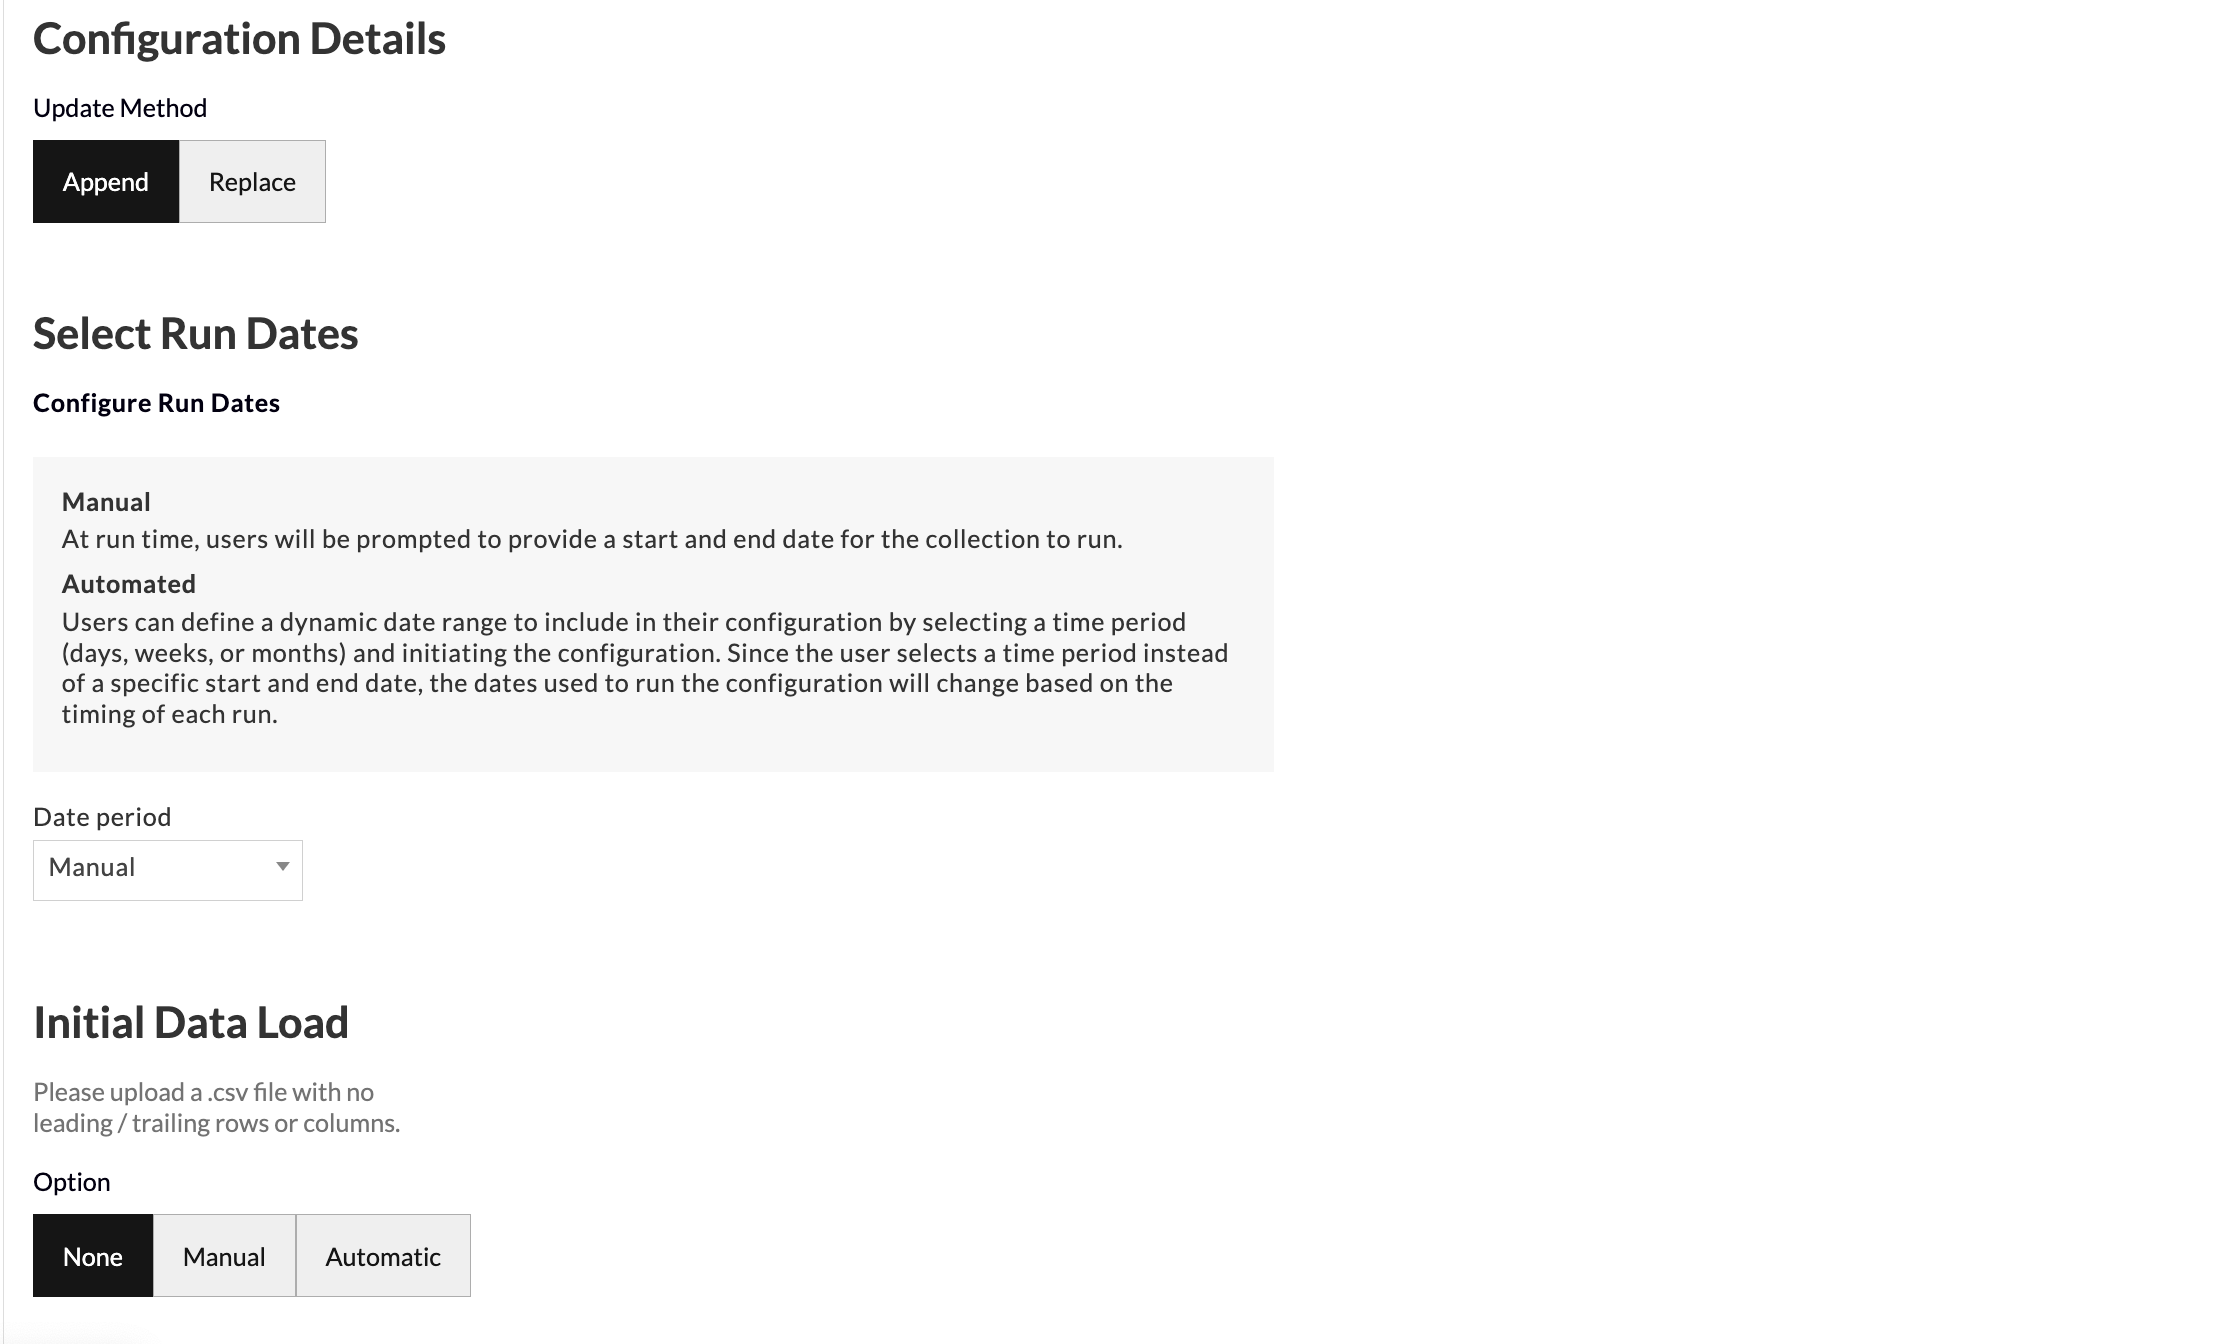
Data Collection Settings
- Update Method allows you to select how you want your data to aggregate when you run future data pulls. Append keeps the historical data and adds the future data pulls below. Replace deletes the historical data and generates the new data in its place.
- Select Run Dates allows you to set the input date period method for your data collection as manual or automatic.
- When set to manual, at run time, users will be prompted to provide a start and end date for the collection to run.
- When set to automatic, users can define a dynamic date range to include in their configuration by selecting a time period (days, weeks, or months) and initiating the configuration. Since the user selects a time period instead of a specific start and end date, the dates used to run the configuration will change based on the timing of each run.
- Initial Data Load allows you to upload historical data in bulk as a one-off in the event that you have the data saved on your computer. You can upload your data as a CSV file with no leading/trailing rows or columns and Redbird will run future data collections using the configuration that you set up in previous steps.
- Click Done
Running a Collection
- Click on the node.
- In the right-side panel click Run
- If date selection is set to manual, then the workflow will be stopped for you to input dates. Click Review on the node.
- Select the Start date and End date of the period you would like to cover.
- Click Back to Workflow
- Click Continue on the node.