Setting up Google Cloud
Overview
Connecting your Google Cloud account lets Redbird send datasets into your cloud buckets using the Cloud Storage Output Node.
Set Up
- After adding the node to the canvas, connect the dataset you want to upload to Google Cloud.
- You can choose whether to append a timestamp to the uploaded file name; this option is enabled by default.
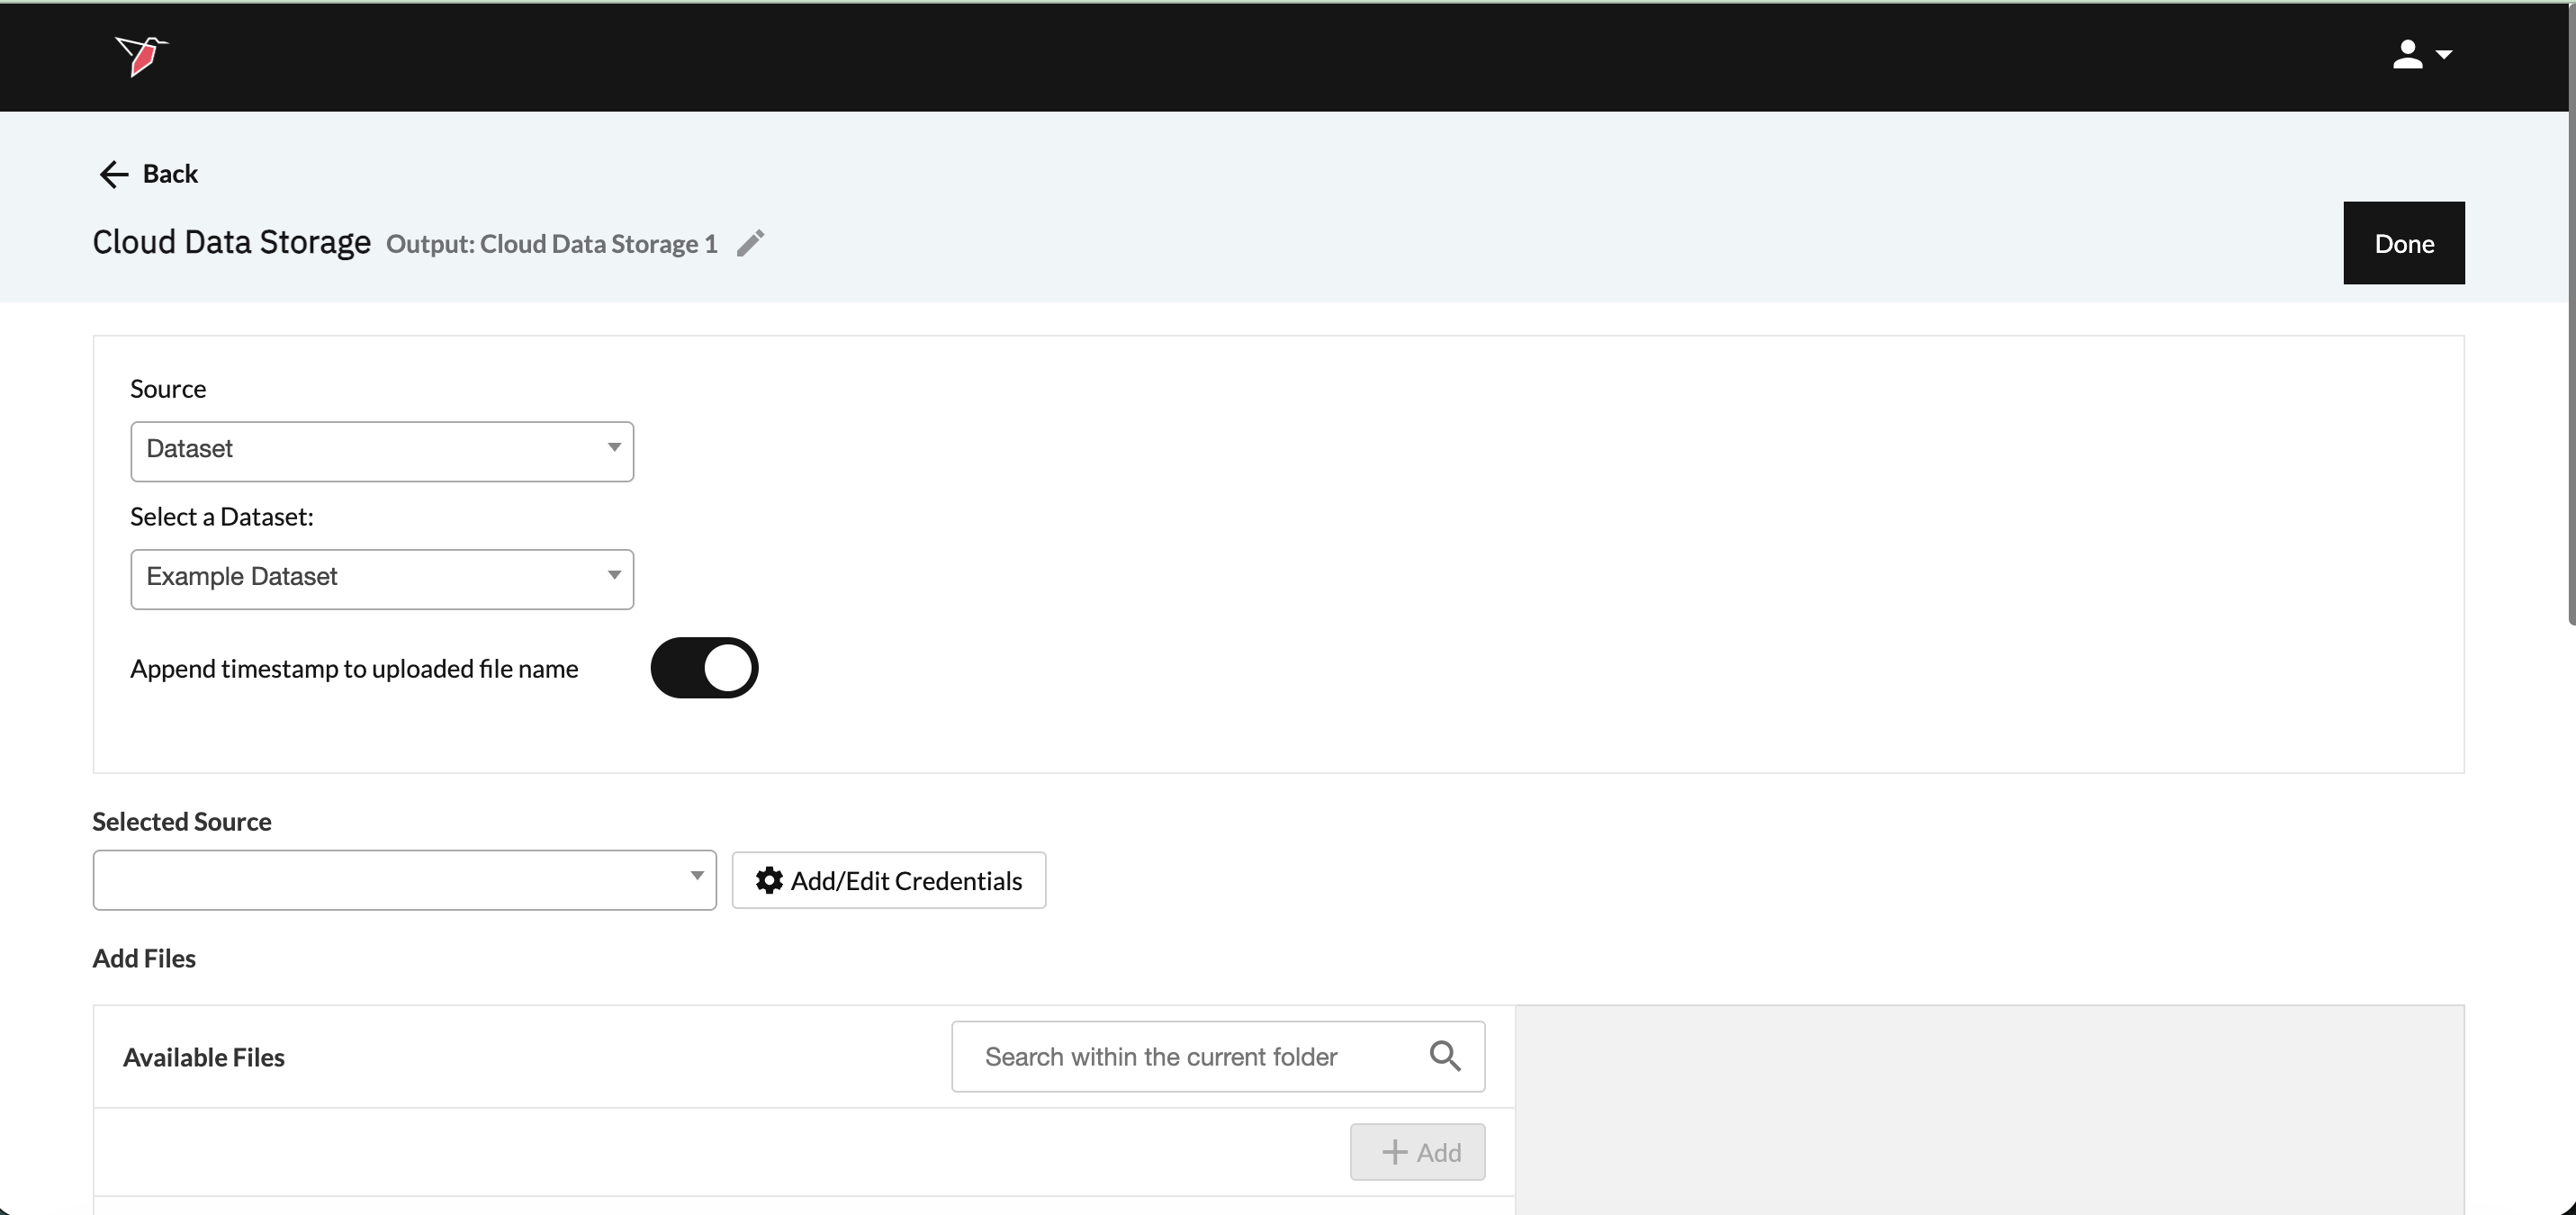
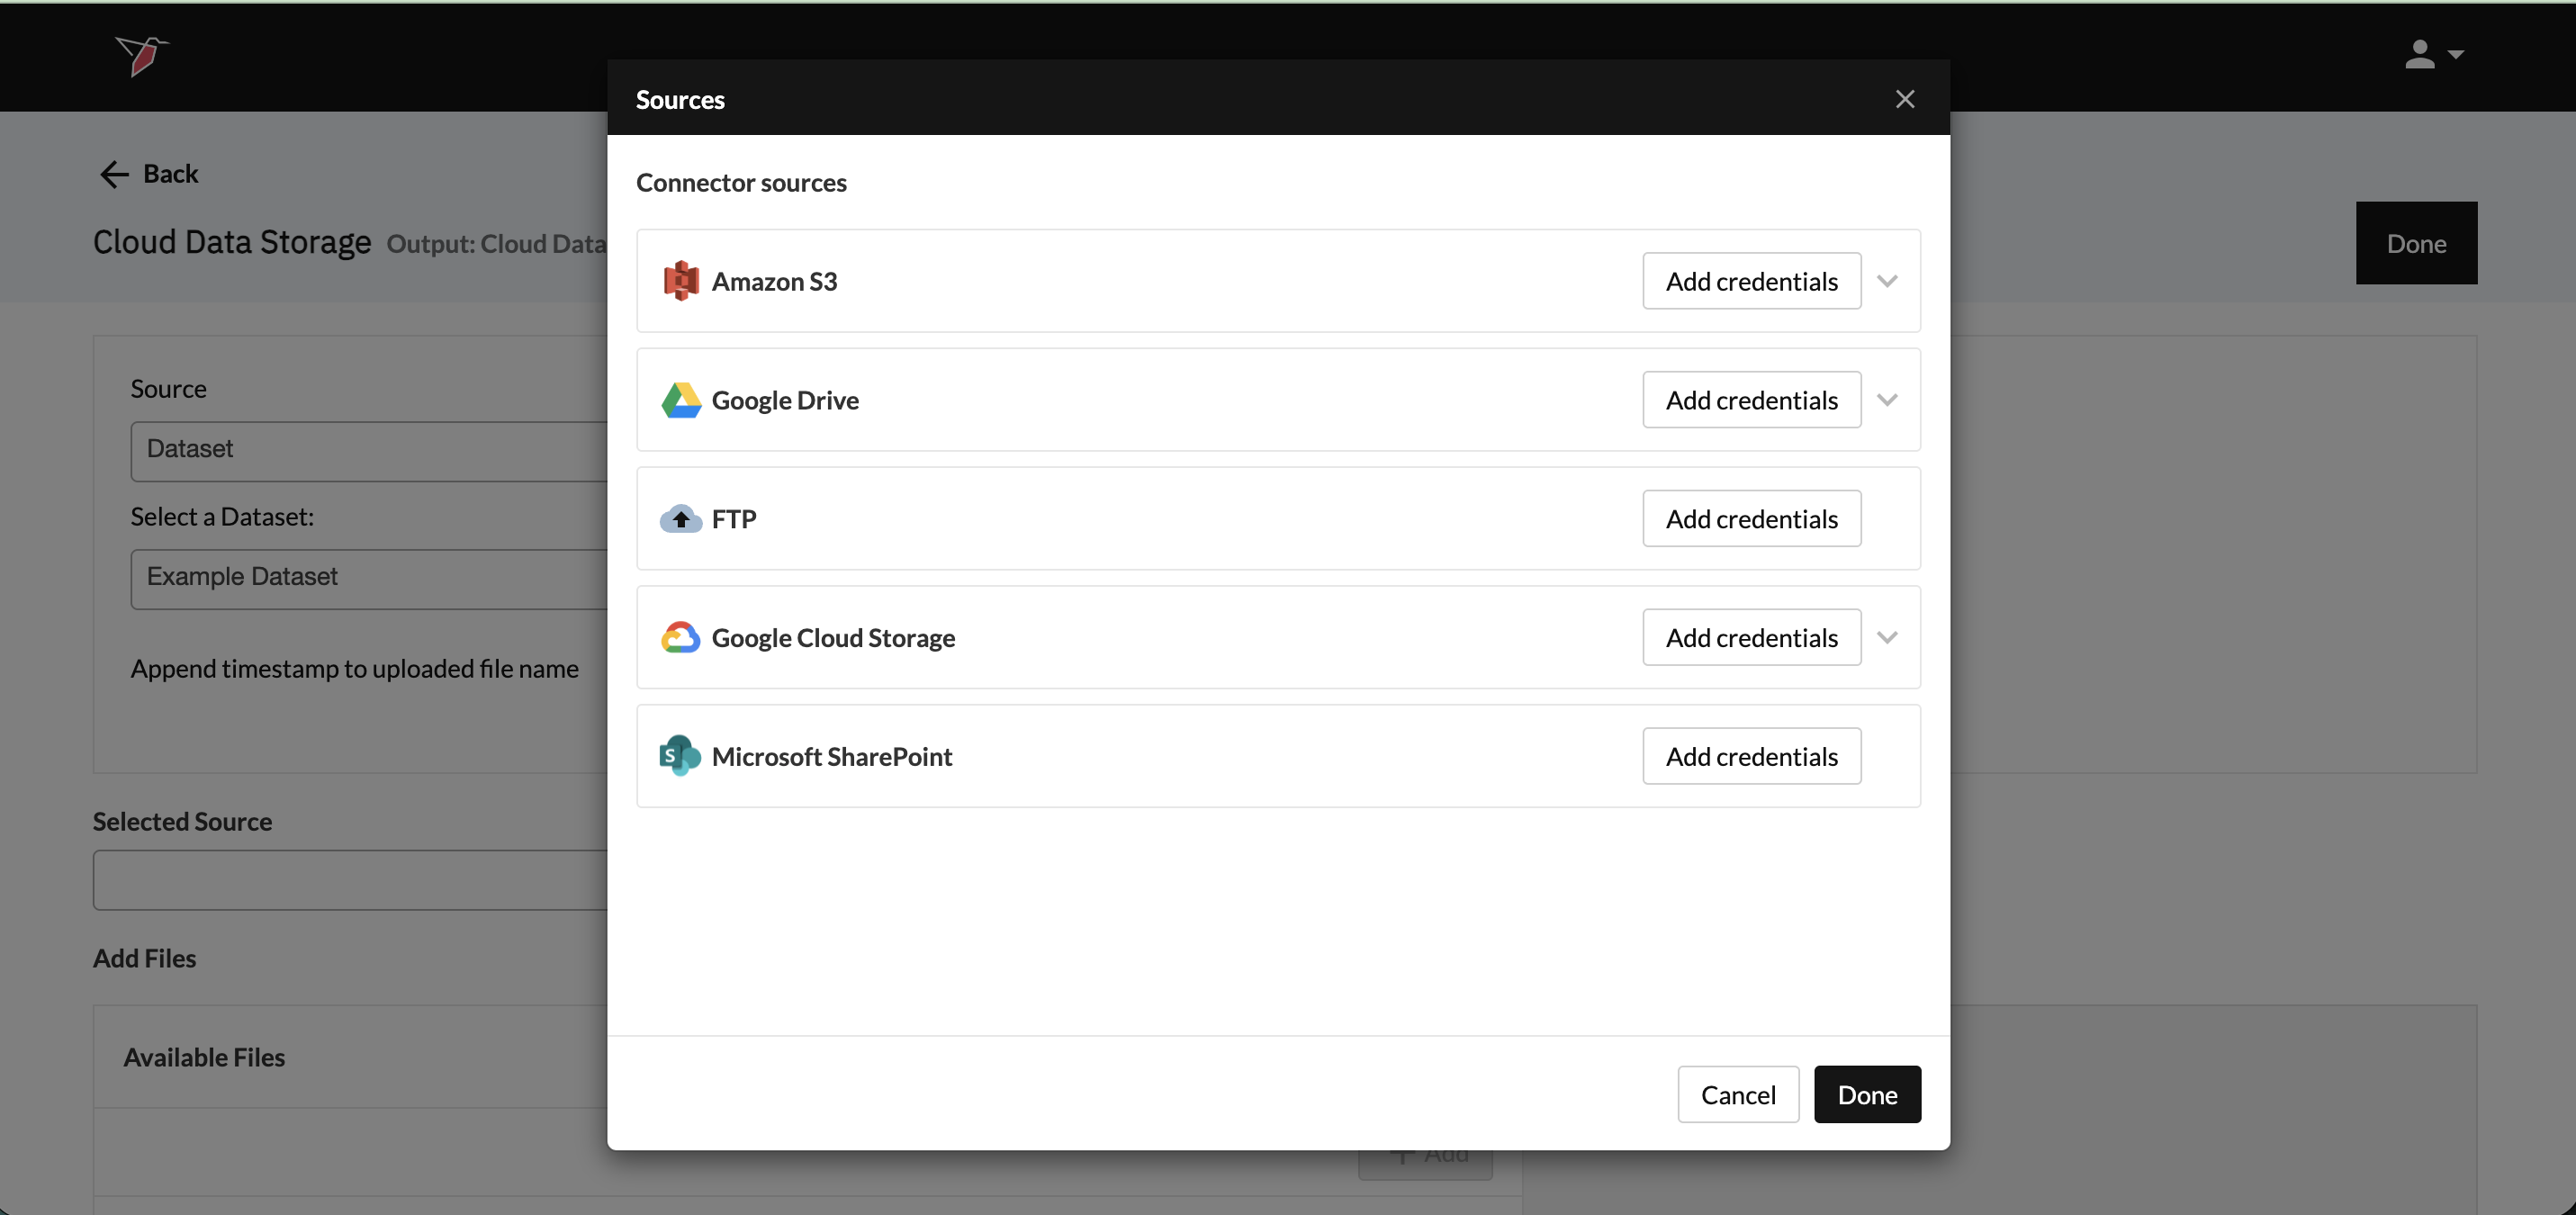
- Click Add/Edit Credentials. Then Click Add Credentials in the Google Cloud Storage Section of the modal.
- From there, you will see a modal pop up where you can give the configuration a name.
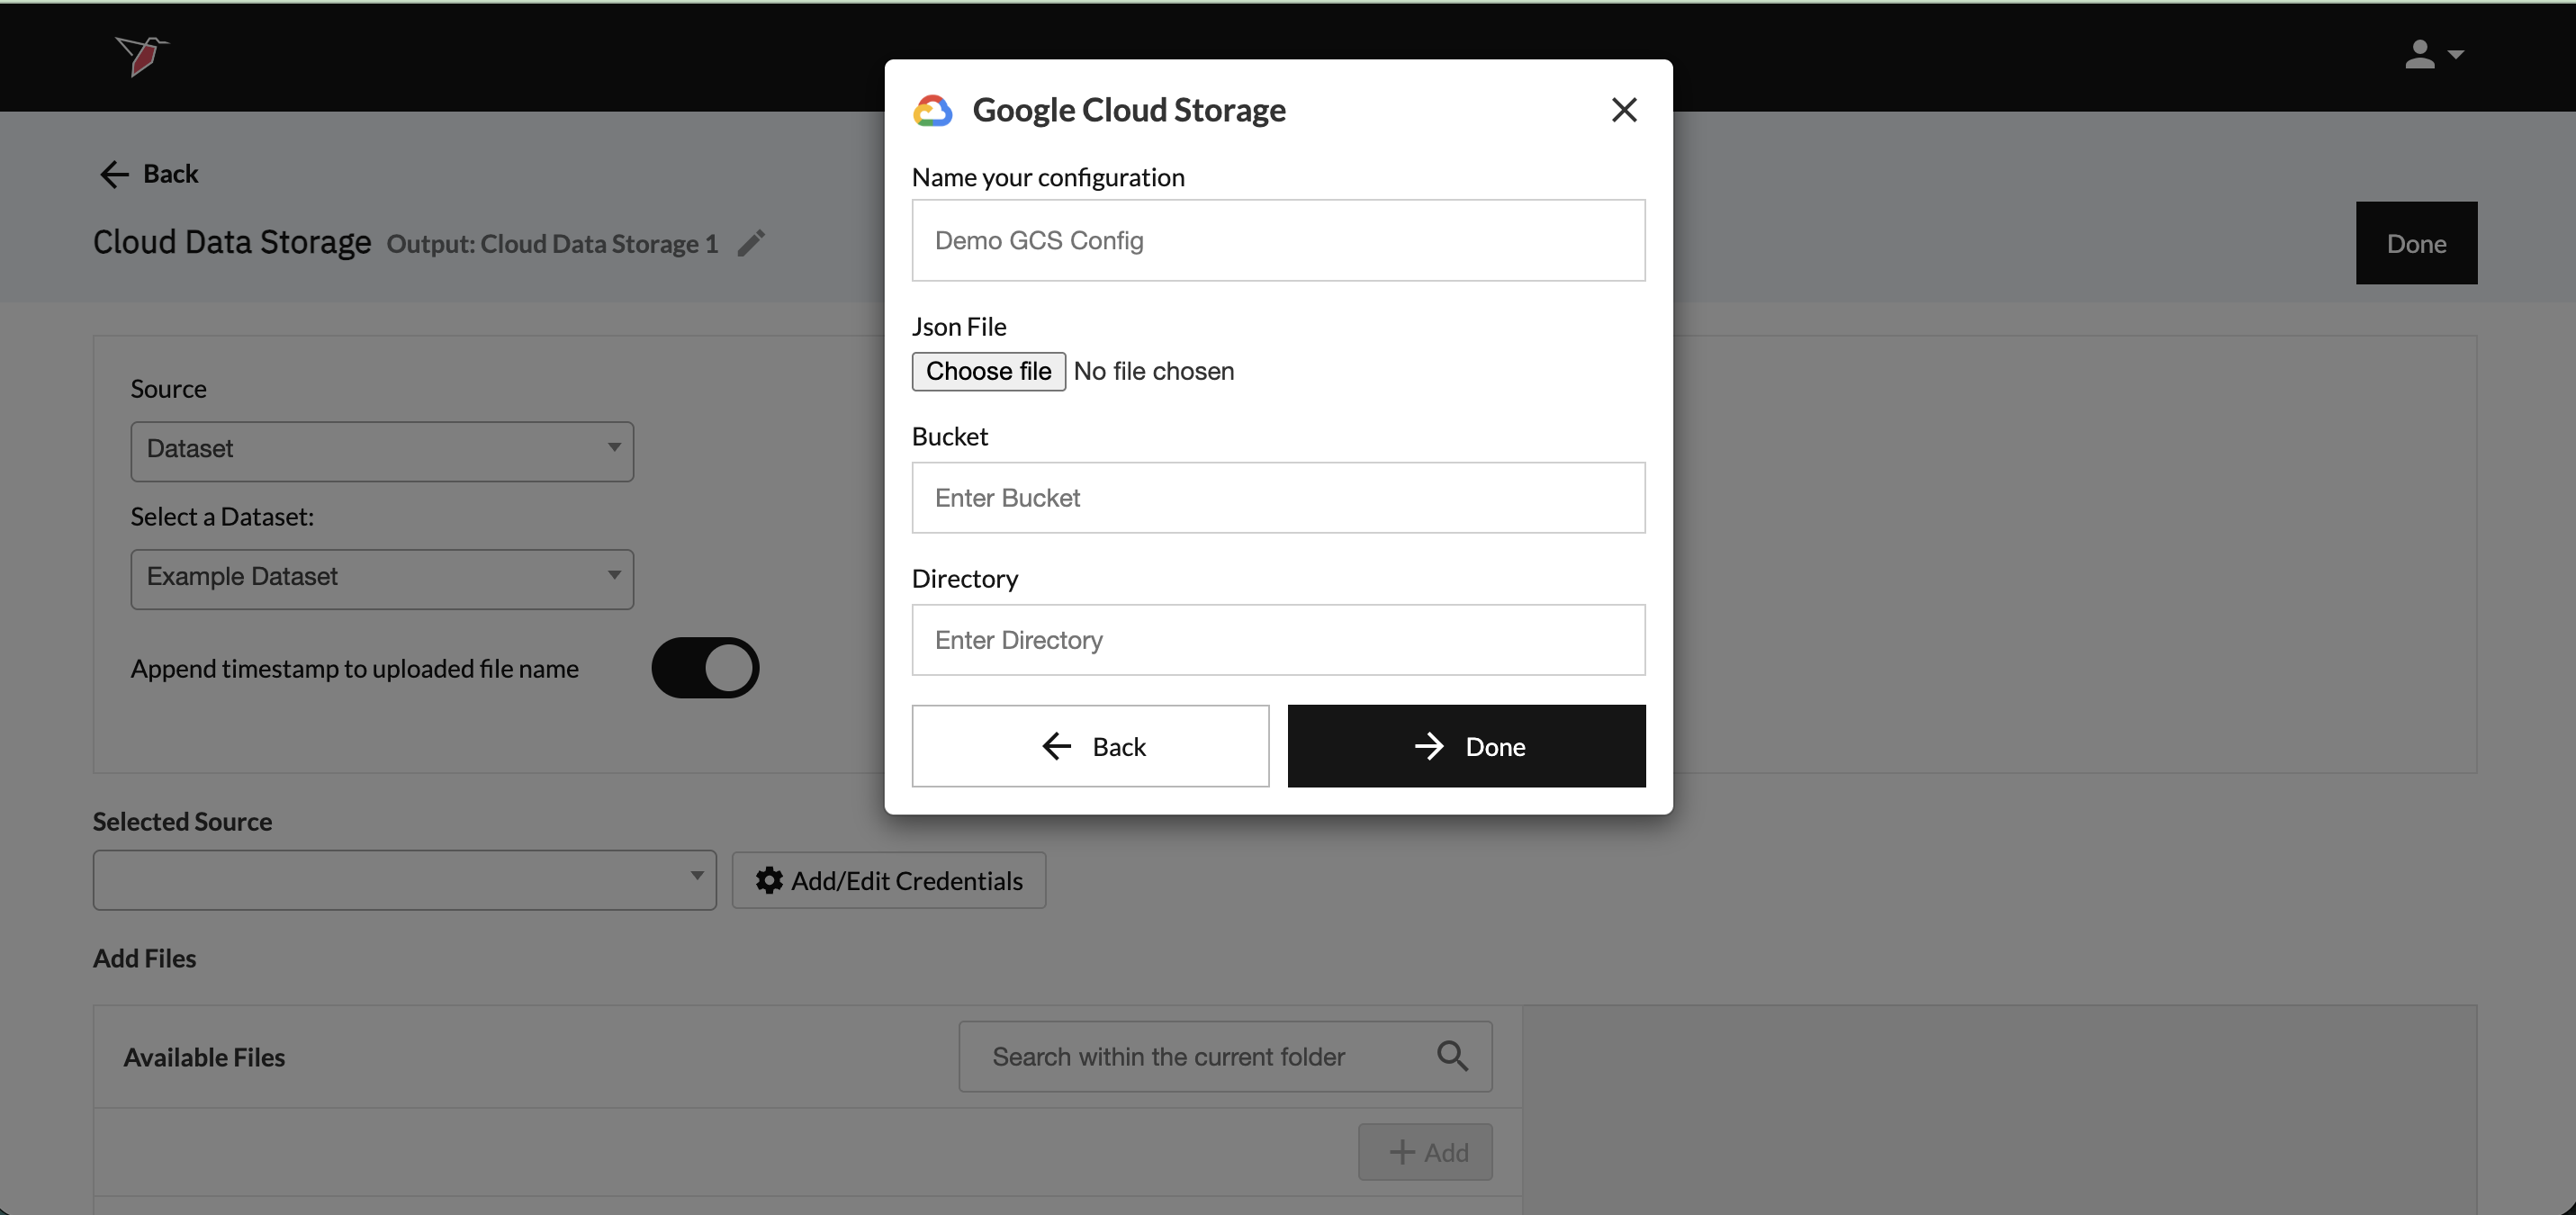
Next, you will need to create a Google Service Account to get the Json file that is requested. Follow along the steps in the next section to do this.
Creating a Google Service Account
A service account is a special kind of account that can be granted permission to access Google Products. Redbird will use your service account and the various APIs to access the files and folders you want to process from Google's Platforms. Follow the steps below to complete this process.
- Log into your Google account.
- Access the Enable API Wizard by clicking here.
- Click Create Project.
- Provide the Project with a name and select your organization.
- Click Create.
- Follow the steps to enable access to API (1. Confirm Project; 2 Enable API).
- Navigate to Google Cloud Console.
- Go to Menu menu > IAM & Admin > Service Accounts.
- Click Create Service Account and follow the steps.
- Click Done.
Next, you will need to create credentials for the service account. The next section in this guide walks you through this process.
Create Credentials for Service Account
You need to obtain credentials to allow Redbird to access your Service Account. Credentials come in the form of a JSON file.
- Navigate to Google Cloud Console.
- Go to Menu menu > IAM & Admin > Service Accounts.
- Select your project.
- Find your service account and click on the actions menu.
- Click Manage Keys.
- Click Add Keys > Create New Key.
- Select JSON.
- Click Create. Clicking Create will save a copy of the JSON file to your downloads.
- Also, make sure to note the email generated for the service account. This will come in handy in the next section.
Once the JSON file has been loaded into Redbird, your configuration modal window should look like below. Click Next.

Now that we have our service account created and the generated email saved, we need to grant permission to the bucket that will be shared with Redbird. Follow along on the next section.
Redbird Permissions for Google Cloud Bucket
- Go to the Google Cloud Buckets.
- Go to the bucket you want to access.
- Go to permissions.
- Click Grant Access.
- Now paste the email we saved from the Service Account setup above to the Add principals section.
- In the Assign Roles section, search for "Storage Object Admin" and select it.
- Click Save.
Note:Based on the permissions you want Redbird to have to your bucket you can assign the role in Step 6 above accordingly.
One of the two levels below would be needed as a minimum:
Storage Object Creator: Can only upload new objects (create/upload). Cannot read or overwrite existing ones.
Storage Object Admin: Can read, write, create, delete any object in the bucket. Full control over objects.

Now that we have the bucket permissions set up, go back to Redbird and specify the name of the bucket like below. You do not have to input anything under directory unless you want to specify down to that level. Click Done.

Now you are all set up to use your new Google Cloud connection within Redbird. Simply select the credentials you would like to use from the dropdown on the main configuration page. See here for the guide on how to push files to a Cloud Storage Platform.