Survey Data Collect App
For more general information on data collection in Redbird, check out: Getting Started With Data Collection
This guide explains how to ingest and automatically process data from surveys. Currently, the App supports surveys scripted on Forsta (previously Decipher) and 3rd Degree.
If you cannot see the Survey Data collection app in the left-side panel on the workflow canvas, refer to: Enabling Collection Apps Guide
Creating a Collection
- Double-click on the node to enter configuration mode
- Name your collection in the Configuration Name box
- In the Parameters section:
- Select the survey platform source - Toggle between Forsta or 3rd Degree. For each new source of data, create a new collection.
- Create an entry by clicking Add Entry - you can create multiple entries in one collection if you have multiple waves or months of data you wish to stitch together from separate files:
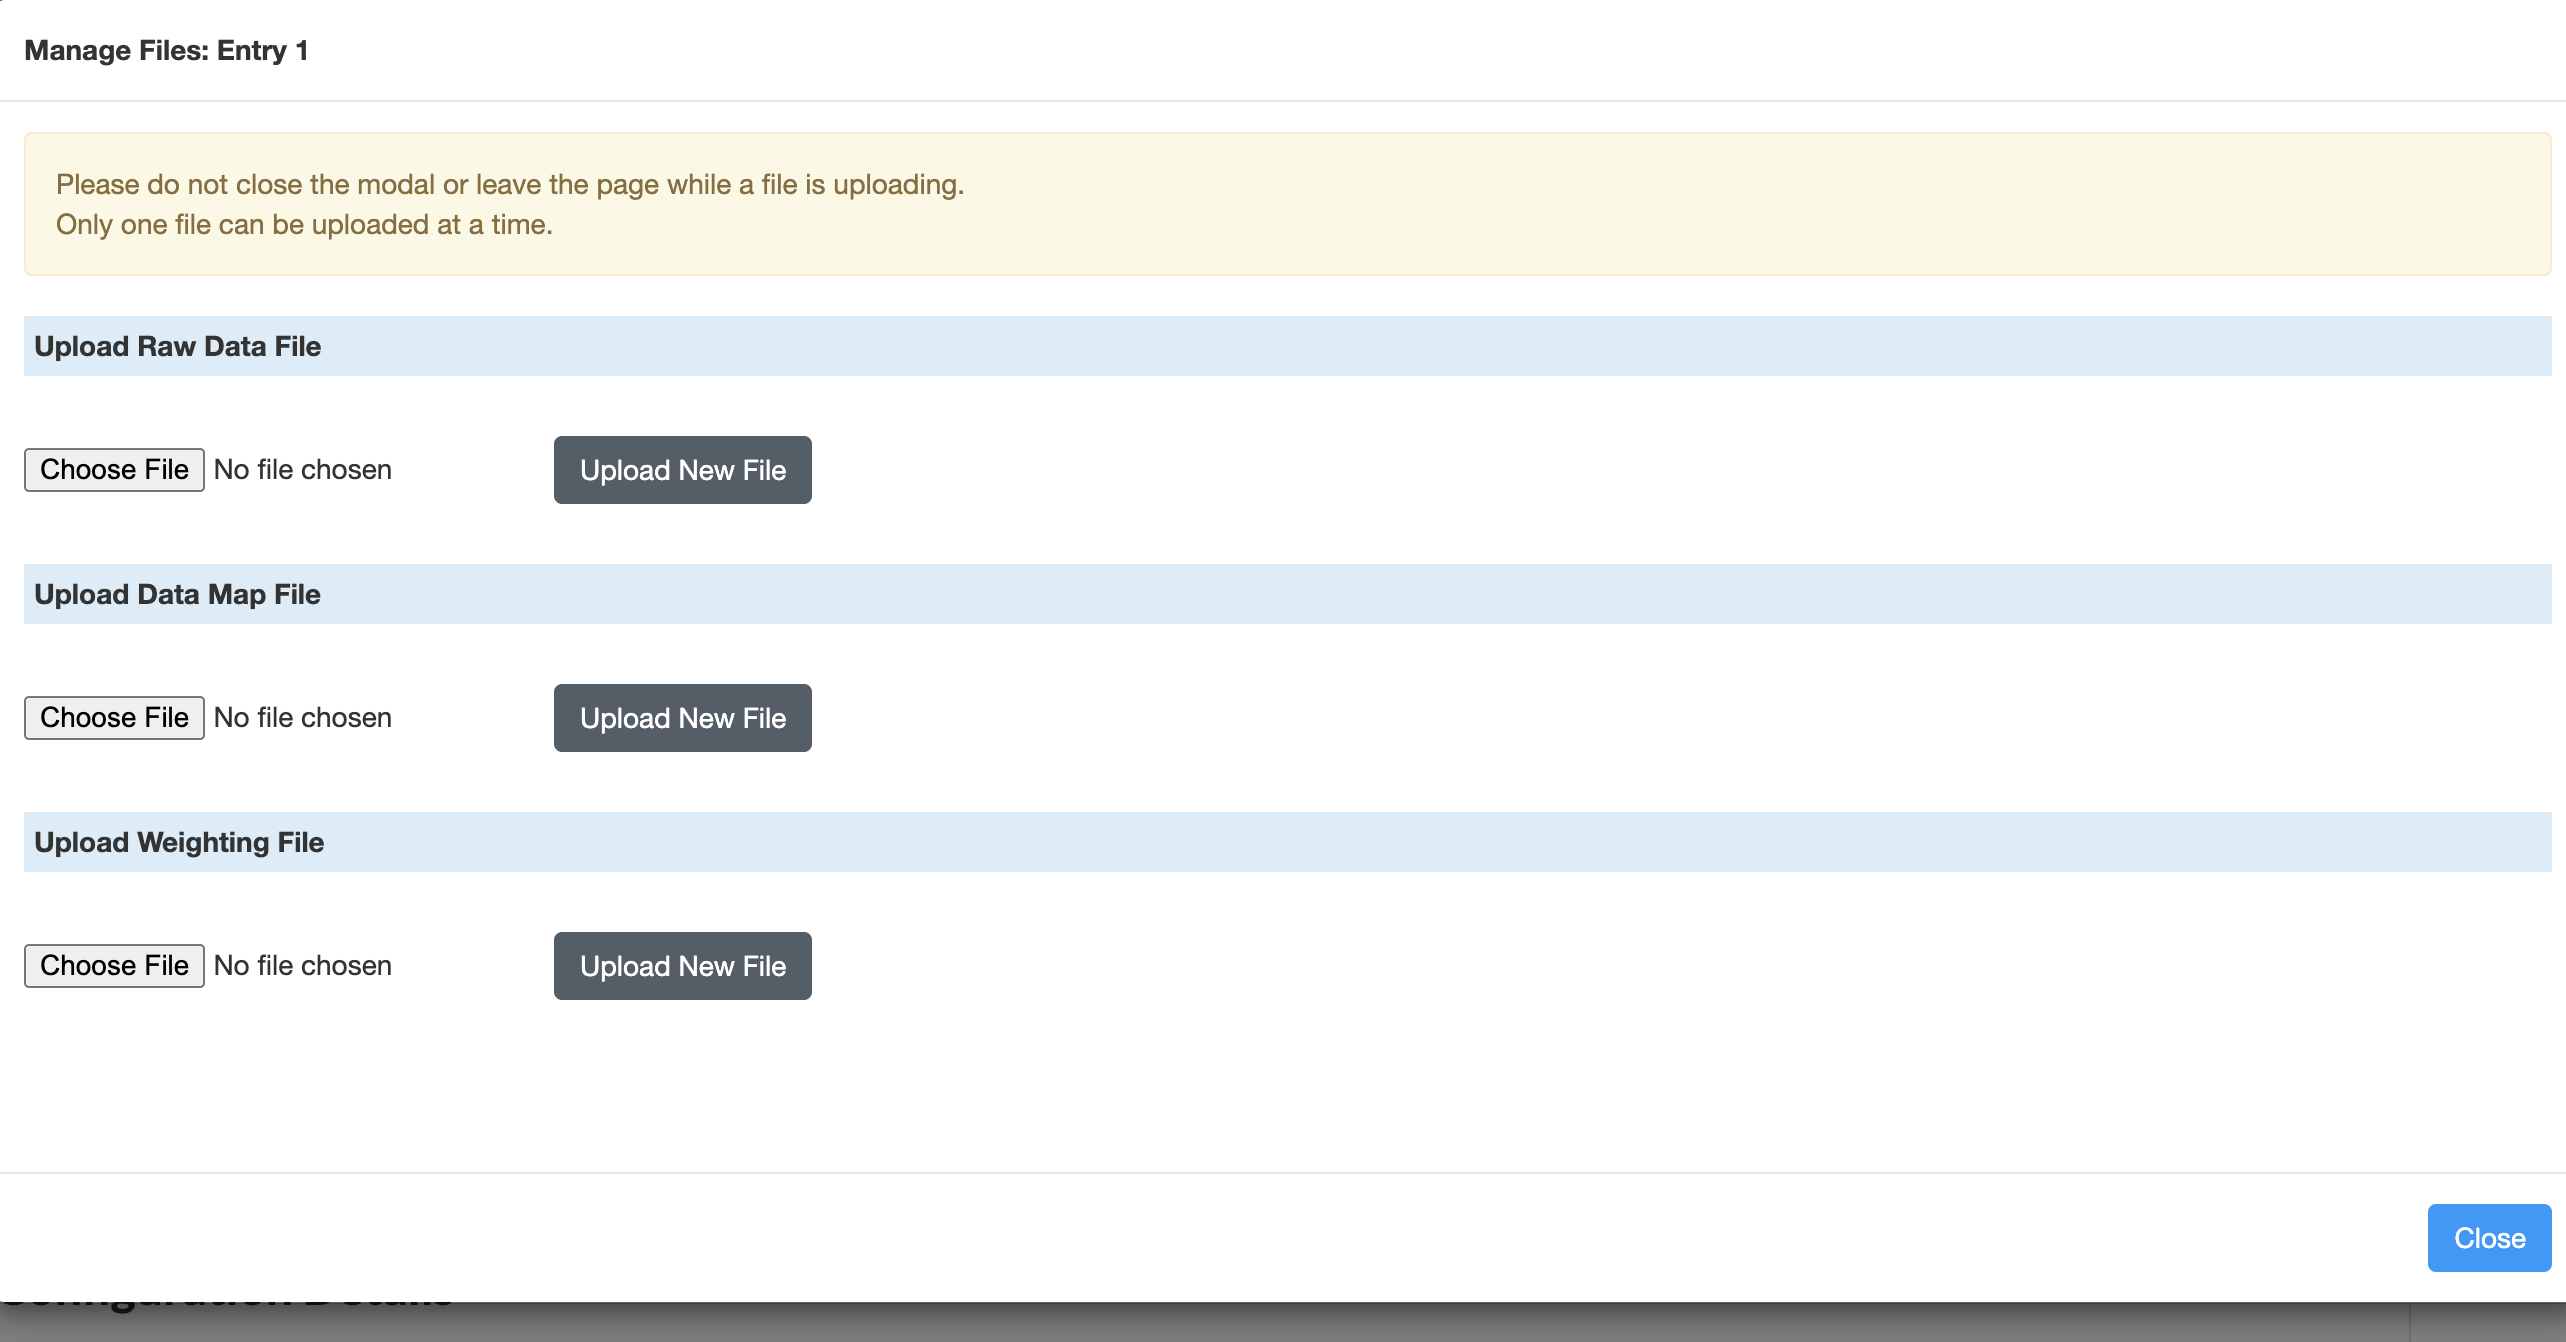
- Click on Manage Files to upload:
- A CSV file of your Forsta or 3rd Degree survey output
- A Data Map that is generated from the Forsta or 3rd Degree platforms (in JSON format). The Data Map assigns human-readable column names to each column in your survey.
- You also have an additional option to provide a weighting file (CSV), which will weigh certain survey responses with additional importance. The weighting file is not required.
- Click Close to return to the main page when all files have been uploaded.
- You can edit the name of the entry by clicking Edit Configuration
- Click on Manage Files to upload:
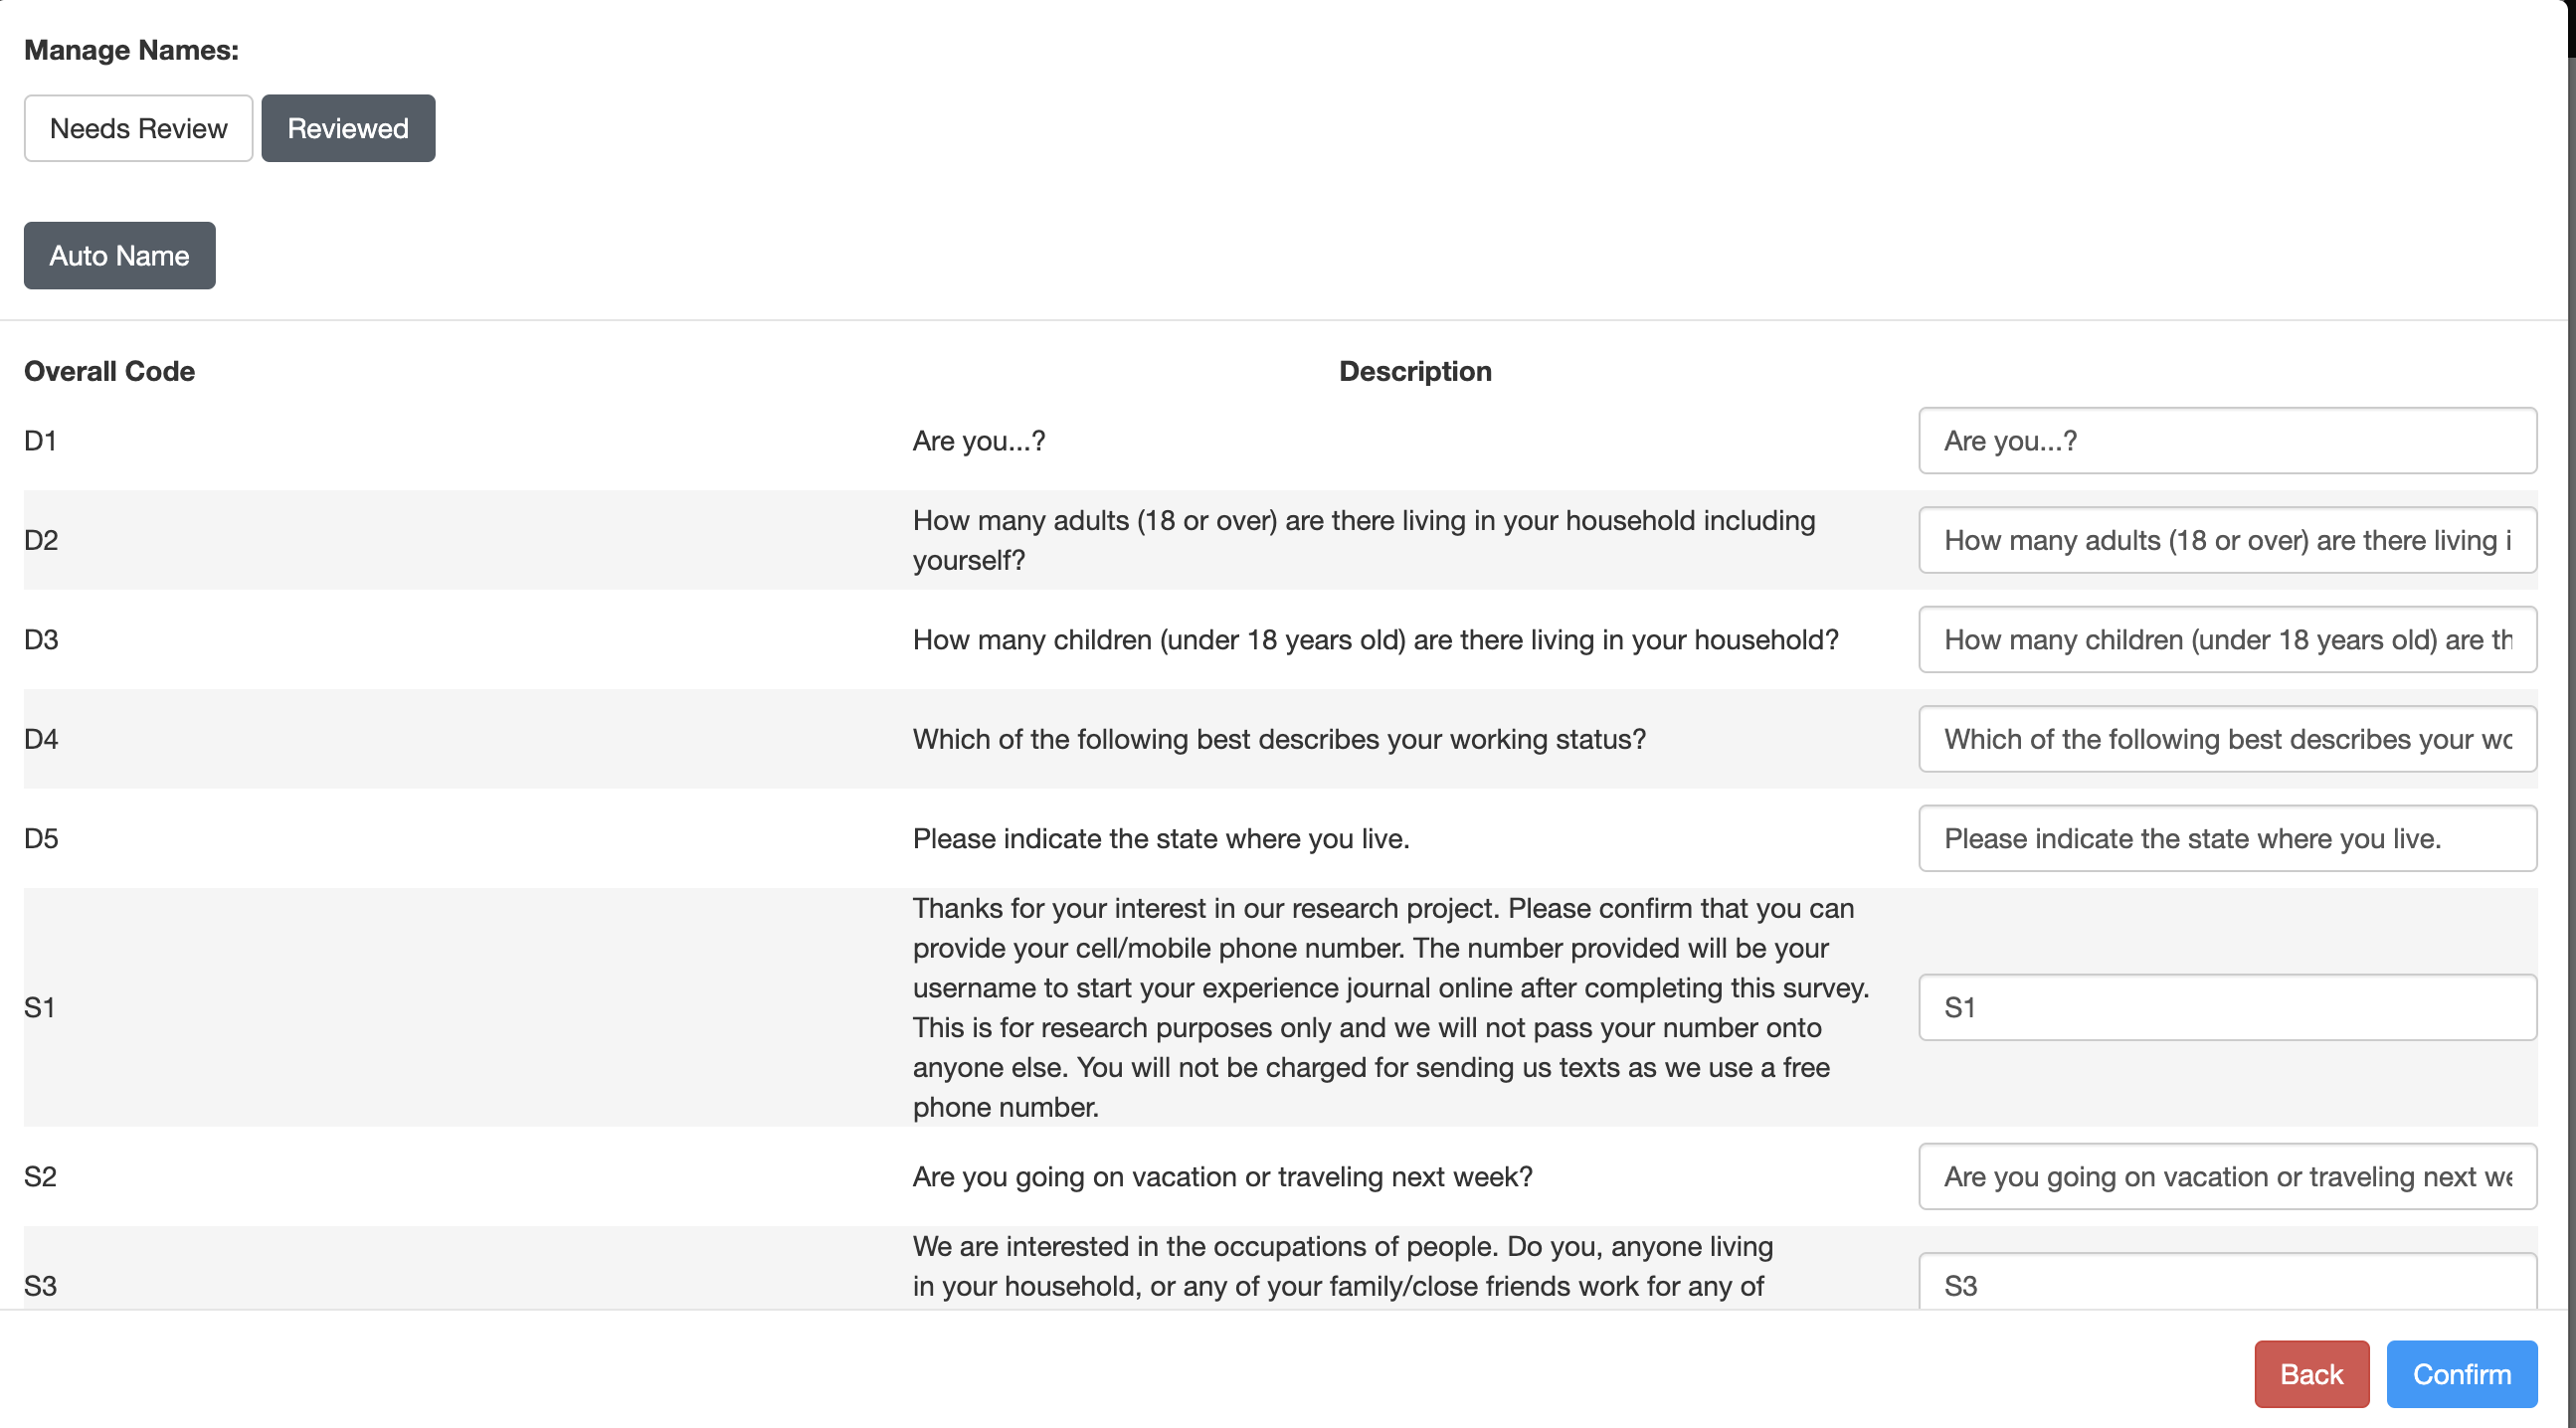
- Manage Names: The Survey Data Collection Application will not allow you to finalize your collection if you have multiple columns with the same name.
- You can rename your columns as necessary within Manage Names
- If you don’t want to manually assign names to duplicate values, Redbird has an Auto Name feature that will assign a new name to duplicate columns by adding a version number to the end of duplicated columns
- You can also check and edit the previously reviewed names by clicking Review
- Once you have reviewed the columns and are happy with the names assigned, click Mark as Reviewed, then Confirm
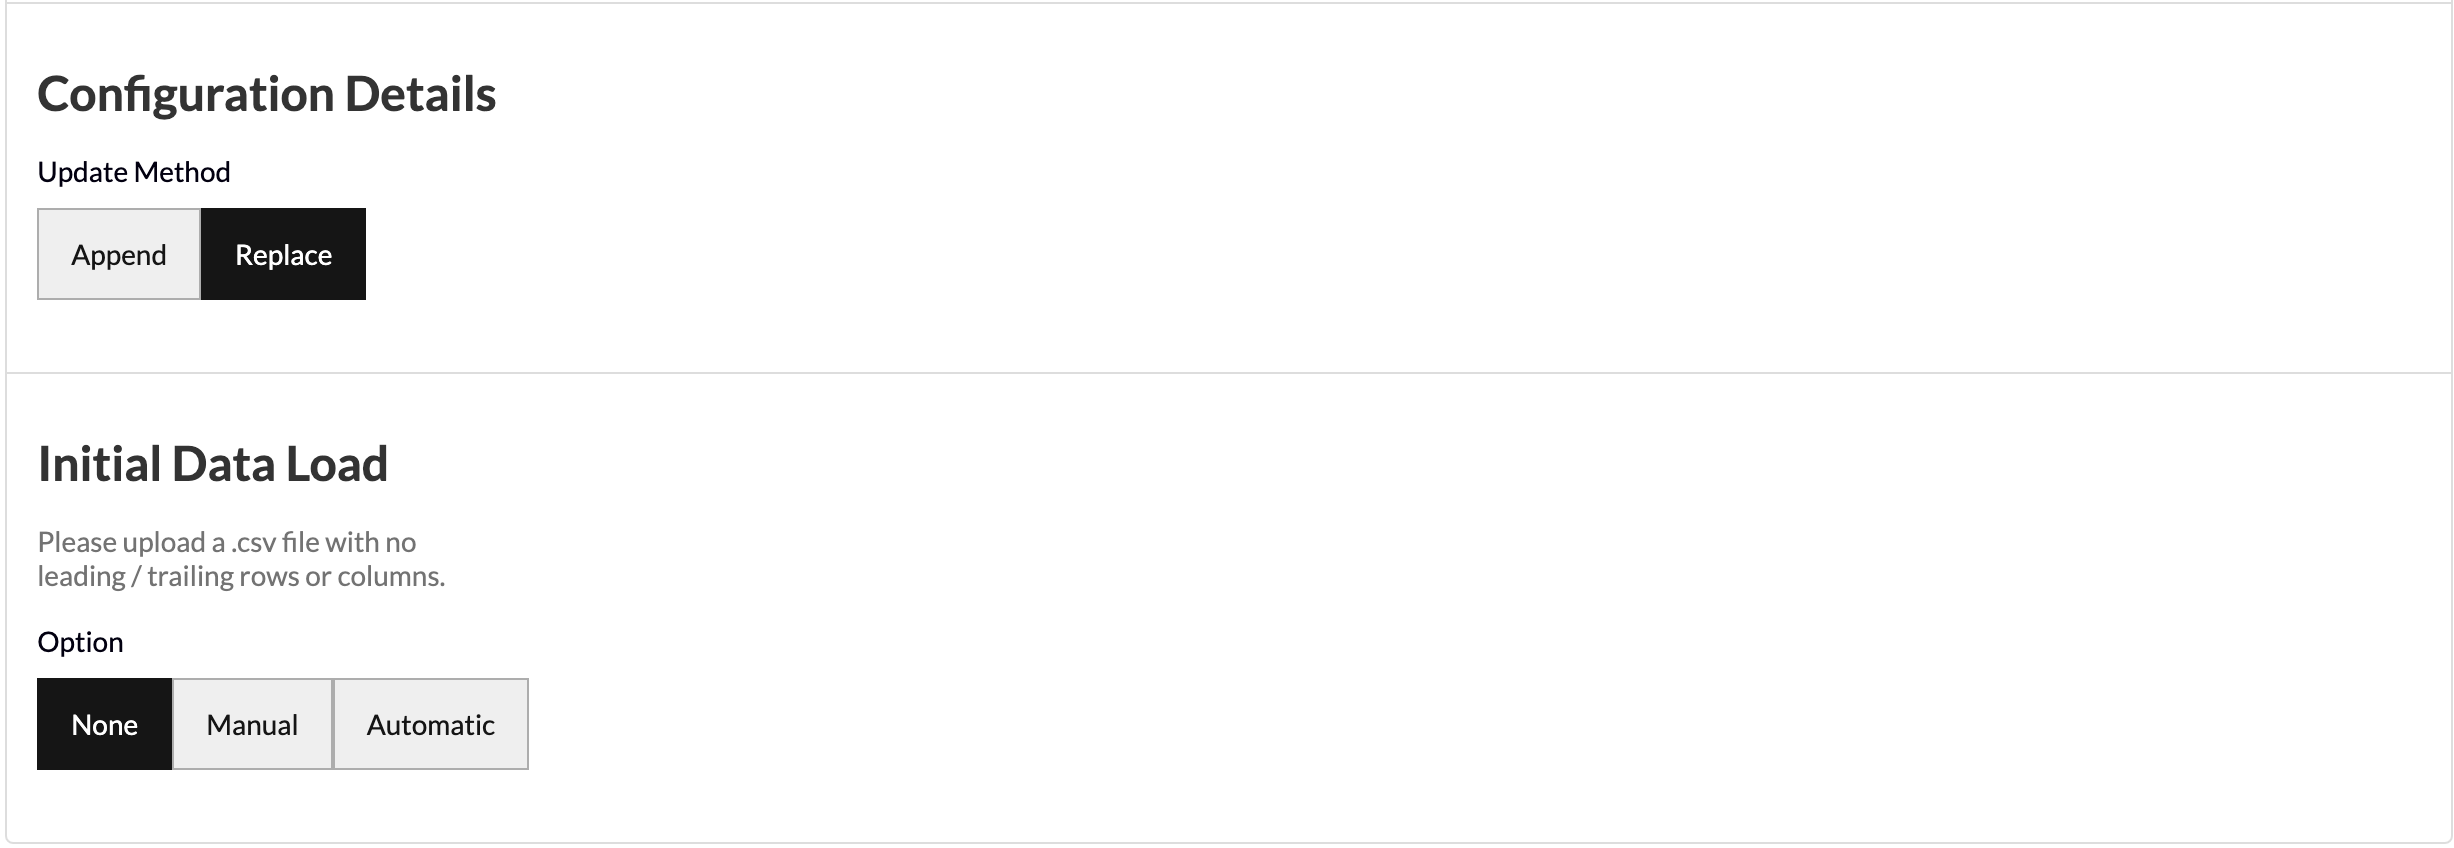
- Update Method allows you to select how you want your data to aggregate when you run future data pulls. Append keeps the historical data and adds the future data pulls below. Replace deletes the historical data and generates the new data in its place.
- Initial Data Load allows you to upload historical data in bulk as a one-off in the event that you have the data saved on your computer. You can upload your data as a CSV file with no leading/trailing rows or columns and Redbird will run future data collections using the configuration that you set up in previous steps.
- Click Done
Running a Collection
- Click on the node.
- In the right-side panel click Run
Add More Data to an Existing Collection
To edit an existing collection with additional data, click Edit within the Options menu associated with your collection. Once on the configuration page, you can make updates to your collection e.g. you can add new data by adding a new Entry within Add Entry.