Trigger Nodes
Overview
Workflow Builder has a feature called triggers that can allow your workflow runs to be more dynamic and driven by advanced logic. By combining trigger nodes and automated runs, you can add conditional logic to determine when certain parts of your workflow gets executed. In this section, we will explain how to set up and use triggers in your workflows.
Adding a Trigger Node
-
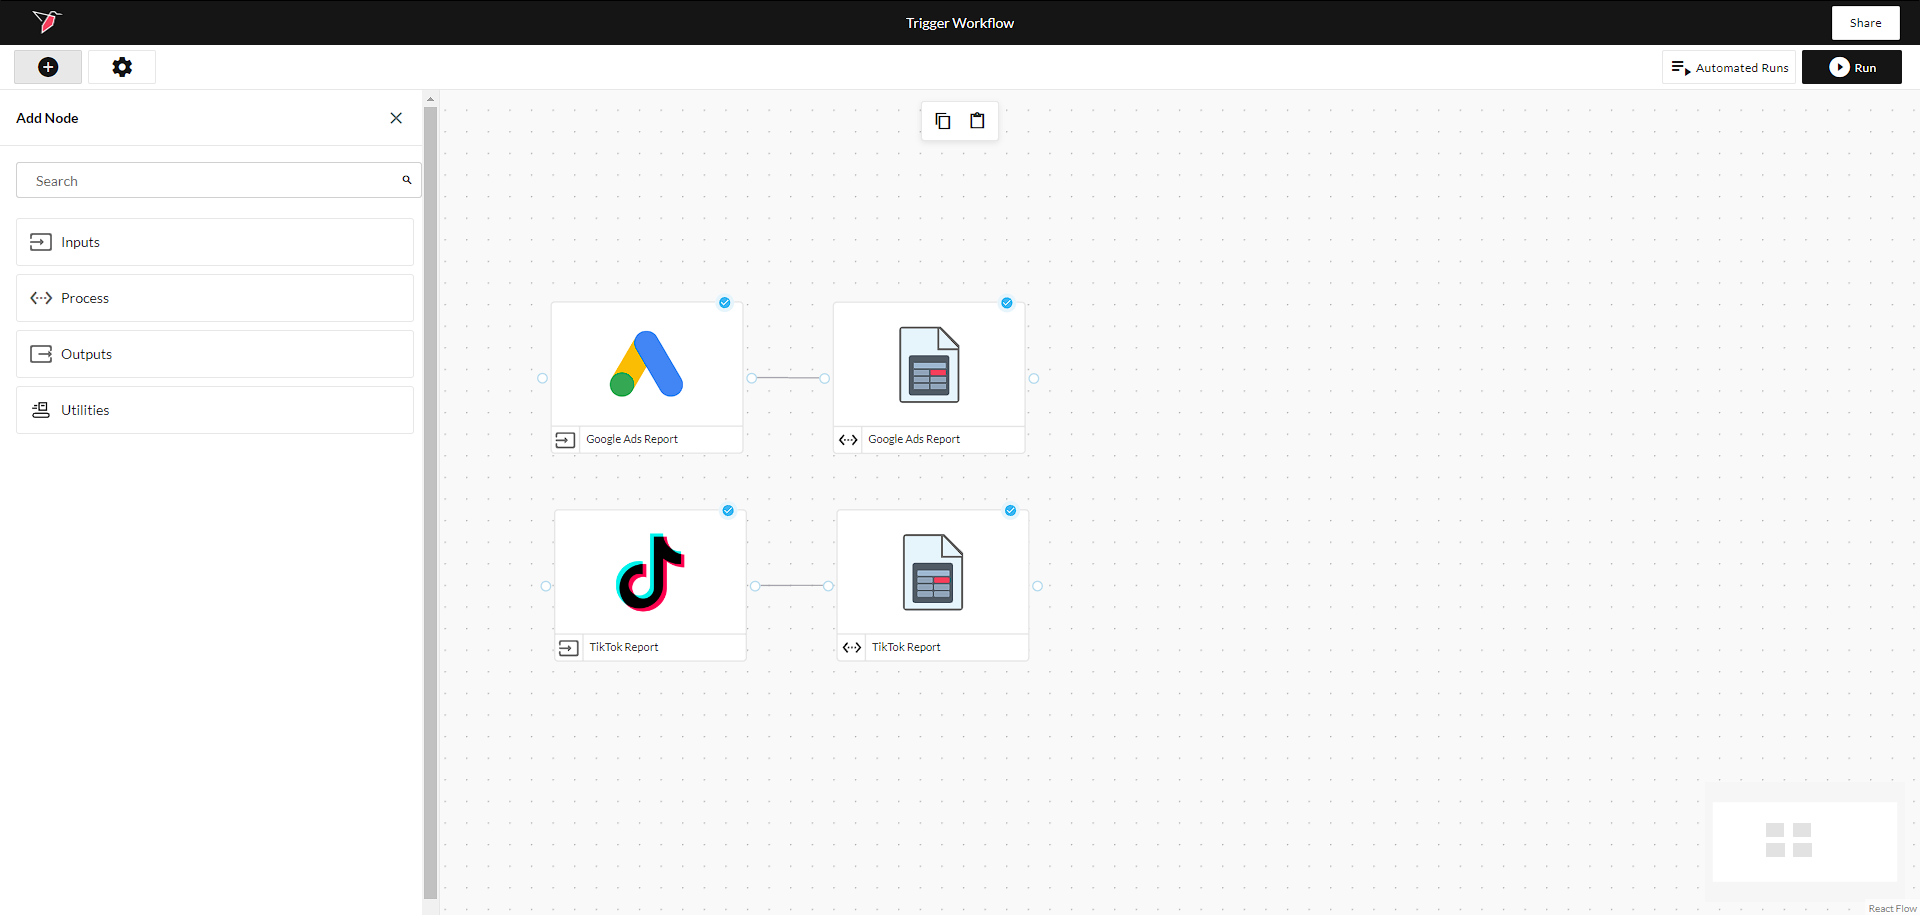
On your workflow canvas, start by clicking on + to add new nodes
-
Click Utilities and drag the trigger node into your canvas
Editing your trigger configuration
-
Connect your trigger to a process or output node by drawing a line between them
-
Click onto the trigger node and click Edit on the right panel to configure your trigger
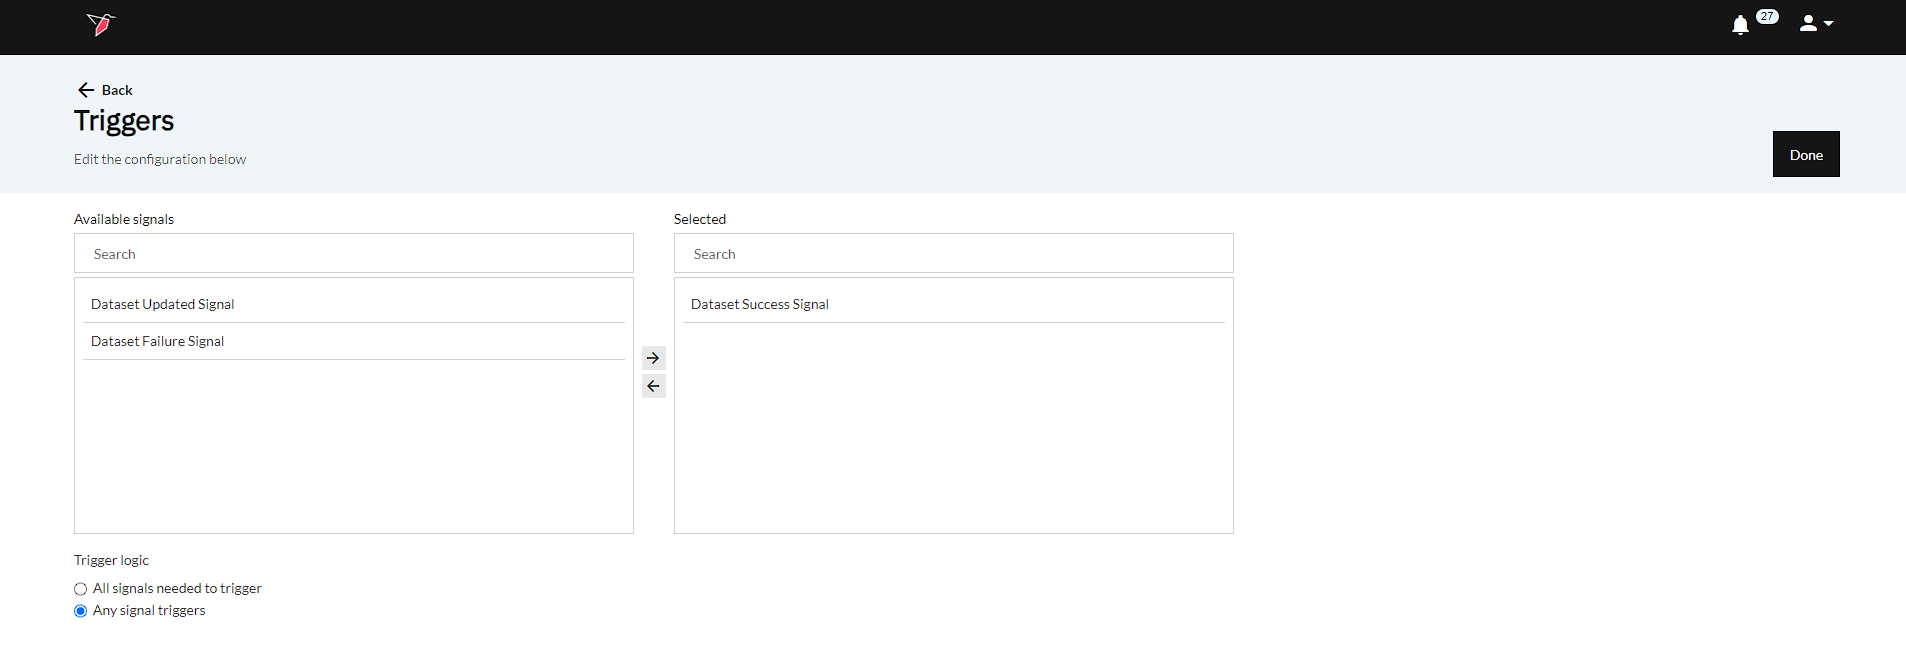
- Available Signals - In Step 1, you connected your trigger node to a dataset node, but you can connect a trigger node to other nodes as well. In this example, the trigger will receive signals on whether the dataset gets updated, succeeds, or fails. Using the left-right picker, you can choose which signals are important for your trigger. If you want your trigger to activate when the dataset generates successfully, for example, select "Dataset Success Signal".
- Trigger Logic - In this section, you can choose how your trigger ingests the signals. By selecting "Any signal triggers", any selected signal will activate the trigger.
-
Once you've finished editing the configuration, click Done on the top right.
Automated Workflows and Triggers
-
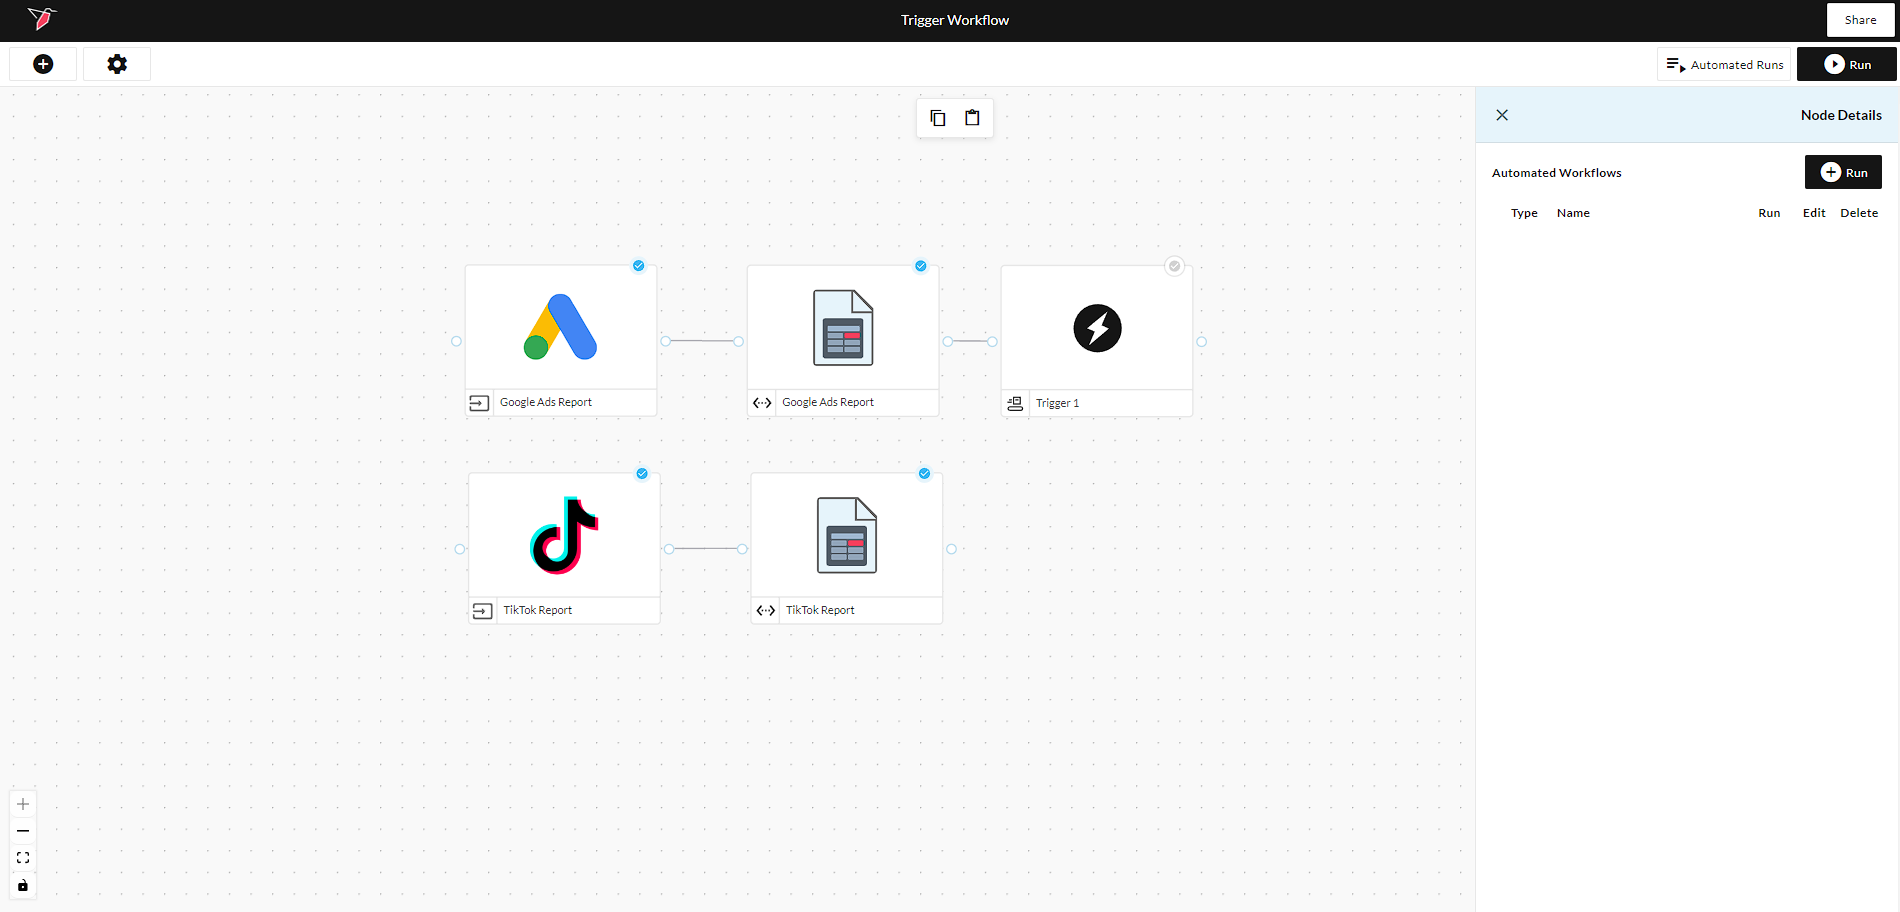
Triggers become relevant when you run automated workflows. Click Automated Runs in the top right
-
On this screen, you can view your existing automated workflows and make changes to them. Click on +Run in the top right to create a new automated workflow
-
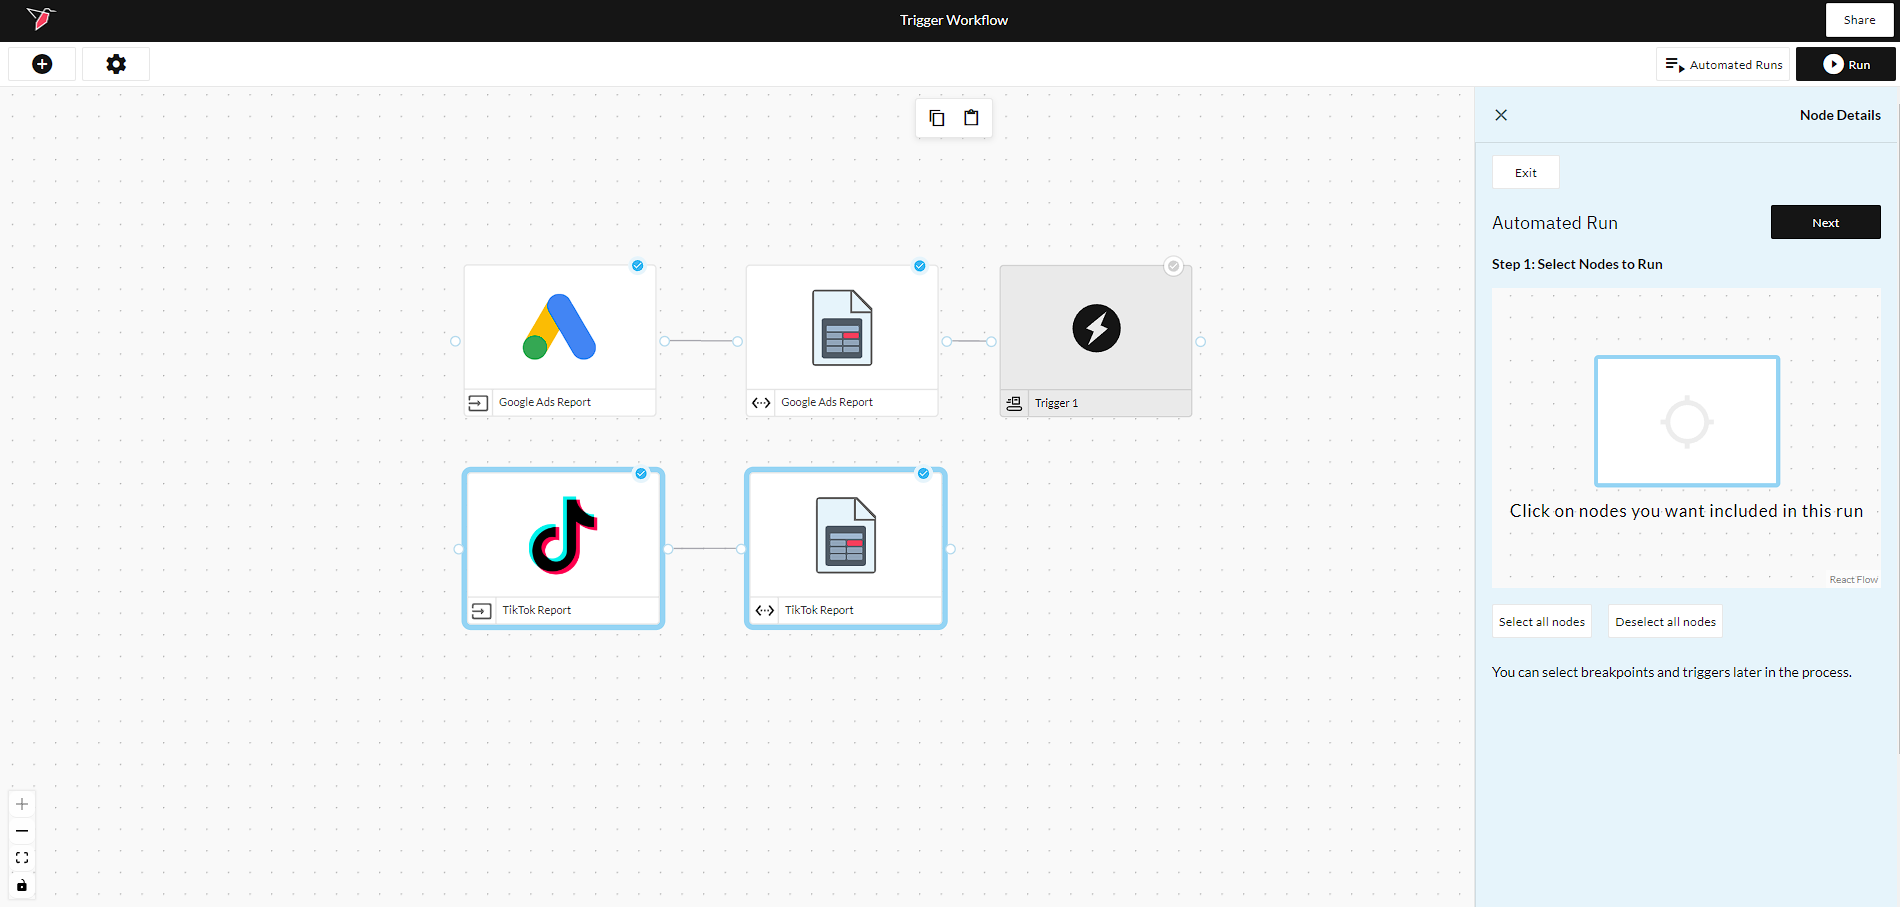
Select Nodes to Run - Click on the nodes that you want included in your run and click Next. In this specific case, we're interested in running the "TikTok" portion of the workflow once the "Google Ads" portion completes successfully. Selected nodes will be highlighted in blue.
-
Select Stop Points (optional) - Click on the nodes that you want to act as stop points and click Next. These stop points will pause the workflow run and notify users that input is required.
-
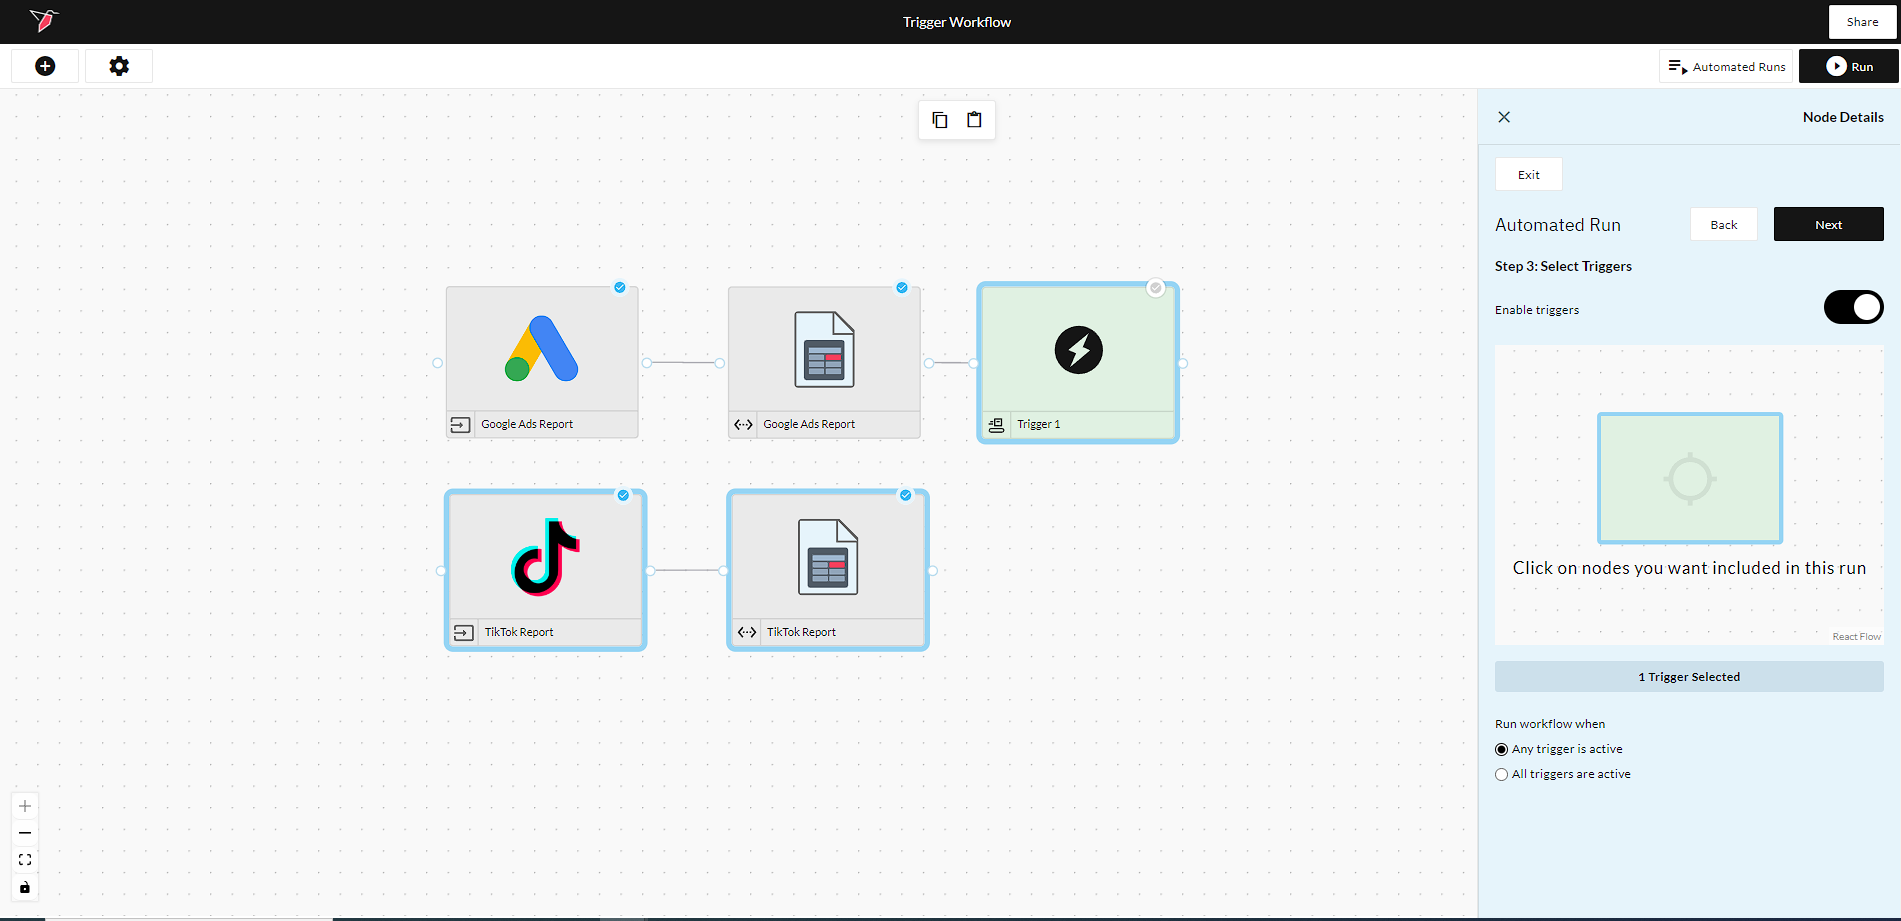
Select Triggers - Enable triggers using the toggle. You will then be prompted to click on the trigger nodes that you want to include. If you have multiple triggers selected, you can toggle your workflow to run when any trigger is active or when all triggers are active. Once this is complete, click Next
-
Configure Run Schedule - If you'd like to enable a schedule, use the toggle on this screen. Once this is complete, click Next
-
Event Handling - If you'd like to enable Event Handling, use this toggle on this screen. Once this is complete, click Next
-
Review and Create Run - Name your scheduled run and click Done
-
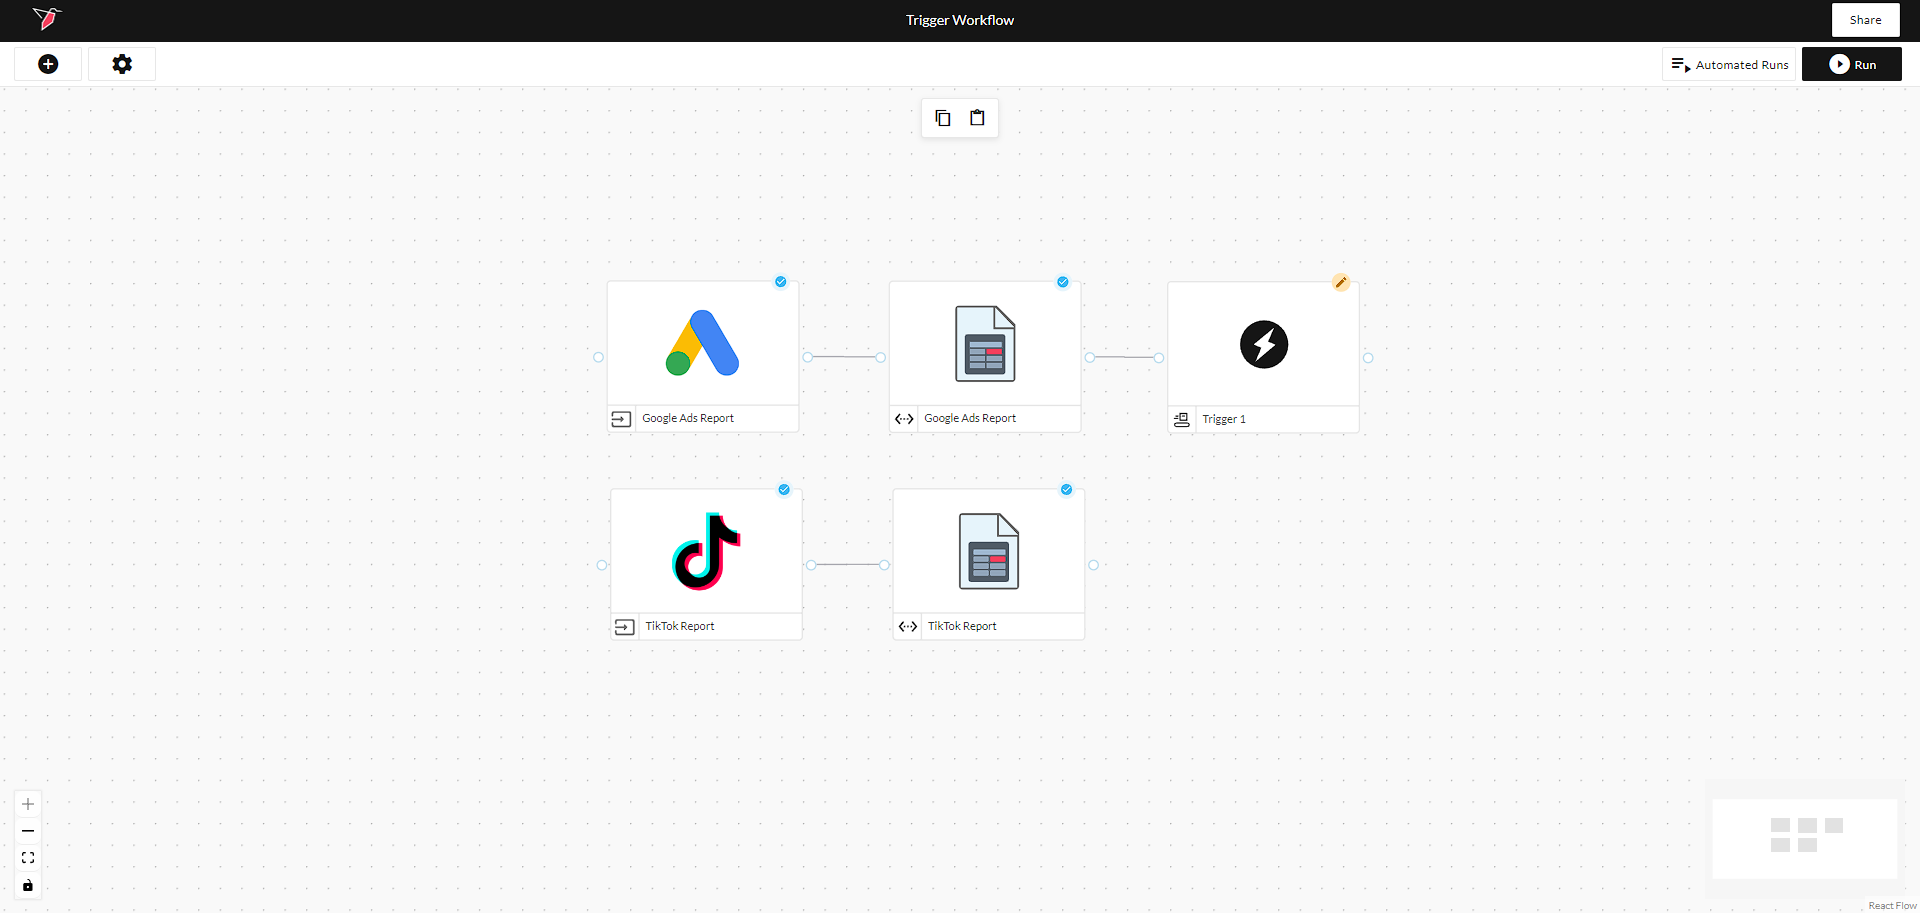
The below example can show you how to enable triggers in a workflow from start to finish. In this case, once the "Google Ads Report" Dataset sends an On Success Signal to the trigger, the automated run will kick off the "TikTok Report" Collection and Dataset.
Updated 2 months ago