Introduction
Overview of the Tutorial
The objective of this tutorial is to walk you through building and maintaining a simple workflow in Redbird, helping you get comfortable with the platform’s core functionality. We’ll use a fictitious set of financial data from a superstore to show how AI tools can be used to collect, process, and generate outputs and insights as part of an AI-driven automated workflow.
You can approach this tutorial in two ways: read through the steps to understand how a workflow is built, or follow along live and build each step yourself to develop hands-on familiarity with how things work. The second approach is recommended if you want to build confidence and fluency in the platform.
If you plan to build along as you go, download the dummy data and template files located at the bottom of the page. These files will be used throughout the tutorial and uploaded at specific points.
As you go, feel free to explore beyond the examples shown. You can experiment with the data, dashboards, and chat features to better understand Redbird’s capabilities. We’ll also point you to relevant support documentation at each stage for deeper, feature-specific guidance.
Introduction to Workflows
Before diving into the step-by-step tutorial, it helps to understand what a workflow is in Redbird and how the platform is structured.
A workflow in Redbird is an automated sequence of data tasks — from ingestion and processing through to analysis and output — that can run with or without manual intervention once configured. Workflows are built from modular building blocks called nodes, each responsible for a specific action, such as loading data, transforming it, or generating a report.
Workflows live within your workspace and can be organized into folders, making it easy to manage and share work with teammates. The Redbird interface allows you to visually build, connect, and configure nodes in a drag-and-drop canvas, giving you a clear, end-to-end view of how data flows through your workflow.
To get started:
- Make sure you’re logged in to Redbird (see here for more information if needed).
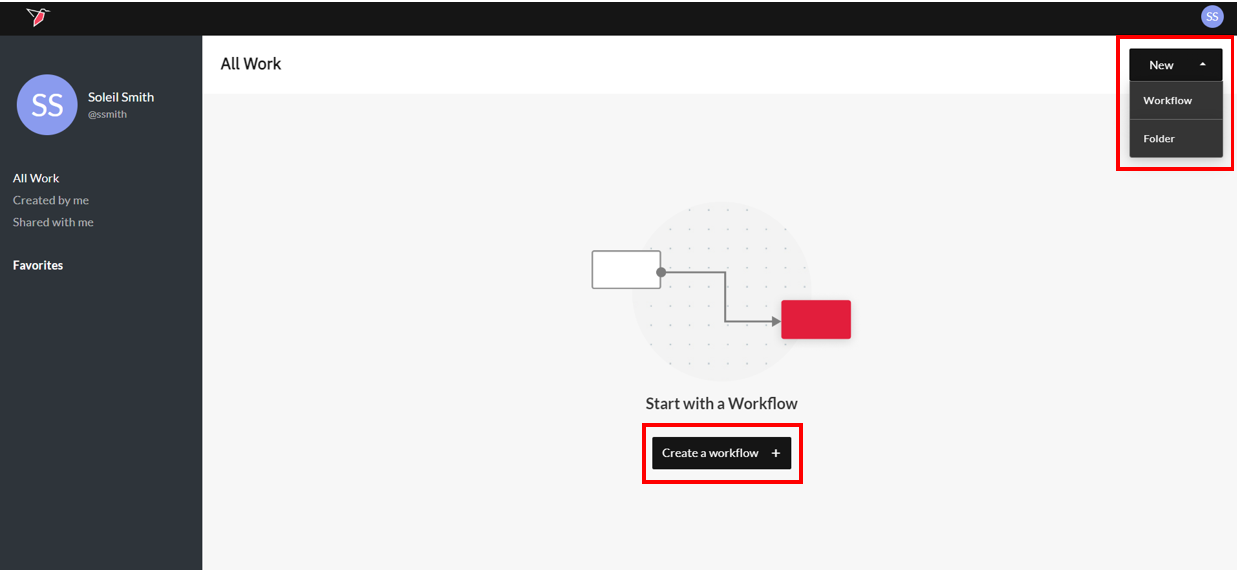
- Select Create a workflow in the center of the page, or use the dropdown in the top-right corner to access the New options. Once the workflow is created, click the workflow canvas to open it and continue to the next guide to learn more about how to start collecting data. For more general information on workflow functionality, click here.
Links


Updated 5 months ago
What’s Next
You can now move on to learning how to collect your data in the next section of this tutorial.