Publishing and Sharing AI Chats
Introduction
Once you have configured and tested your AI Chat, you can publish it. Publishing creates a simplified version of the AI Chat where nontechnical users can just focus on the chat interactions and don’t have access to viewing or changing any of the input sources, agents, or other settings for the environment. Published AI Chats can be shared with specific users who you want to have access.
Once an AI Chat is published, it remains live-linked to the builder node and the rest of the workflow. Any time upstream nodes are run and data is refreshed, the updated data becomes instantly available in both the builder chat and the published chat—without needing to manually rerun either node.
Publishing an AI Chat
- From within the AI Chat, click the Publish button at the top right of the view.
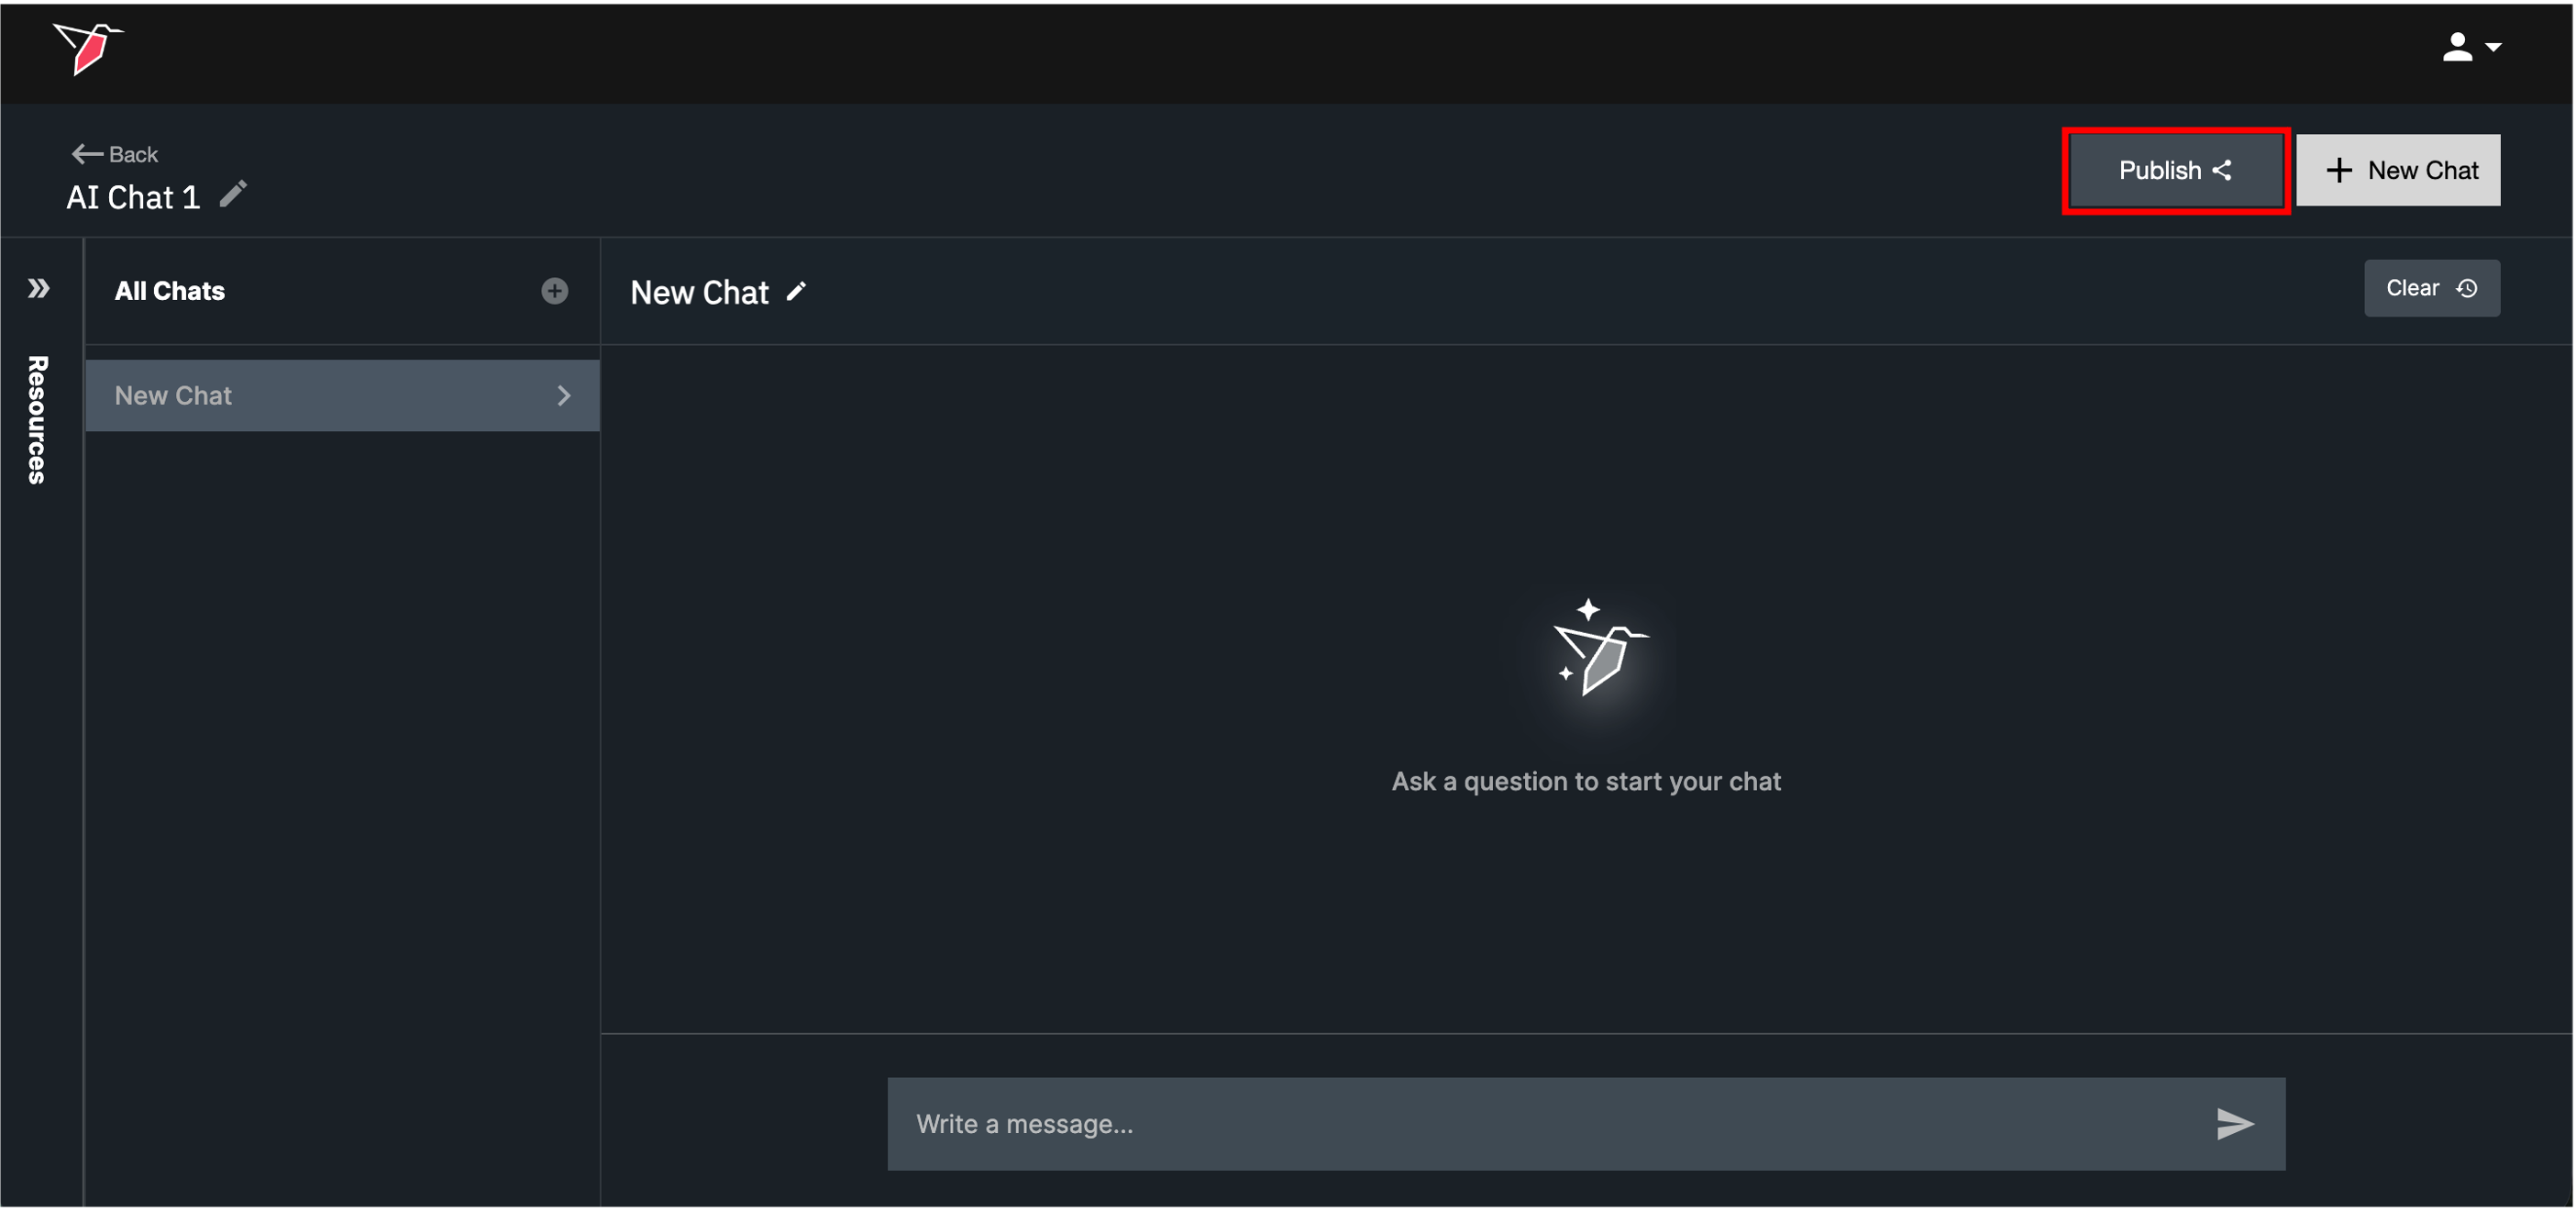
- You will be prompted to enter a name for the Published AI Chat. Enter a descriptive name and click Publish.
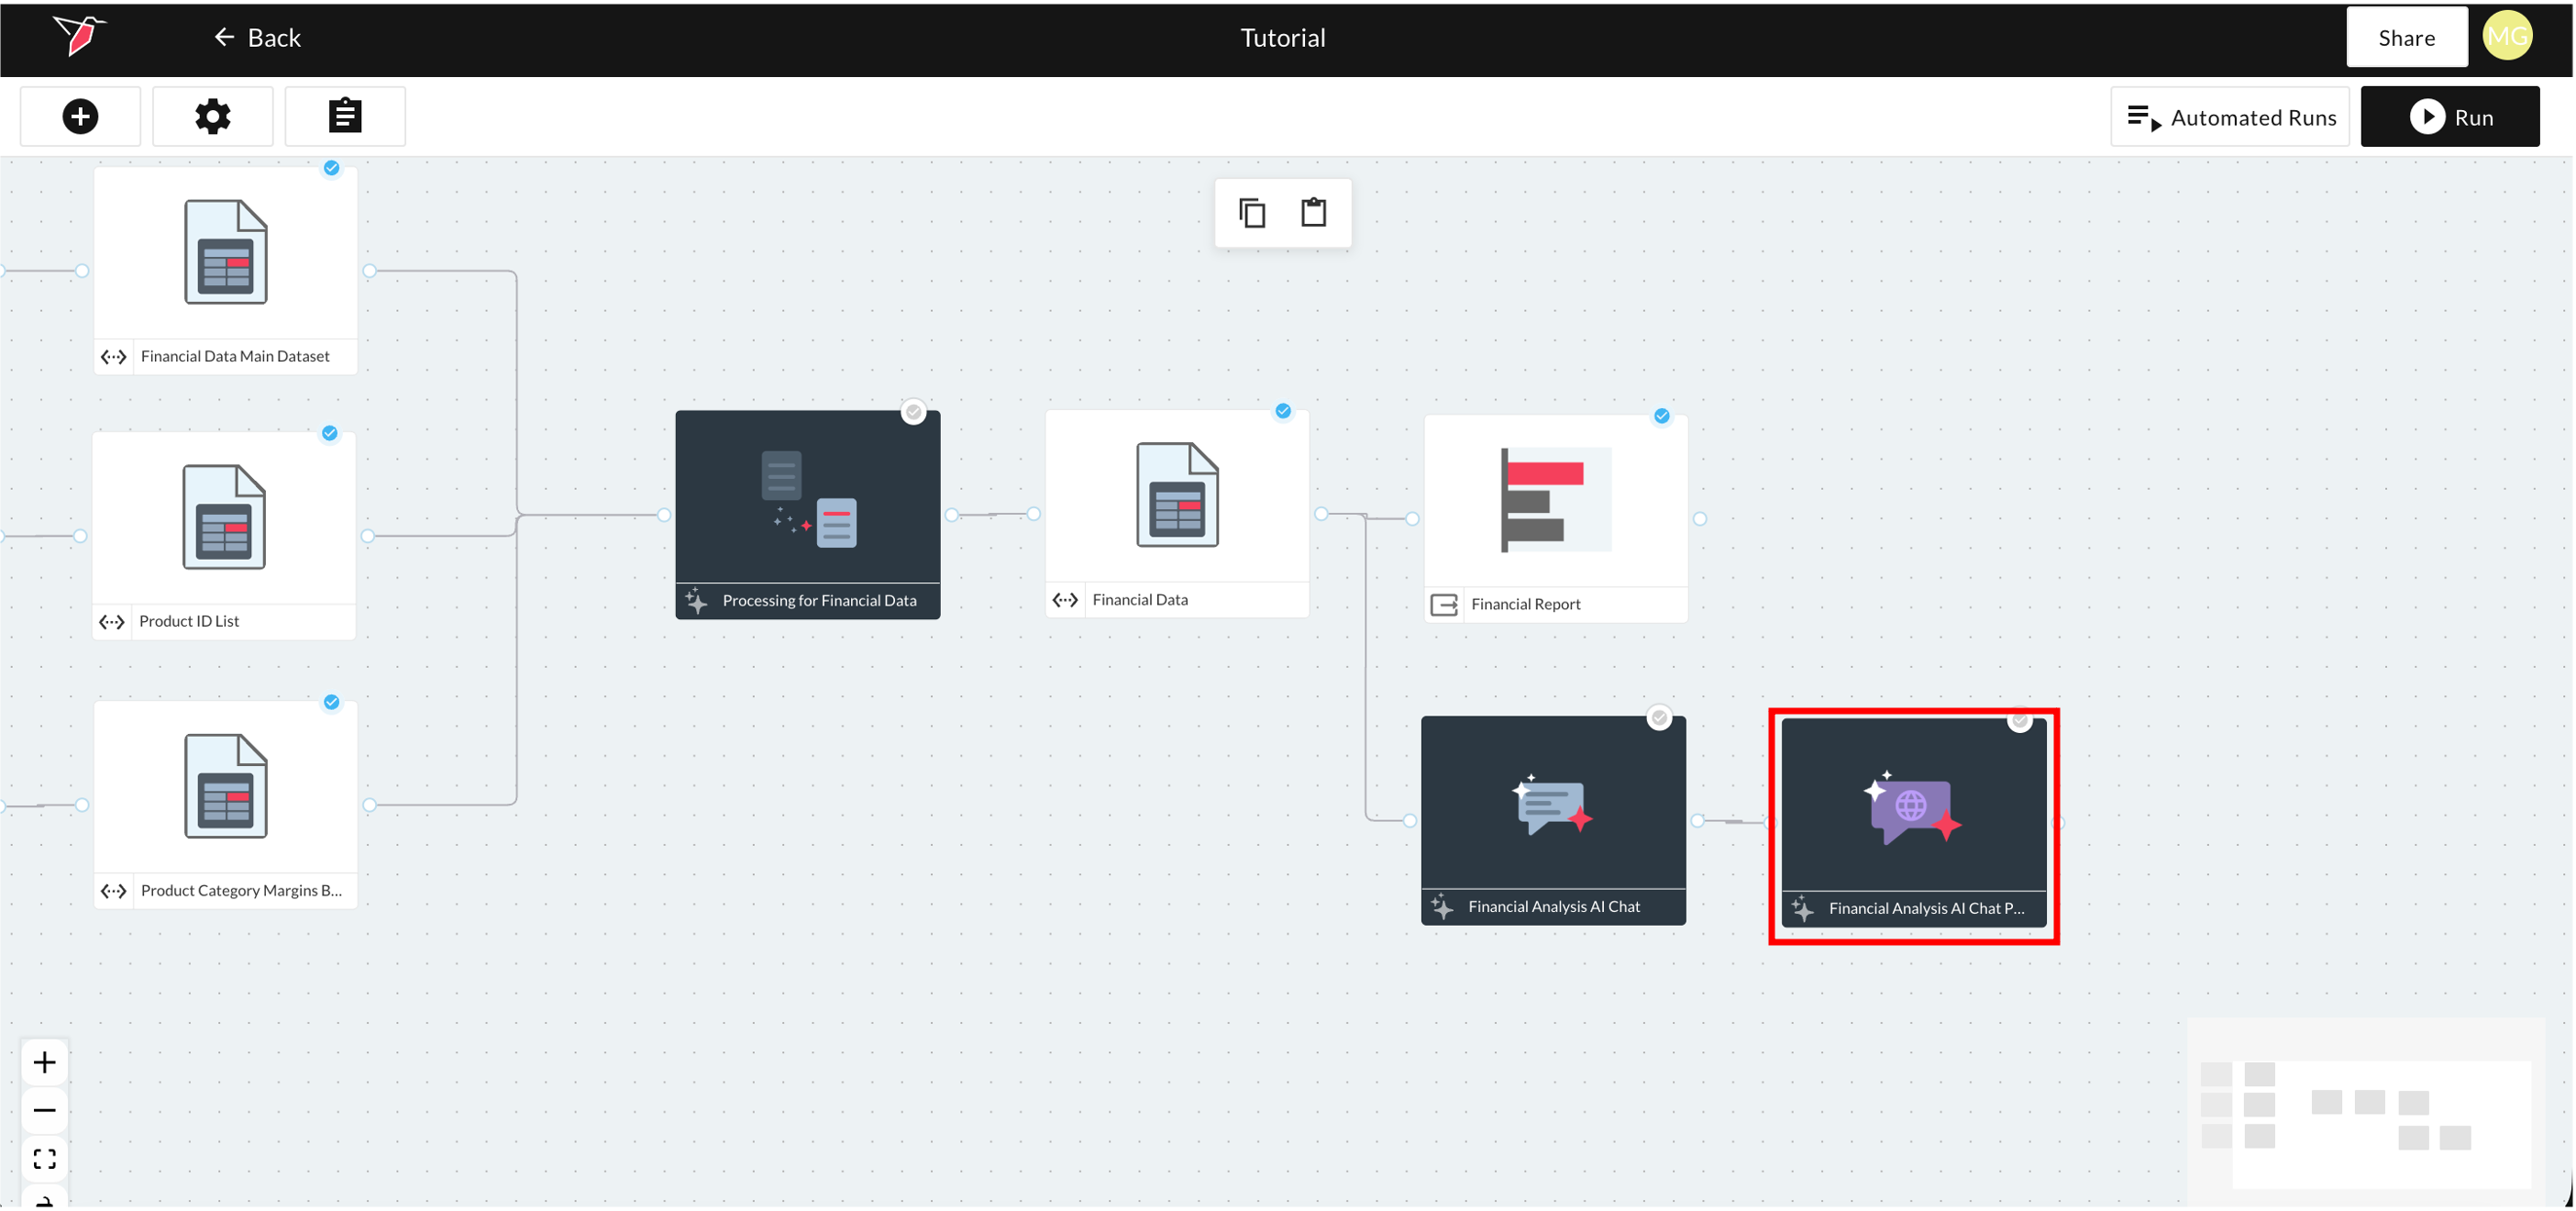
- Go back to the Workflow Canvas view, and you will see a new Published AI Chat connected as an output to the source AI Chat node you were just configuring.
- You can click to edit the Published AI Chat to test the functionality as an end user.
Sharing Published AI Chats
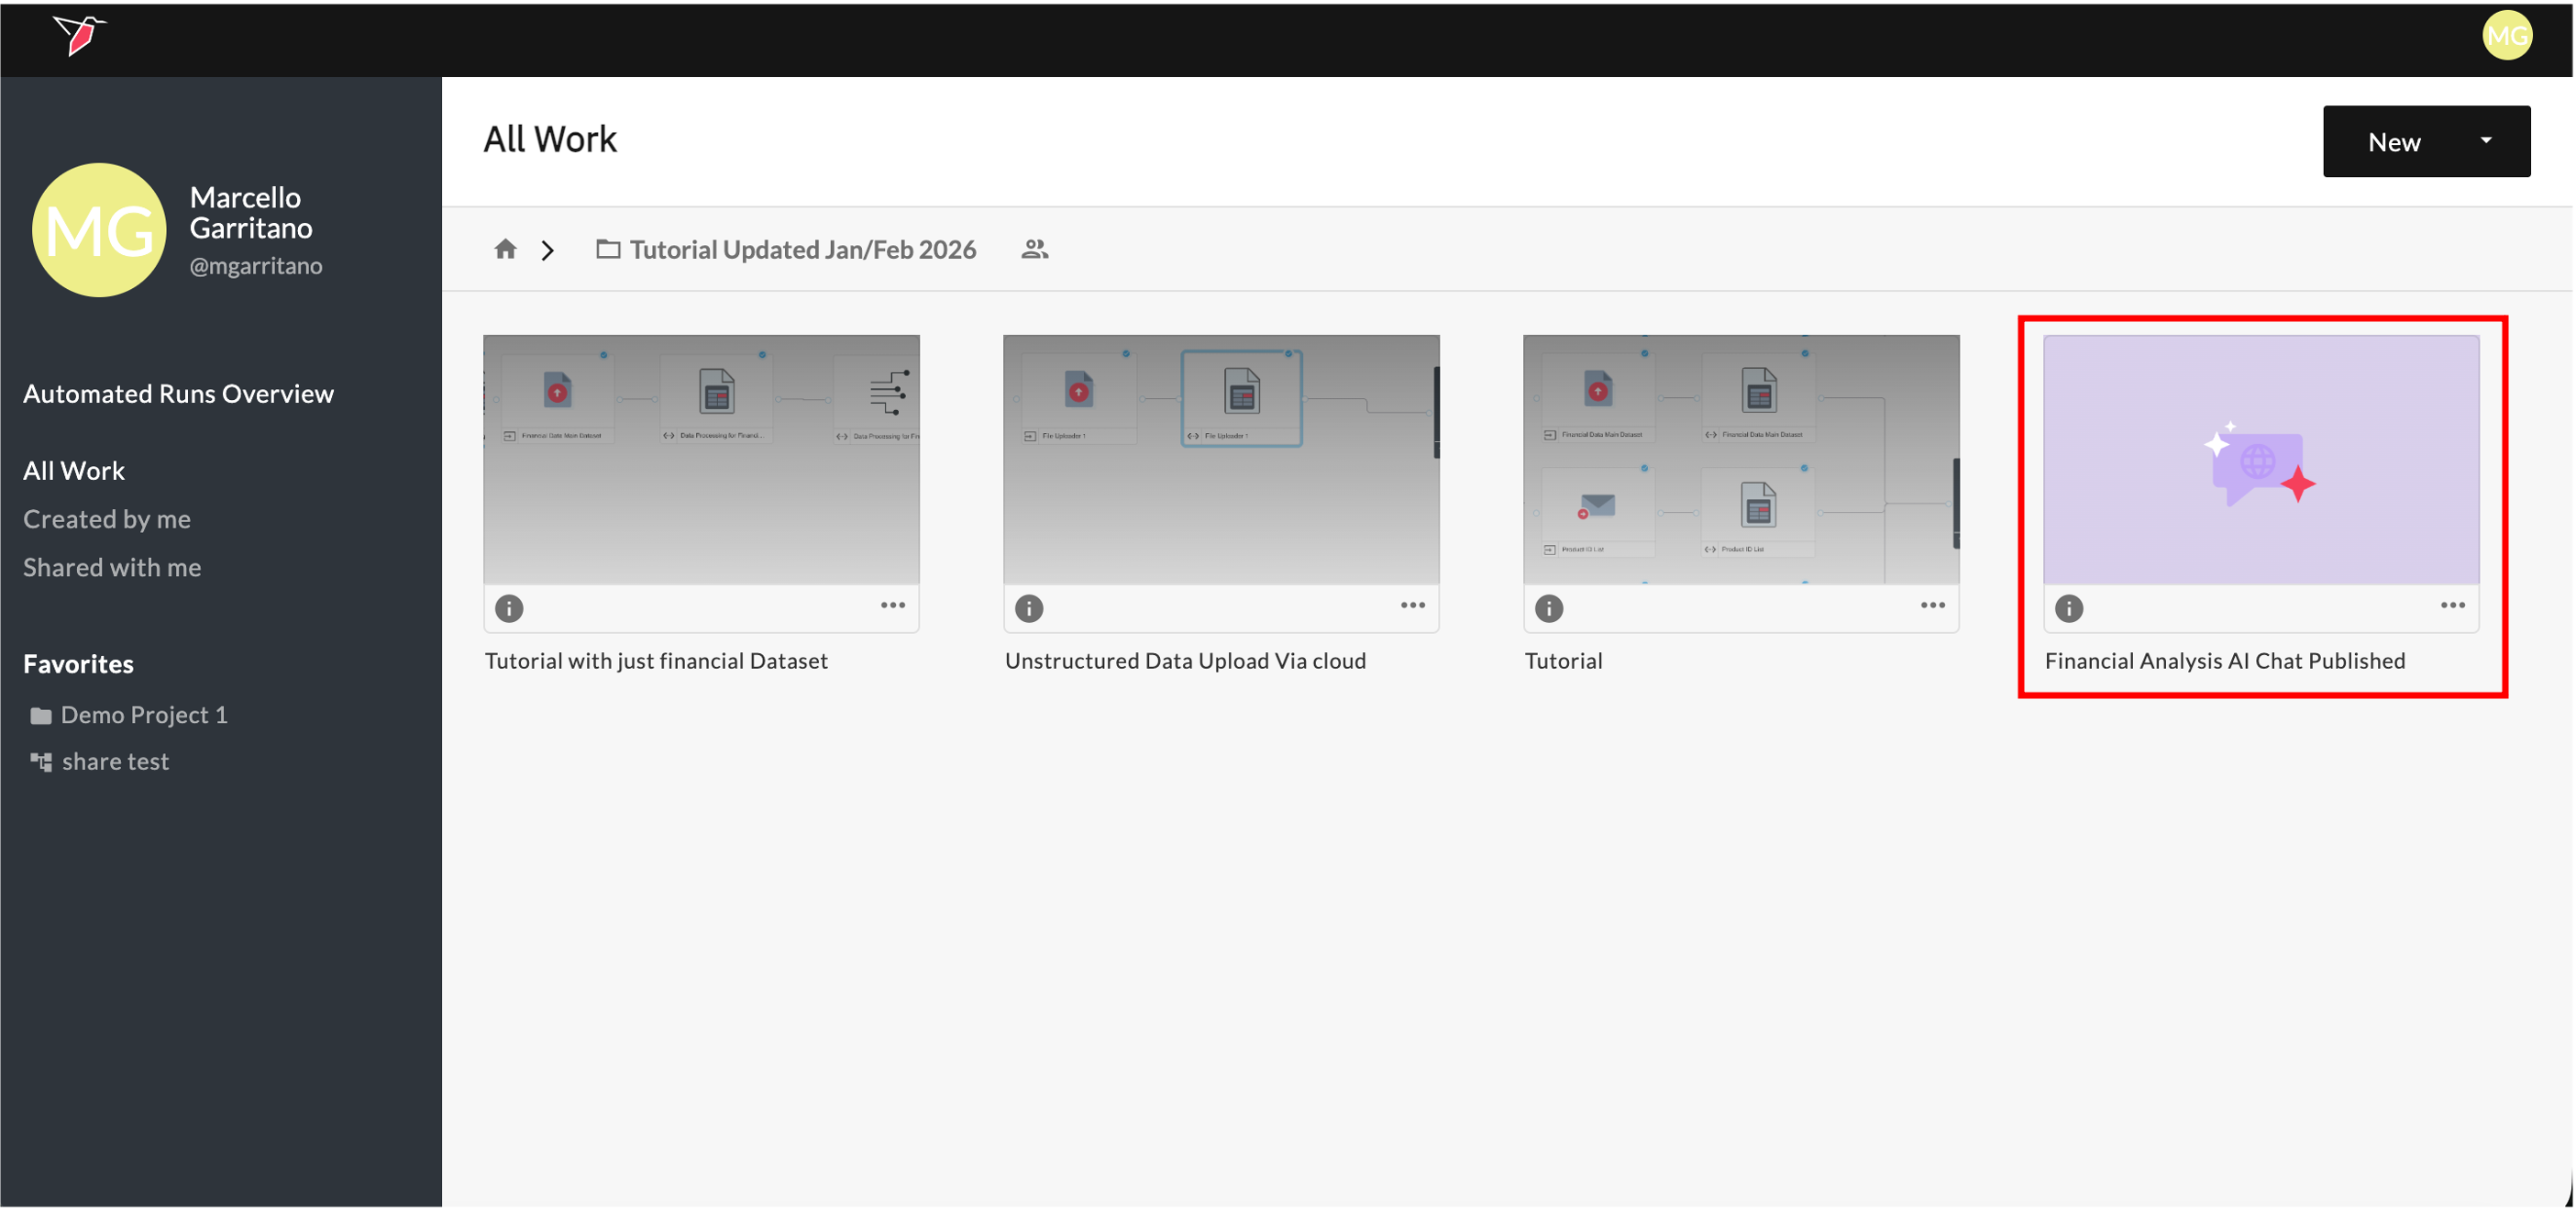
If you’d like to share a Published AI Chat with other users, you can share the entire canvas with other Redbird users. If you only want to share the Published AI Chat node itself—so users can view the chat but not see or edit the underlying canvas—you can send the published chat to a Folder and share that folder instead.
To do this, click to select the node and, in the right-side panel, click Send to Folder. This will send the Published AI Chat node to the parent folder of the workflow as an easy-access published object. Navigate to the parent folder to view the published object.

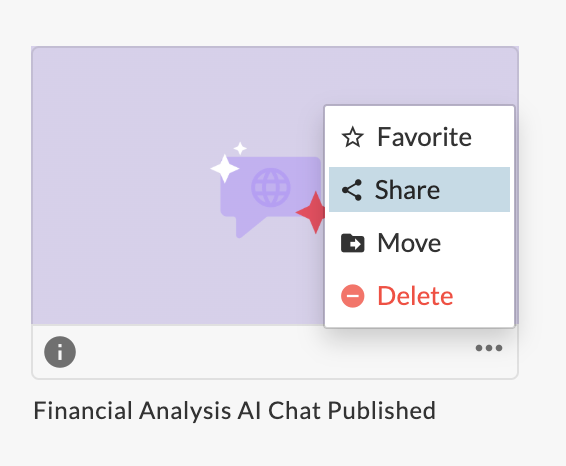
You can share the published chat with the users you want to have access by clicking on the Share option within the context menu. You can select users to share with in the right side panel that appears.