Google Campaign Manager
For more general information on data collection in Redbird, check out: Getting Started With Data Collection
This guide explains how to set up access and collect data from the GCM360 platform which collects Google Campaign Manager data. Please ensure that the metrics you need are already populated in Google Campaign Manager. Through this collection app, we can pull reports saved to a GCM360 account.
If you cannot see the GCM collection app in the left-side panel on the workflow canvas, refer to: Enabling Collection Apps Guide
Creating a Collection
-
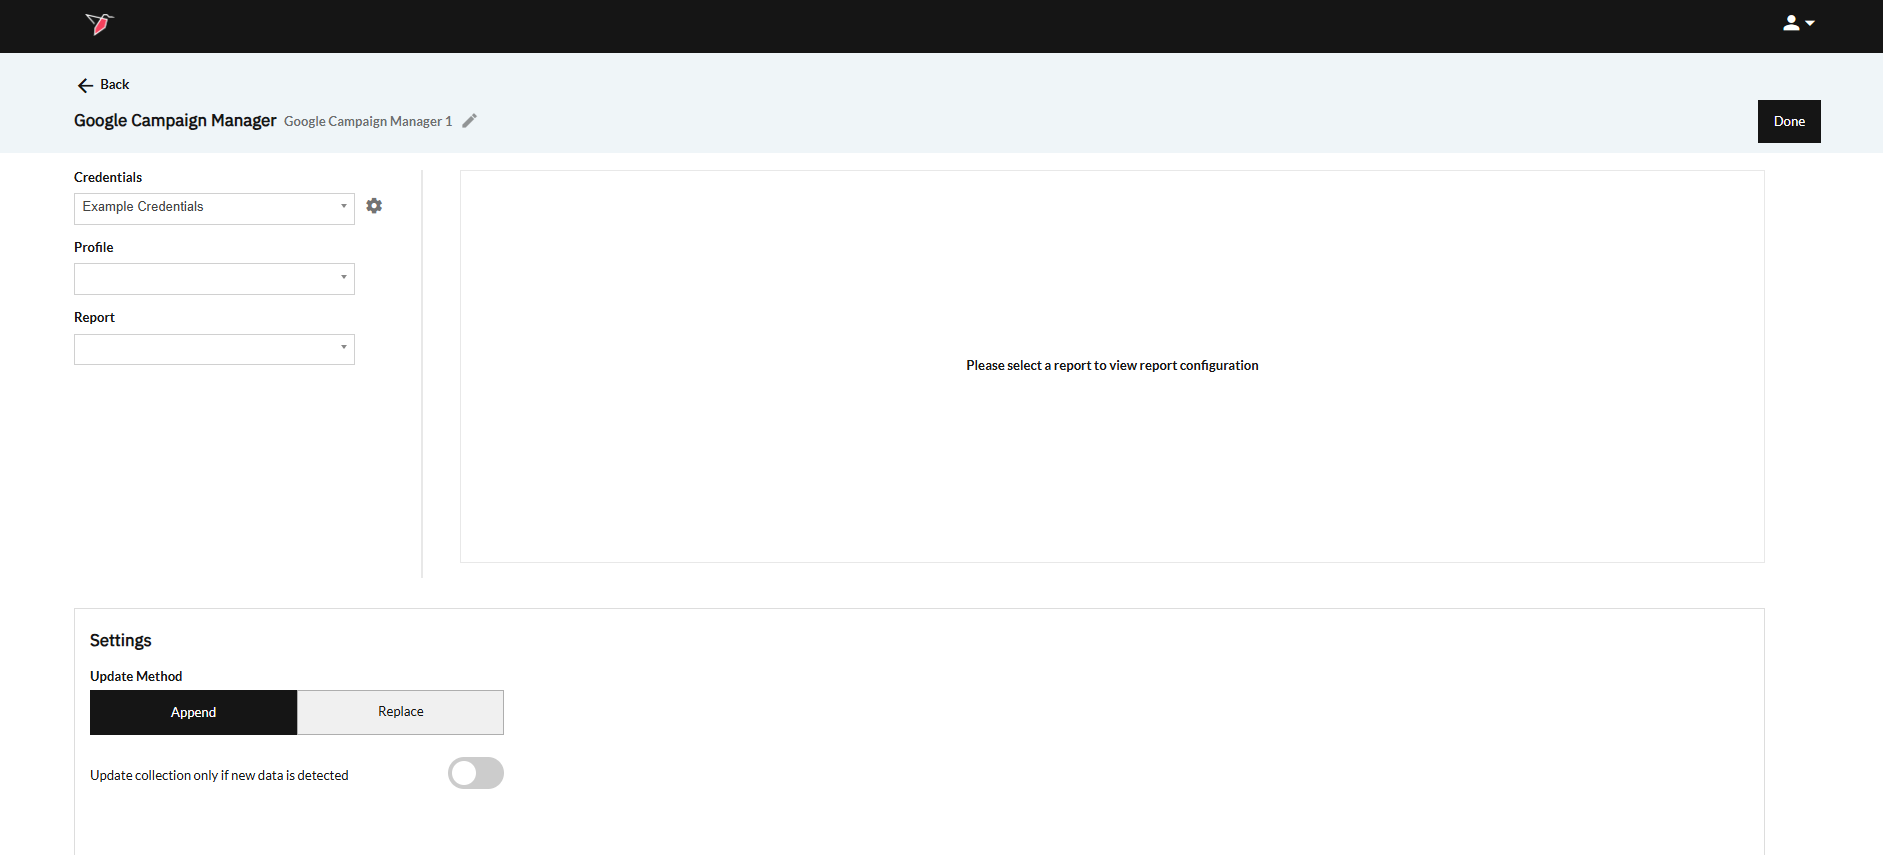
Double-click on the node to enter configuration mode
-
Click the pencil icon at the top to name your collection
-
Select the credentials that you need to pull data from under the Credentials drop-down.
- If needed, you can add, edit, or delete logins during this step by selecting the gear icon. To add a new login, click Add New Login
- Name your credentials for easy reference
- Click Login with Google and proceed through the Google OAuth steps.
- Once you've been redirected back to Redbird, select your newly created credentials from the Credentials dropdown.
-
In the Reports dropdown, you can select the GCM Profile and report that you want to use. You can create these within the GCM360 Report Builder UI. Once those reports are saved, they will be available in this dropdown.
-
After selecting your report, you can view the selected dimensions and metrics to make sure you're pulling what you need.
Choose Configuration Details
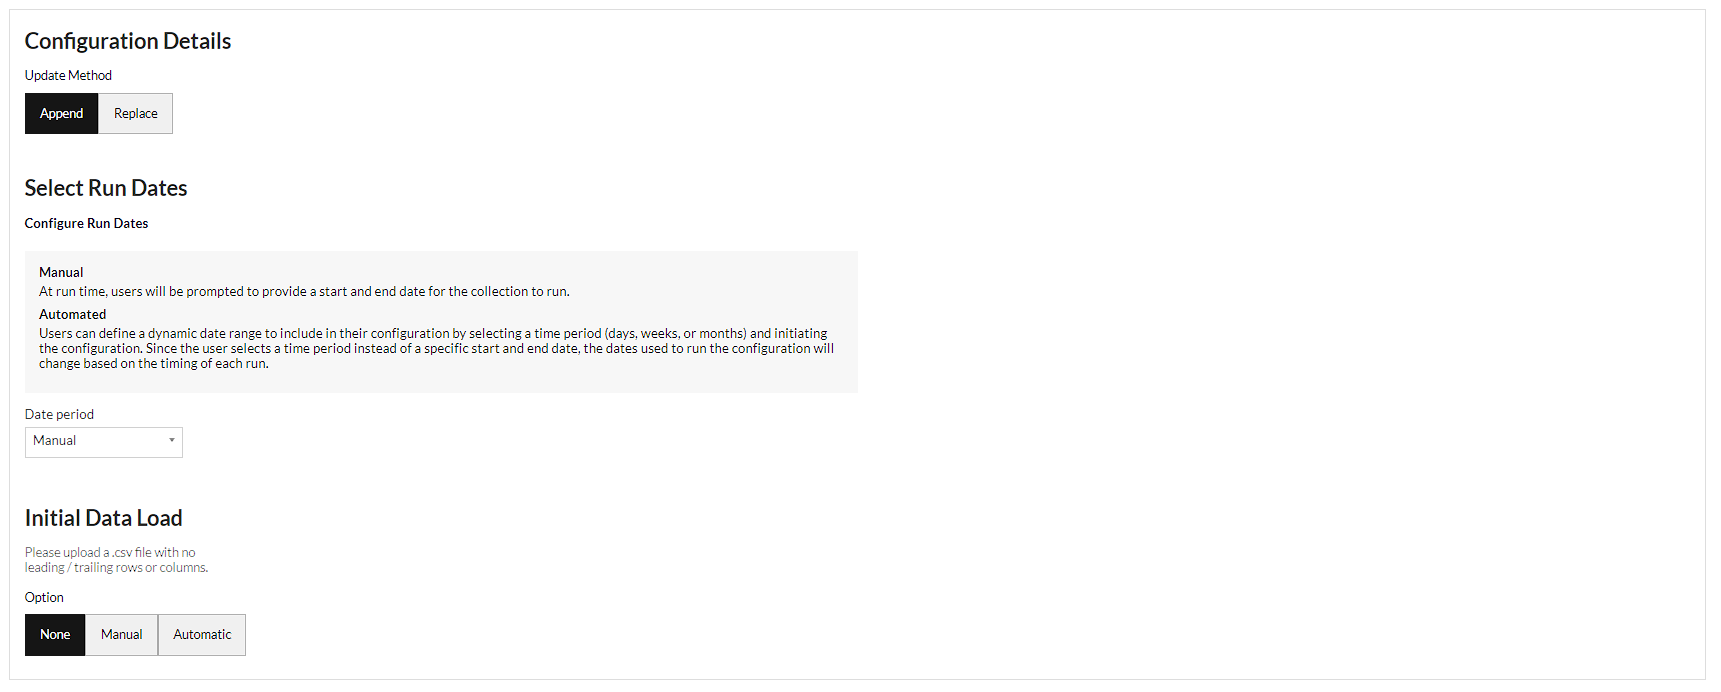
- Update Method allows you to select how you want your data to aggregate when you run future data pulls. Append keeps the historical data and adds the future data pulls below. Replace deletes the historical data and generates the new data in its place.
- Date Period allows you to selected between a Manual date range or an Automated date range.
- Manual: At run time, users will be prompted to provide a start and end date for the collection to run.
- Automated: Users can define a dynamic date range to include in their configuration by selecting a time period (days, weeks, or months) and initiating the configuration. Since the user selects a time period instead of a specific start and end date, the dates used to run the configuration will change based on the timing of each run.
- Lookback Window: Users can account for dynamic updates to data in a platform by selecting a Lookback Window. Conversion numbers and other values may fluctuate over time, and the Lookback Window selection will allow you to refresh the data in your collection. If you set your lookback window to the previous 3 days, the app will collect that data, delete any data in your collection that matches the dates in your collection, and appends the refresh data - allowing you to remain up to date.
- Click Done
Running a Collection
- Click on the node.
- In the right-side panel click Run
- If date selection is set to manual, then the workflow will be stopped for you to input dates. Click Review on the node.
- Select the Start date and End date of the period you would like to cover.
- Click Back to Workflow
- Click Continue on the node.