Send Email
Overview
The Send Email node allows you to automatically distribute outputs from the Redbird platform to one or more email recipients as part of an automated workflow.
You can send supported outputs—such as datasets and dashboards—either as downloadable links or as email attachments. Each time the workflow runs, the email is sent with the latest version of the connected outputs.
Supported Outputs
The Send Email node currently supports sending:
- Datasets
- Dashboards (via Dashboard Builder)
Configuring the Email Send Node
- From the left-side panel, drag the Send Email node onto the workflow canvas.
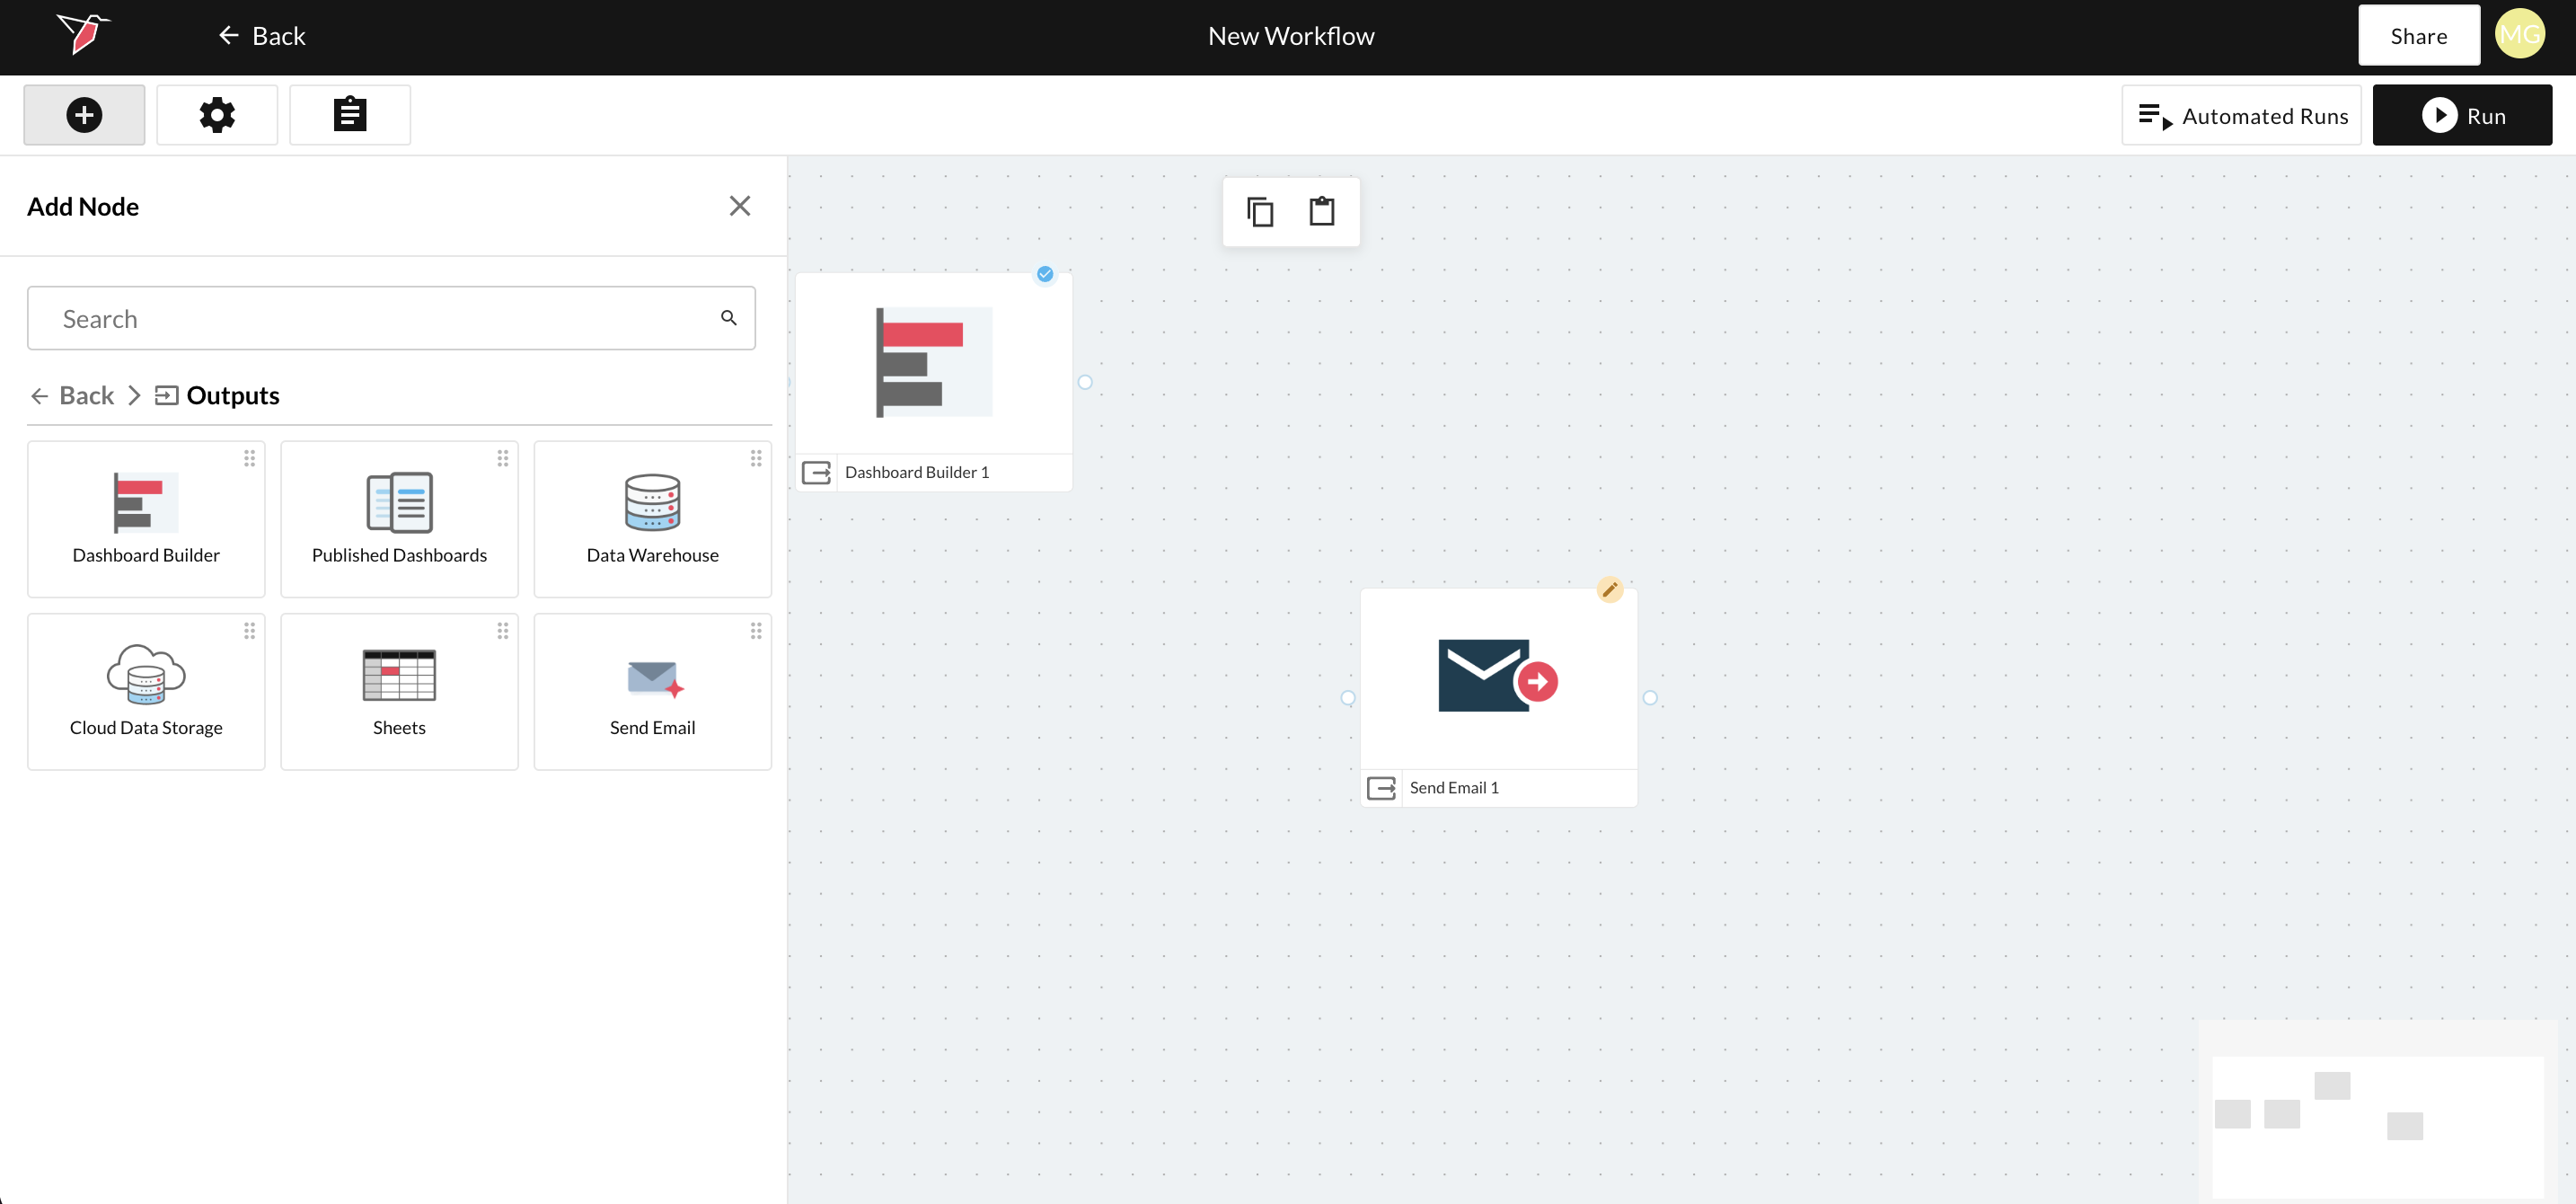
- Connect the outputs you wish to send to left side of the Send Email node by tracing a connecting arm between the nodes.
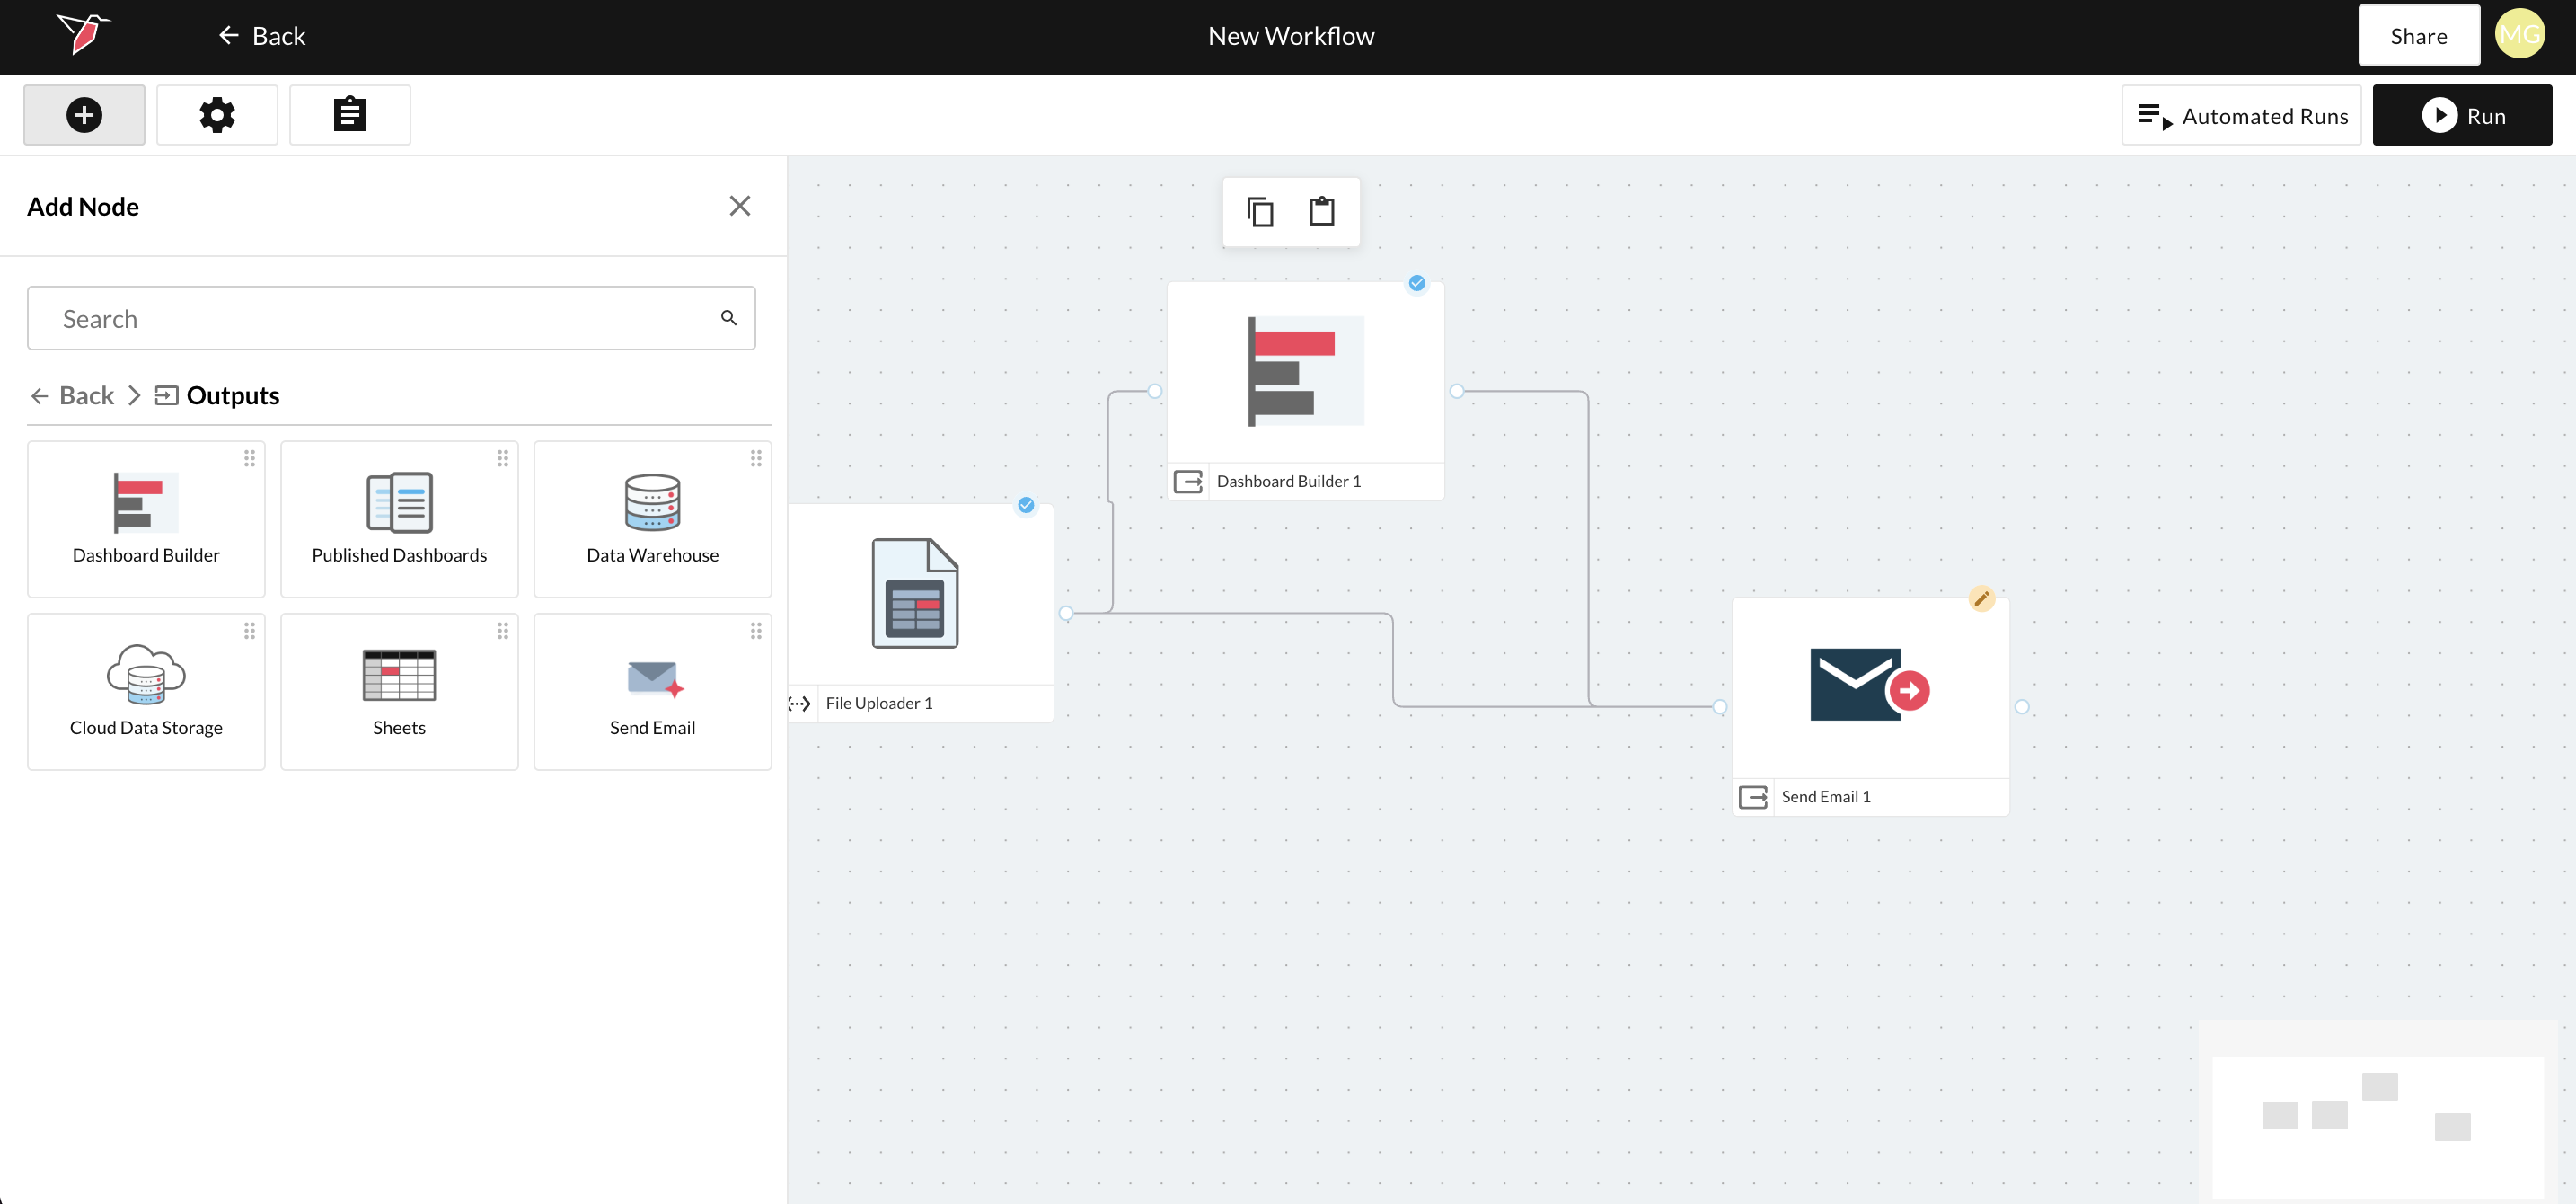
- Double-click the Send Email node to enter the configuration page. At the top of the panel, give the node a name to help identify it within your workflow.
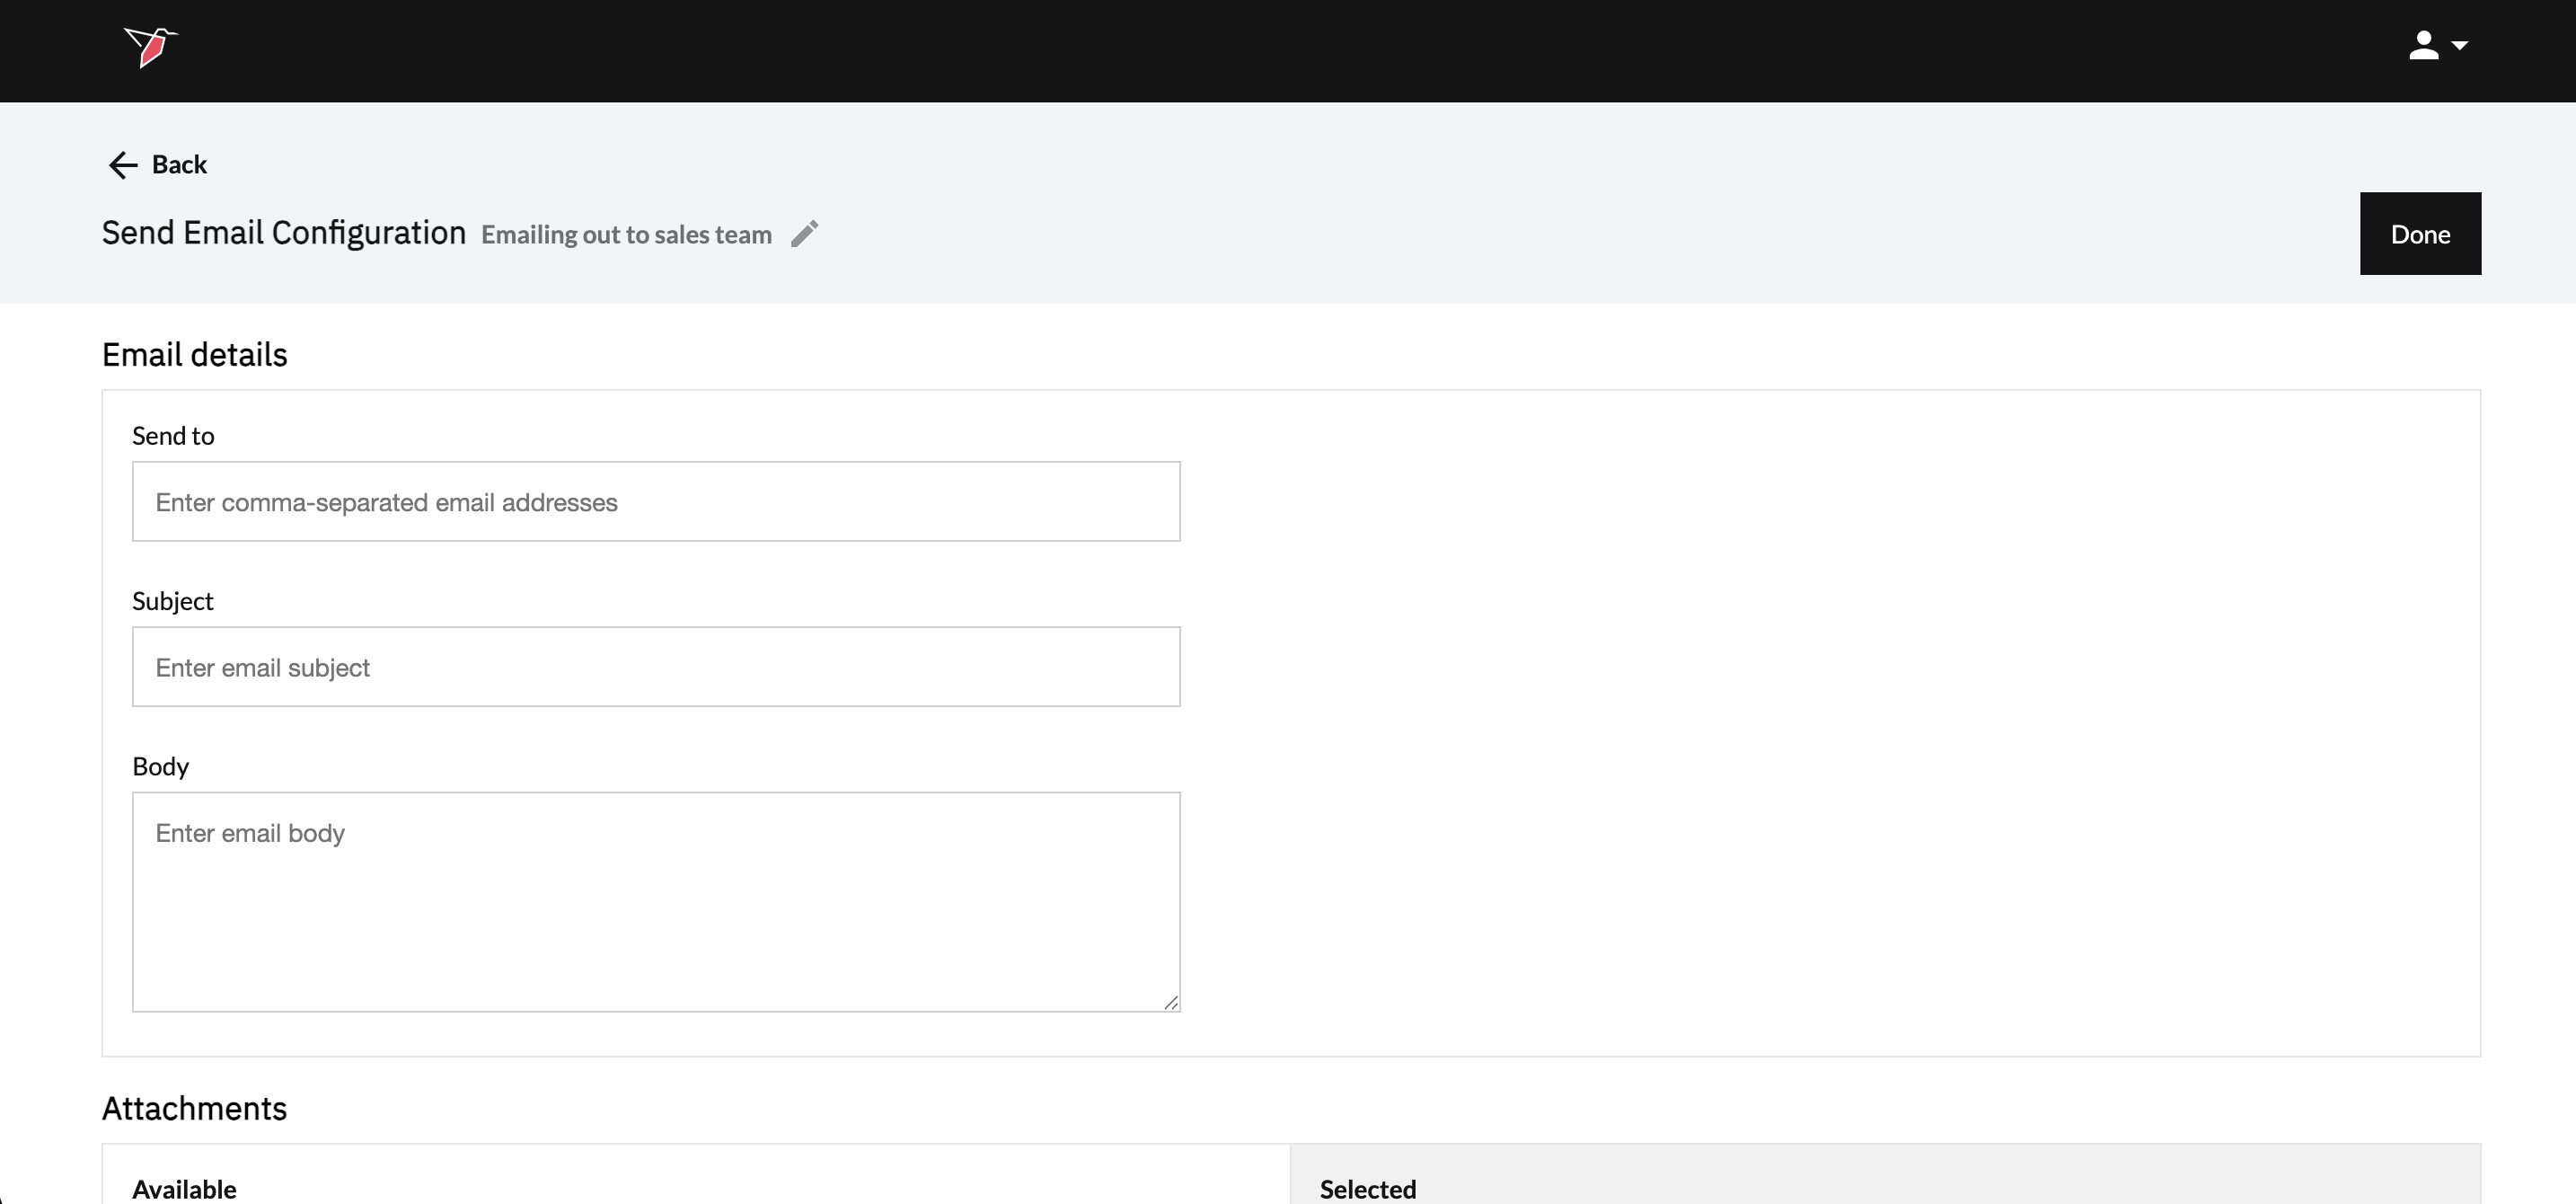
- Configure Email Details section by completing these fields:
- Send To: Enter one or more email addresses, separated by commas.
- Subject: The subject line of the email.
- Body: The main content of the email message.
Note - you may also paste published dashboard links directly into the email body. This allows recipients to click through to view the dashboard in Redbird, where it will always load with the latest available data.
This is useful when you want to
- Share live dashboards without attaching files
- Ensure recipients always see refreshed data
- Provide direct access alongside contextual messaging
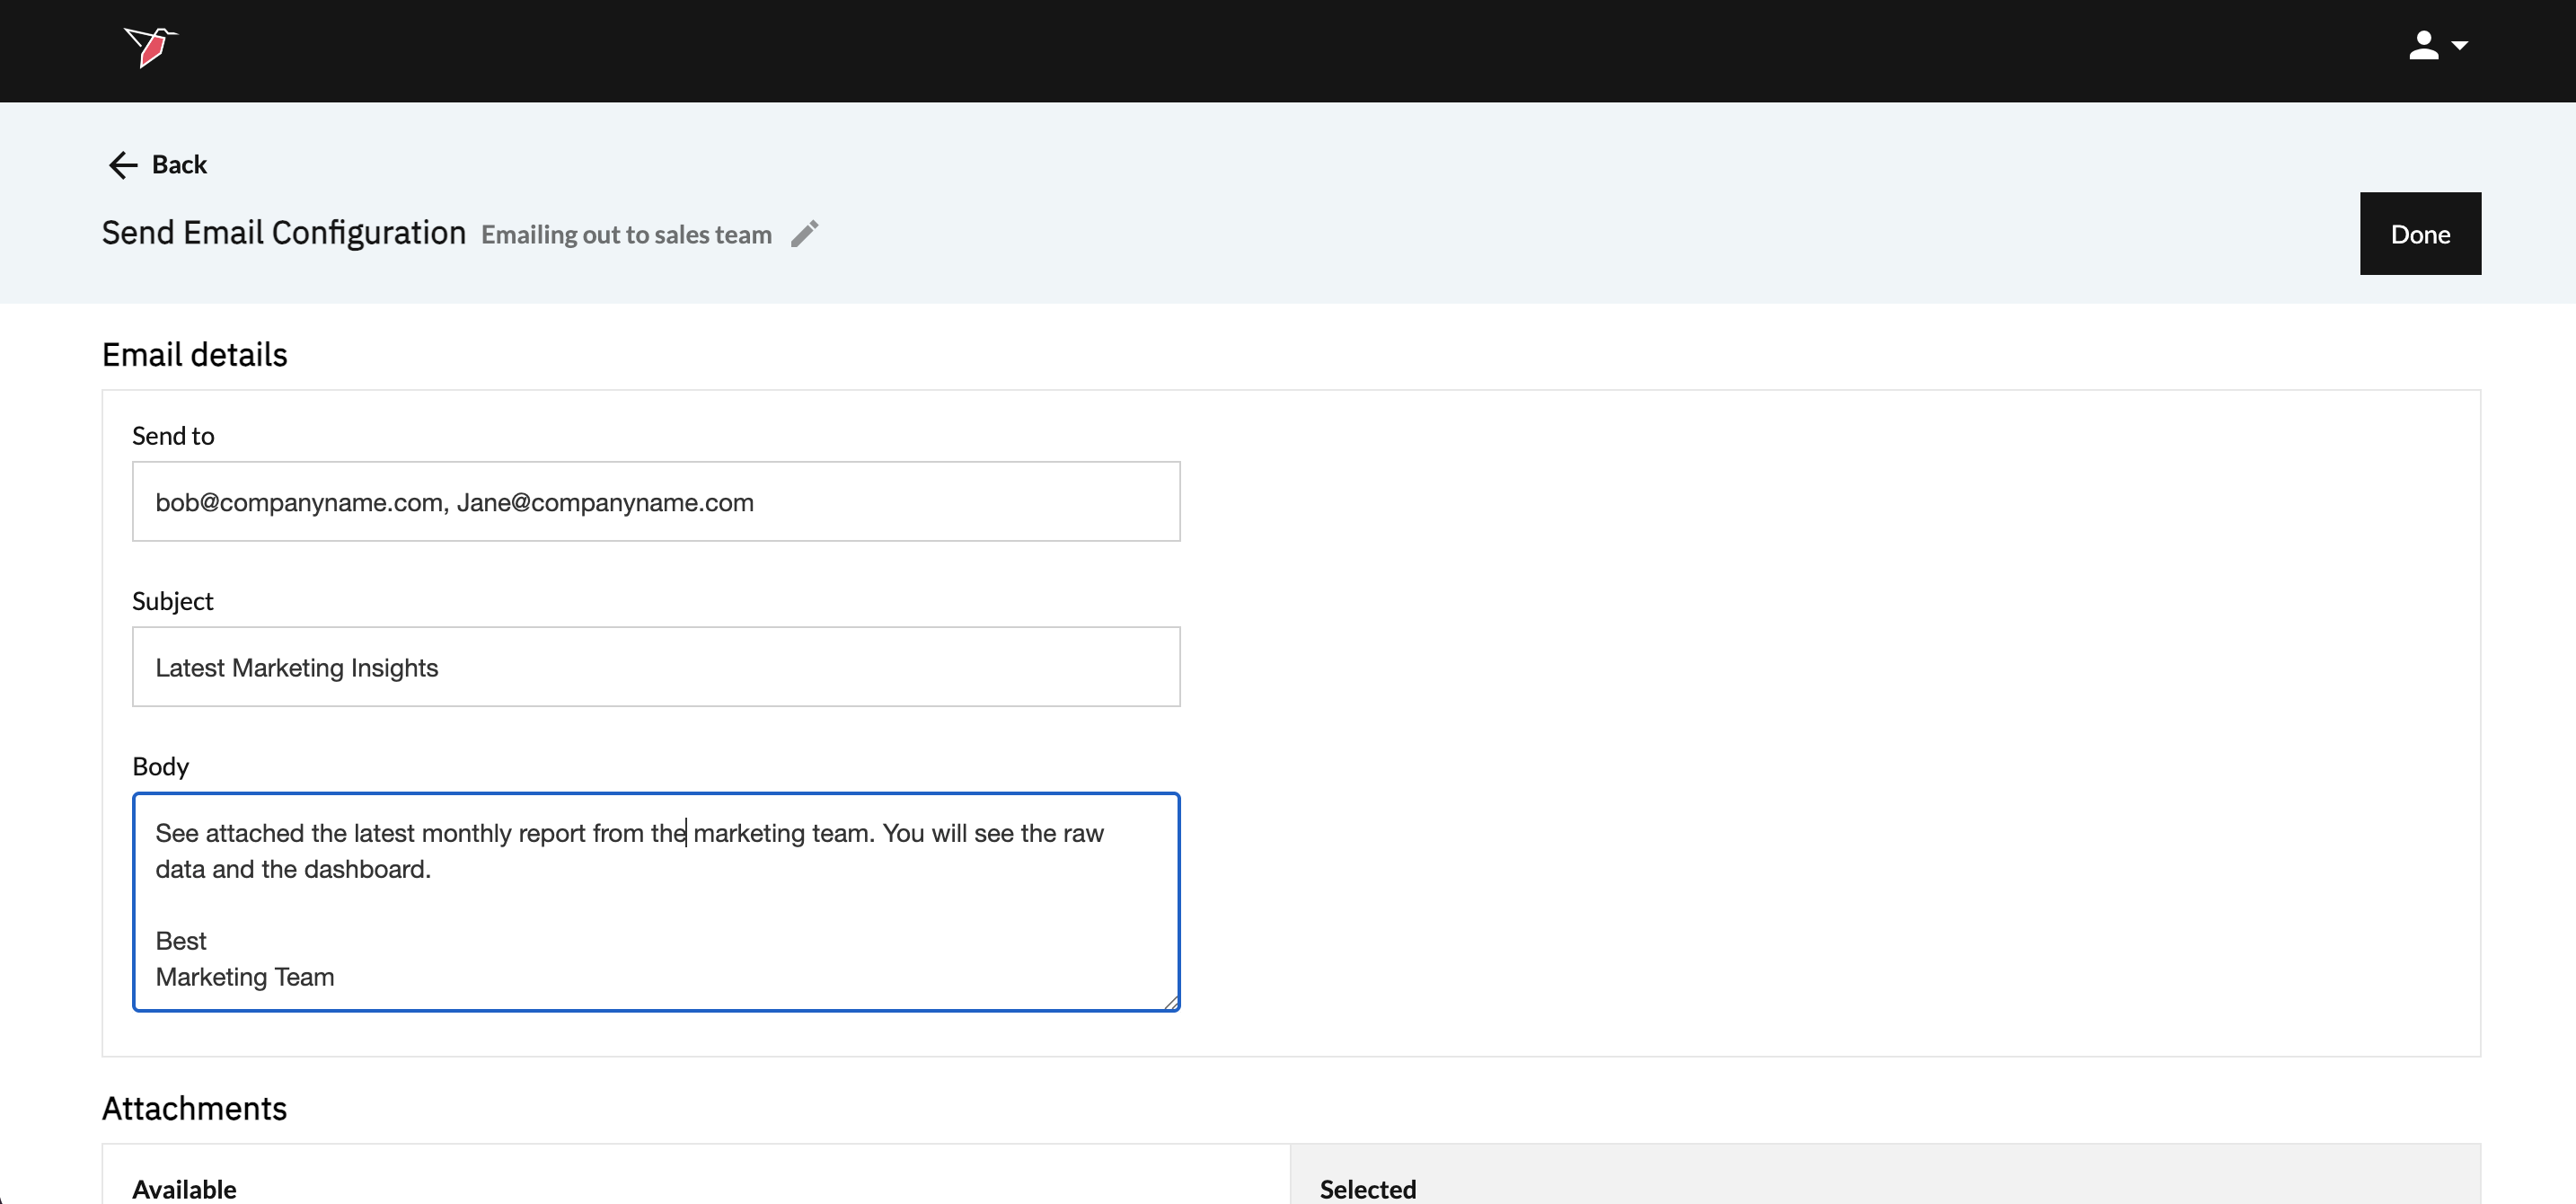
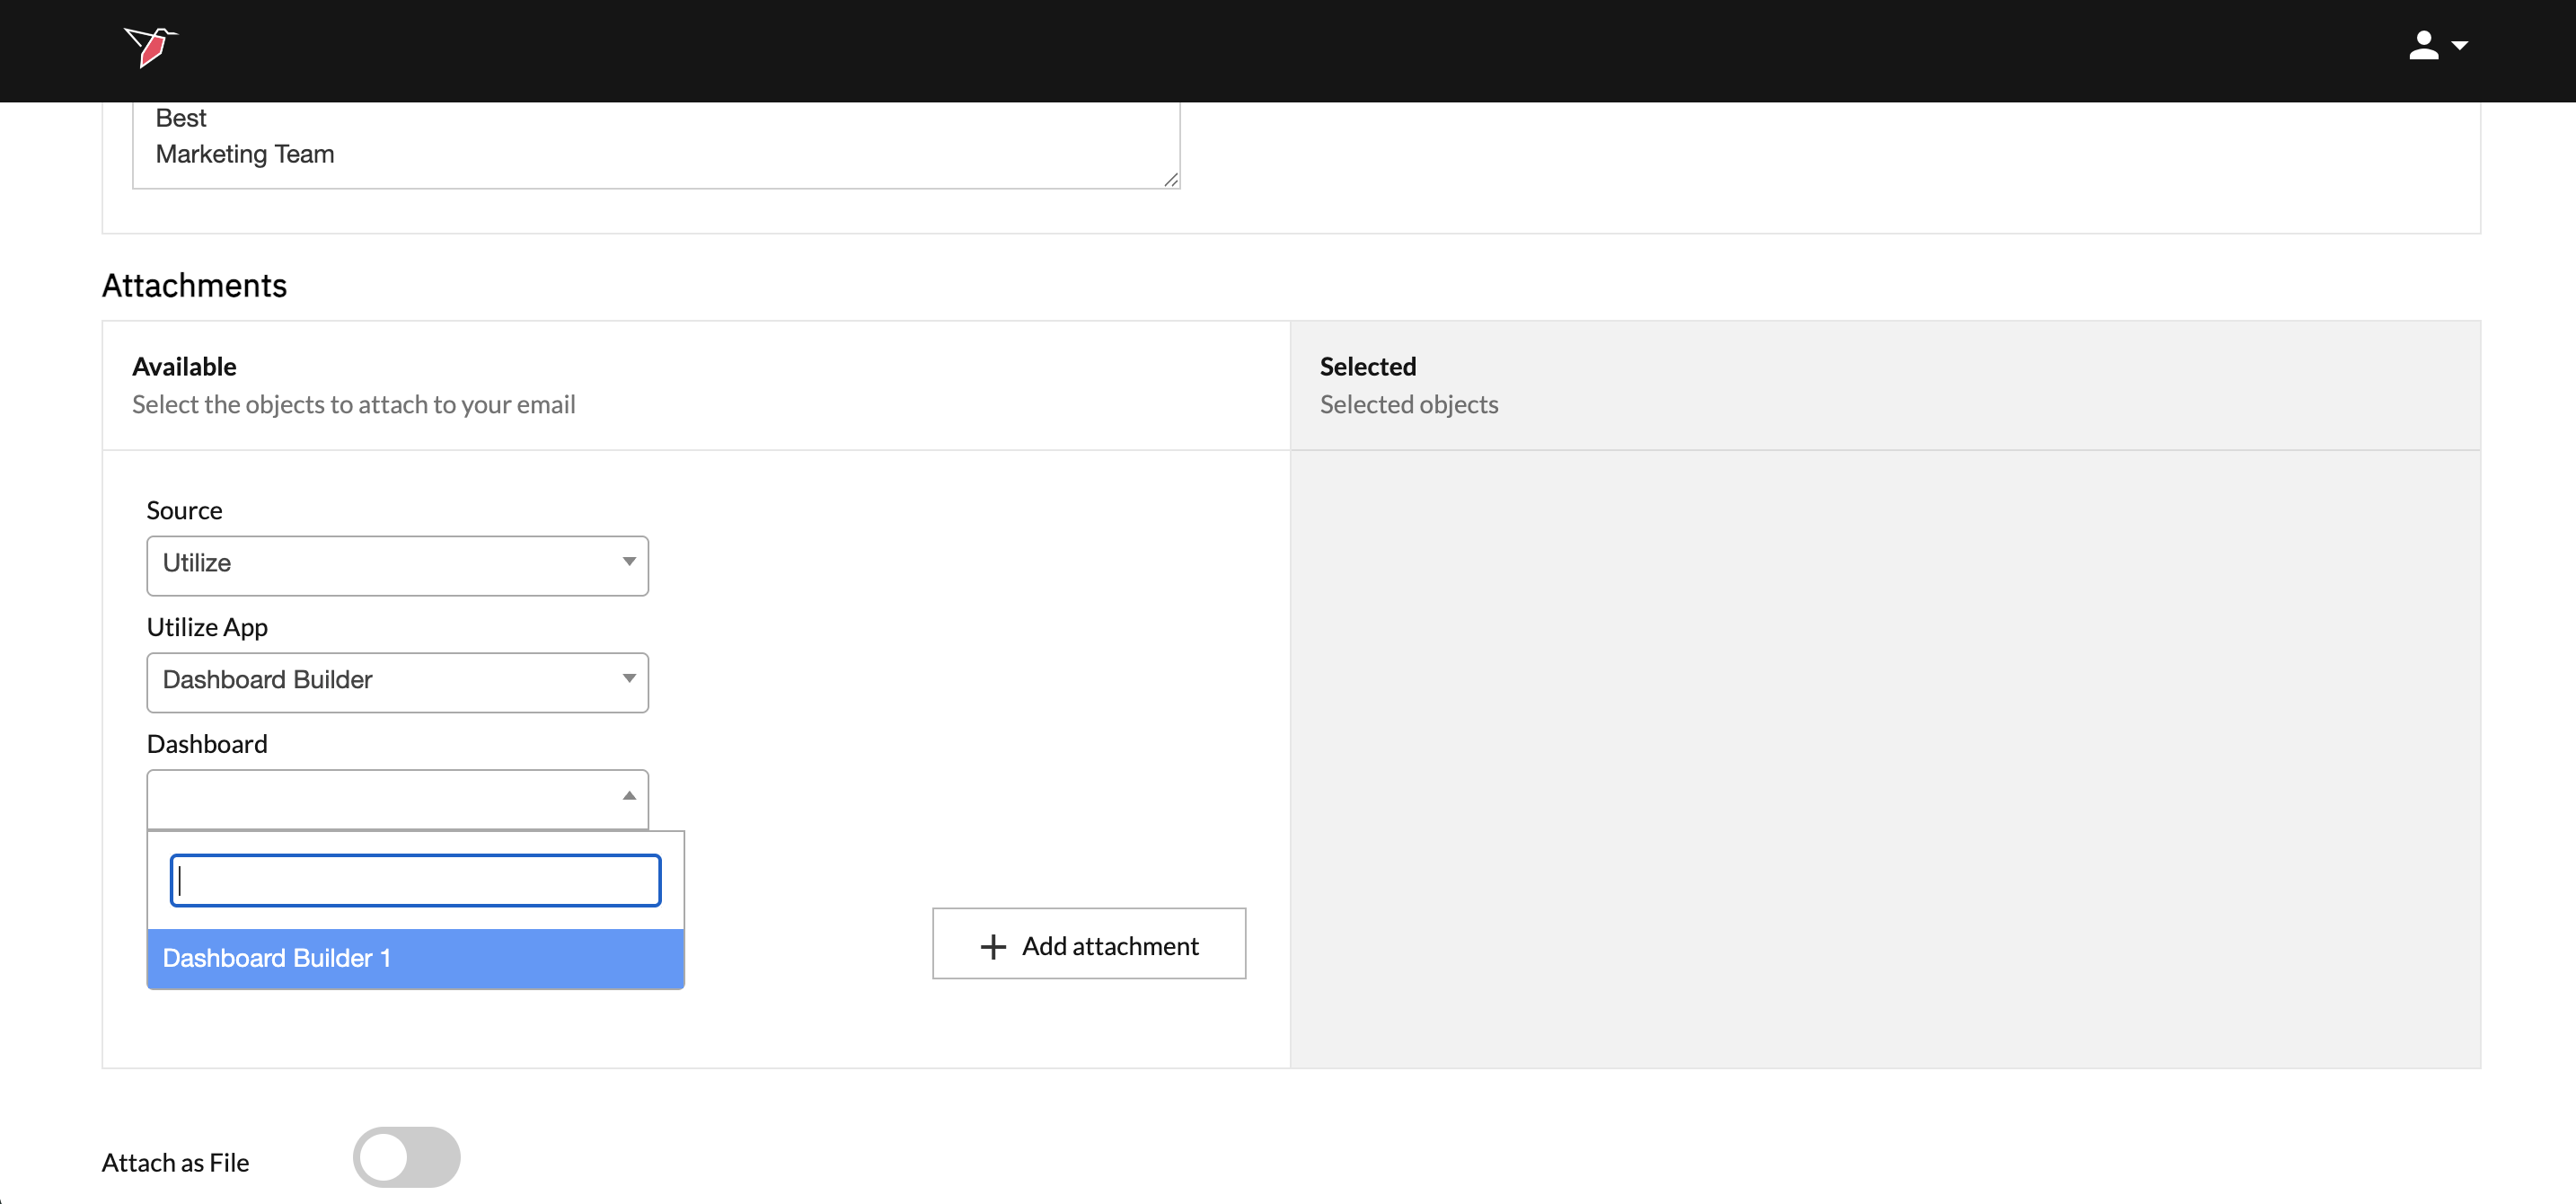
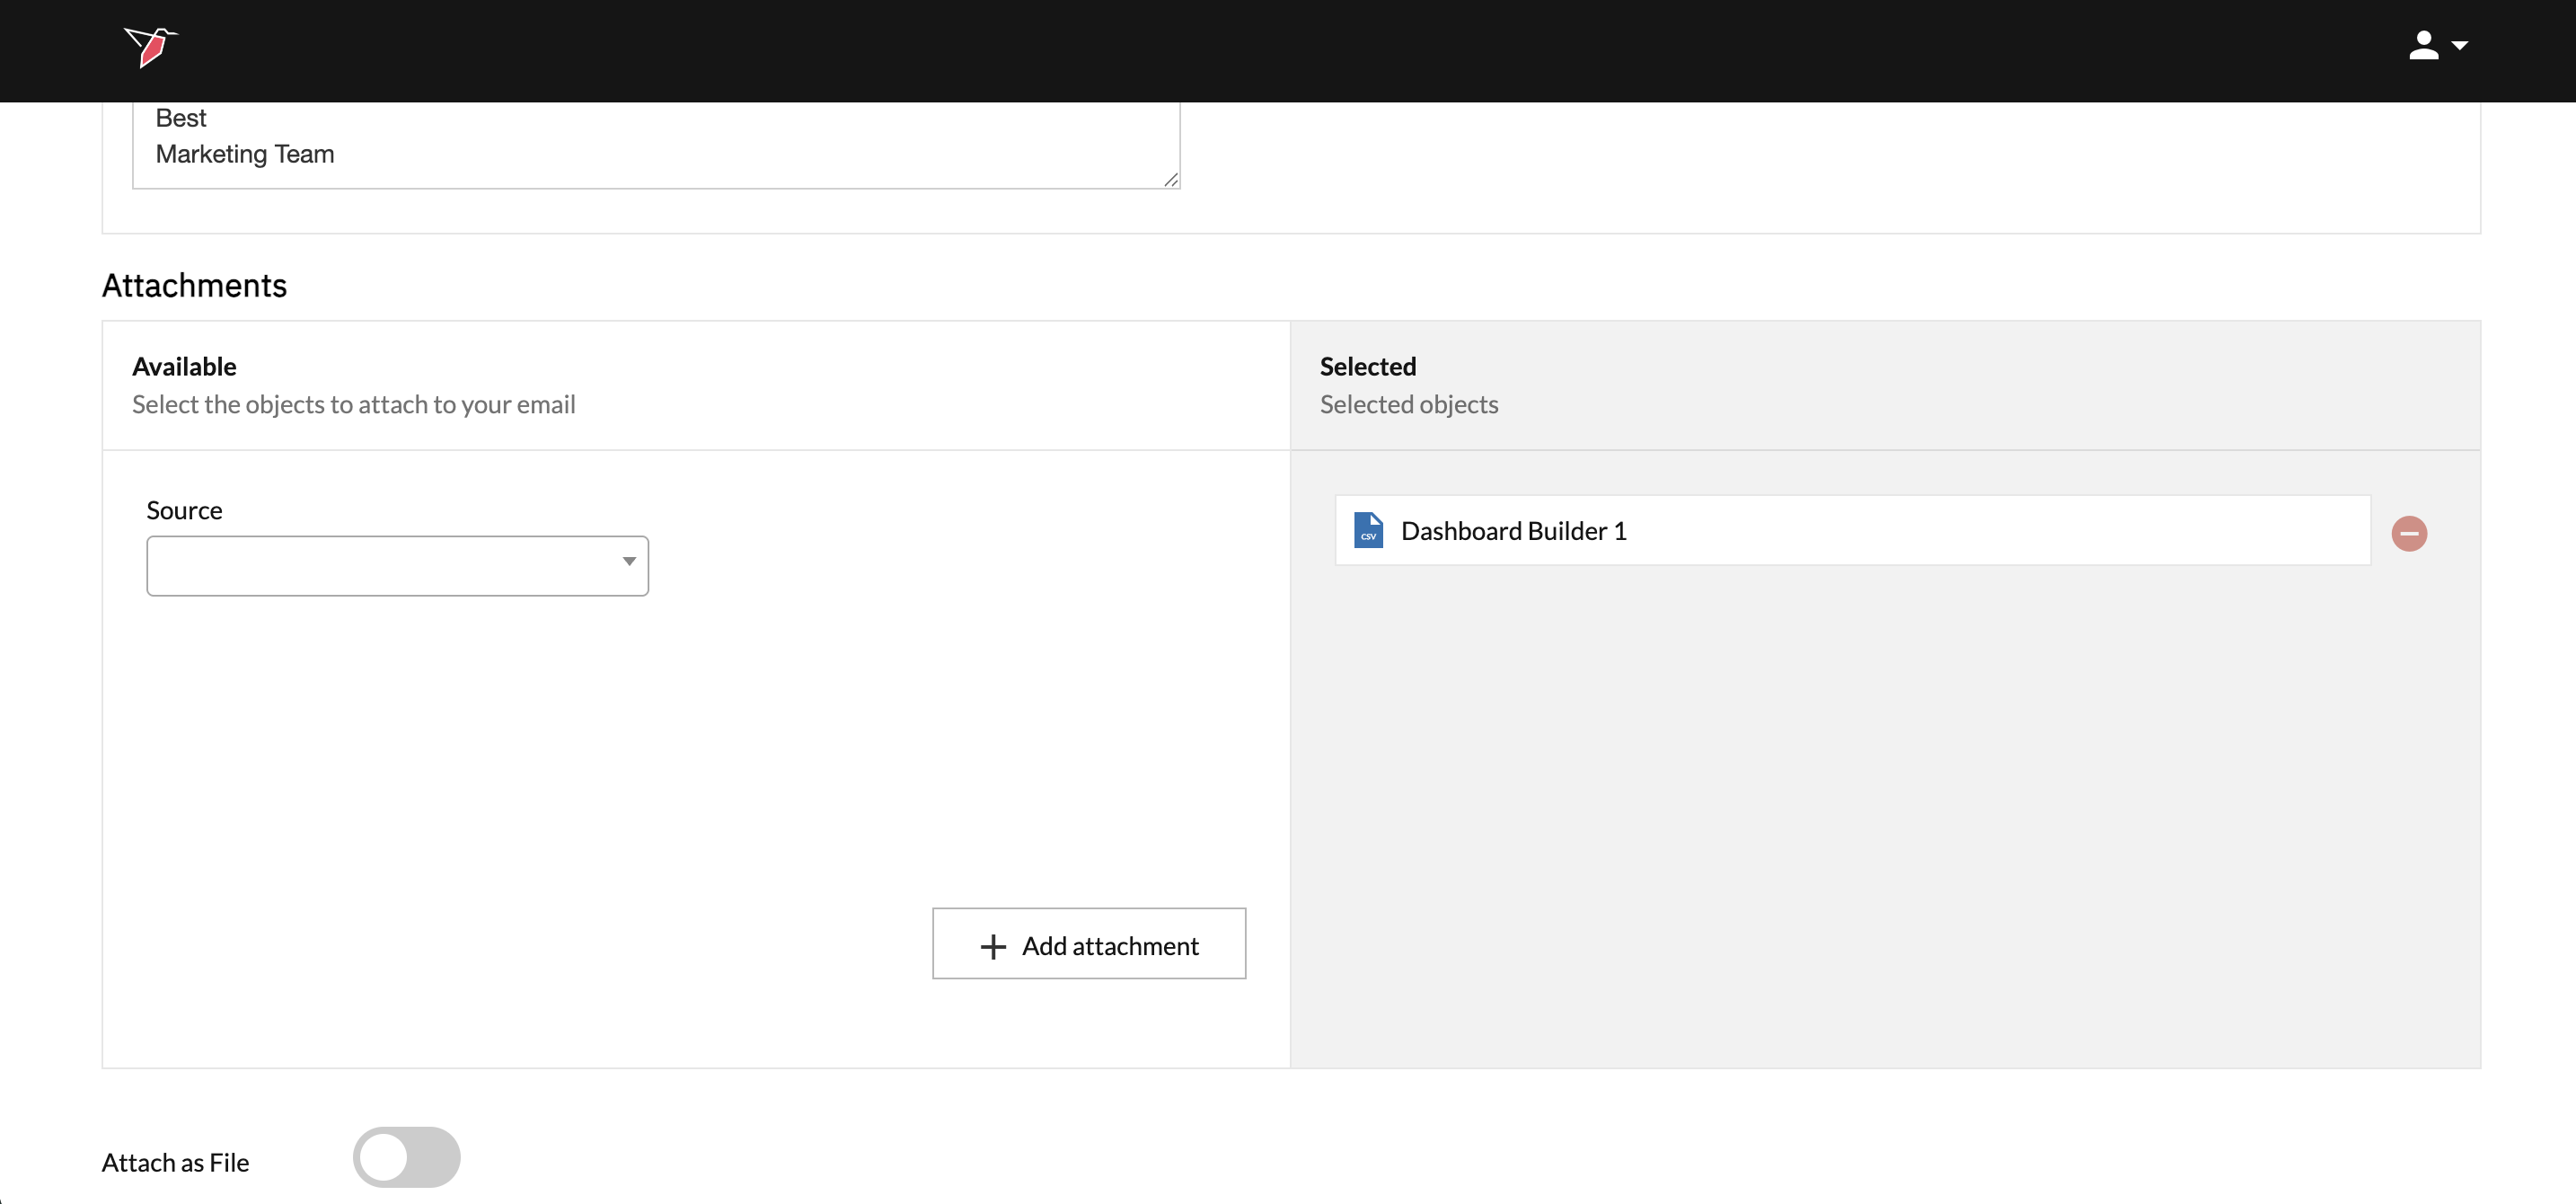
- In the Attachments section, select which outputs to include in the email.
Attaching a Dataset
- Set Source to Process
- In the Dataset dropdown, select the dataset you wish to send
- Click Add Attachment
Attaching a Dashboard
- Set Source to Utilize
- Set Utilize App to Dashboard Builder
- Select the dashboard from the Dashboard dropdown
- Click Add Attachment
- All selected attachments appear in the Selected Attachments list on the right-hand side. Use the minus (–) icon to remove any attachment.
- At the bottom of the configuration panel, you’ll find the Attach as file toggle.
- Off (default):
Attachments are sent as links in the email (for example, a link to download a dataset as a CSV). - On:
Files are included directly as email attachments.
- Off (default):
- Once all settings are complete, click Done in the top-right corner of the configuration panel.
Running the Send Email Node
The Send Email node is typically executed as part of an automated workflow. When the node runs, the email is sent immediately, containing the latest output produced by the upstream Dataset or Dashboard Builder node.
For Dataset nodes, the email contains the current version of the dataset. For Dashboard Builder nodes, a refreshed PPT is generated whenever you either (a) manually click Generate New File in the right-side panel within the Download Menu (see here), or (b) run the Dashboard Builder node. If neither has occurred since the last run, the email will send the most recently available PPT.
To schedule automated runs, see Running Nodes and Workflows. You can also configure the workflow to trigger the email send only when one or more objects have been updated — see Trigger Nodes for more on trigger logic.
Updated 3 months ago