Google Trends
For more general information on data collection in Redbird, check out: Getting Started With Data Collection
This guide explains how to set up access and collect data from the Google Trends platform which provides indexed metrics on searches made through Google. You are required to prepare a reference file with the Country, Topic, and Keywords that you wish to pull trend metrics for. You can pull data for indexed search volume (interest over time) or related queries. See the example file format attached to this guide for reference.
If you cannot see the Google Trends collection app in the left-side panel on the workflow canvas, refer to: Enabling Collection Apps Guide
Creating a Collection
- Double-click on the node to enter configuration mode
- Name your collection in the Configuration Name box
- Upload a CSV file with the list of Google Trends Keywords (along with Country and Topic) by clicking Choose File, then selecting your file, then clicking Upload
- From the Parameters section choose the collection type: either Related Queries or Interest over time
- For Interest over time, select:
- If you want to search as a topic when available (instead of searching as a term)
- Timeframe Granularity: Choose from:
- Daily
- Weekly
- Monthly
- Quarterly
- Yearly
- Aggregation: Choose from:
- Keyword
- Geolocation and Topic
- Geolocation
- Topic
- If you require search volumes for Related Queries to be included
- For Related Queries you can choose whether you wish to search as a topic when available (instead of searching as a term)
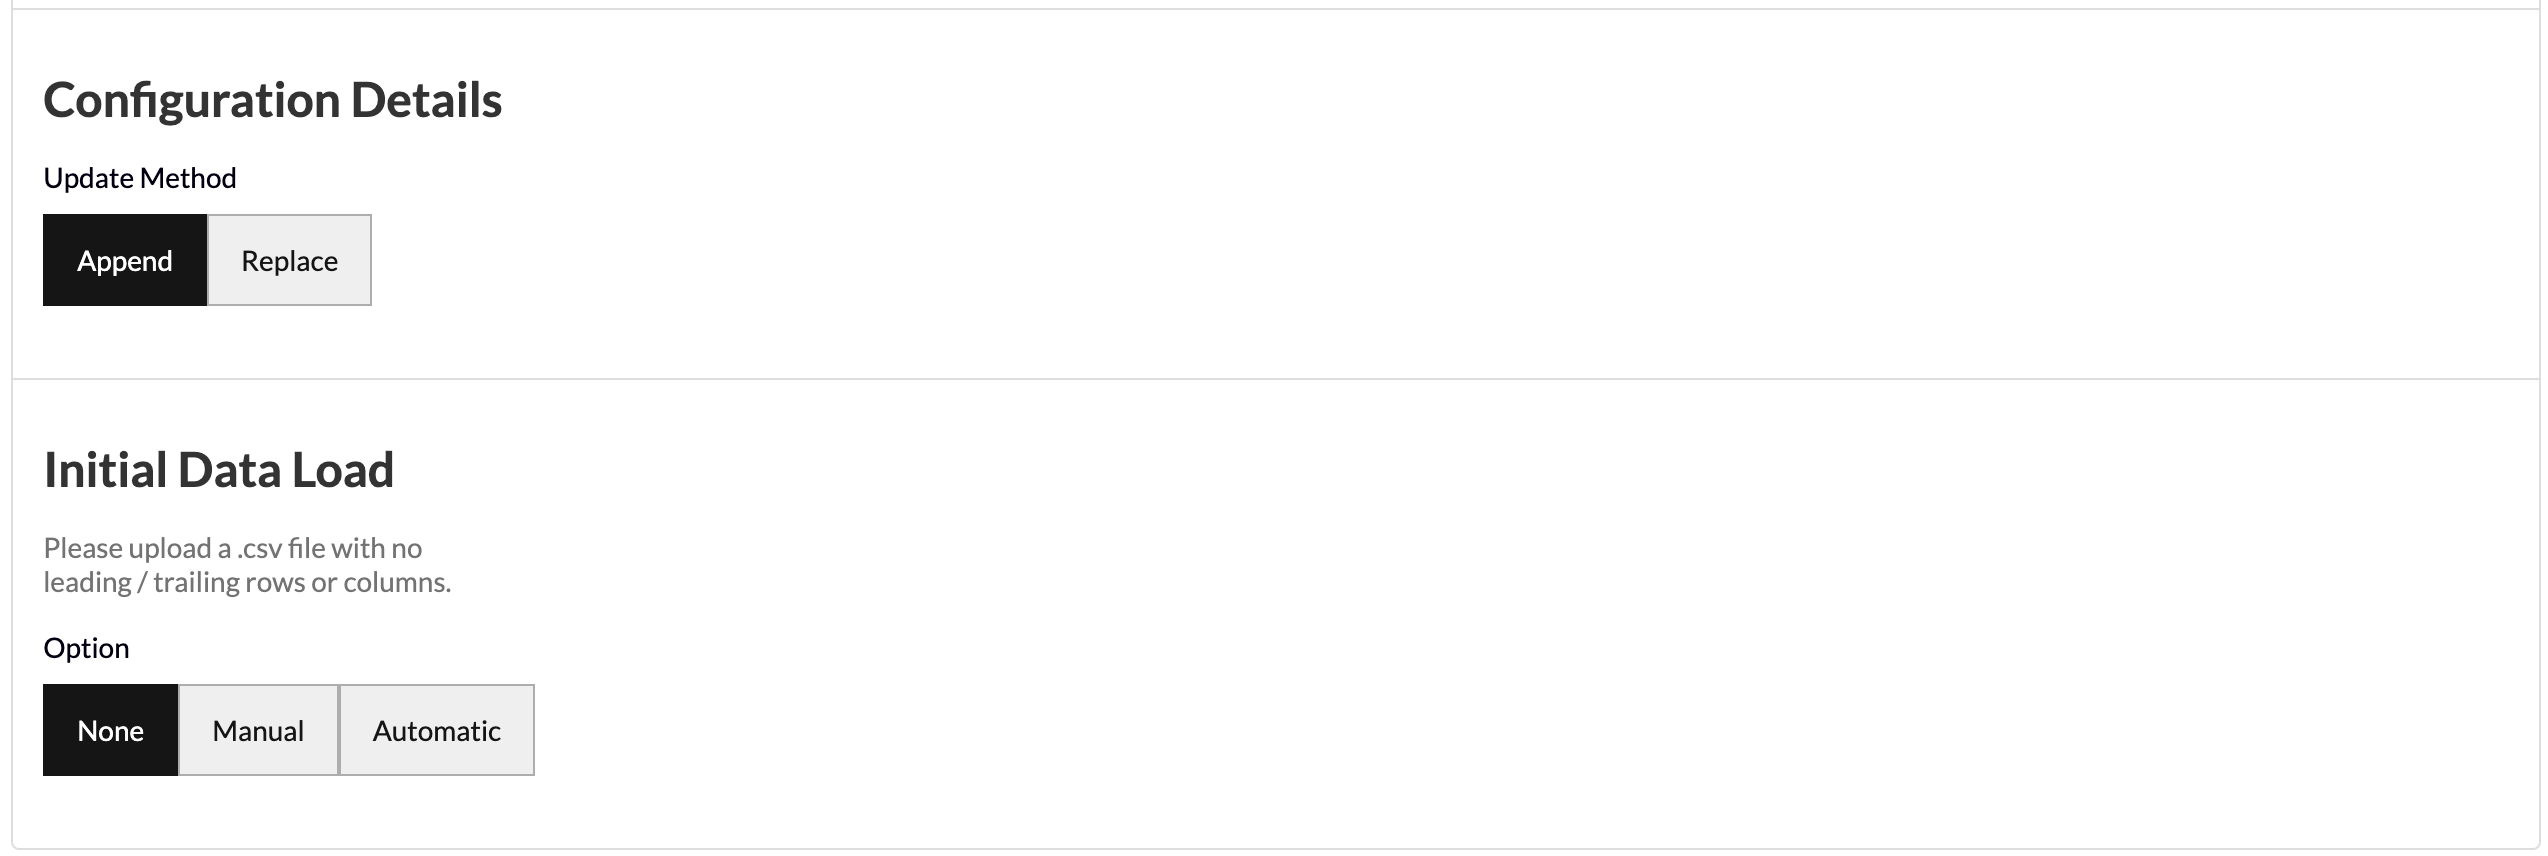
- Update Method allows you to select how you want your data to aggregate when you run future data pulls. Append keeps the historical data and adds the future data pulls below. Replace deletes the historical data and generates the new data in its place.
- Initial Data Load allows you to upload historical data in bulk as a one-off in the event that you have the data saved on your computer. You can upload your data as a CSV file with no leading/trailing rows or columns and Redbird will run future data collections using the configuration that you set up in previous steps.
- Click Done
Running a Collection
- Click on the node.
- In the right-side panel click Run
- If date selection is set to manual, then the workflow will be stopped for you to input dates. Click Review on the node.
- Select the Start date and End date of the period you would like to cover.
- Click Back to Workflow
- Click Continue on the node.