Salesforce
For more general information on data collection in Redbird, check out: Getting Started With Data Collection
This guide explains how to pull existing reports from Salesforce to build insights on top of your data in Redbird. You will need to use your Salesforce credentials to log in to the platform.
If you cannot see the Salesforce collection app in the left-side panel on the workflow canvas, refer to: Enabling Collection Apps Guide
Creating a Collection
- Double-click on the node to enter configuration mode
- Click the pencil next to Configuration Name to name your collection
- Click the Gear Icon next to the credentials drop-down to register your credentials. Click Add New Login and enter a reference name for the credentials under Name, and enter your Salesforce domain under Salesforce Domain then click Login with Salesforce. This will direct you to your domain to log into Salesforce and once you finish logging in, you will be redirected back to Redbird.
Note:You can enter more than one set of credentials if needed.
- Select the Report Type you wish to use from the drop-down. You can also toggle to the Query configuration if you have a SOQL query you want to use to pull Salesforce reporting.
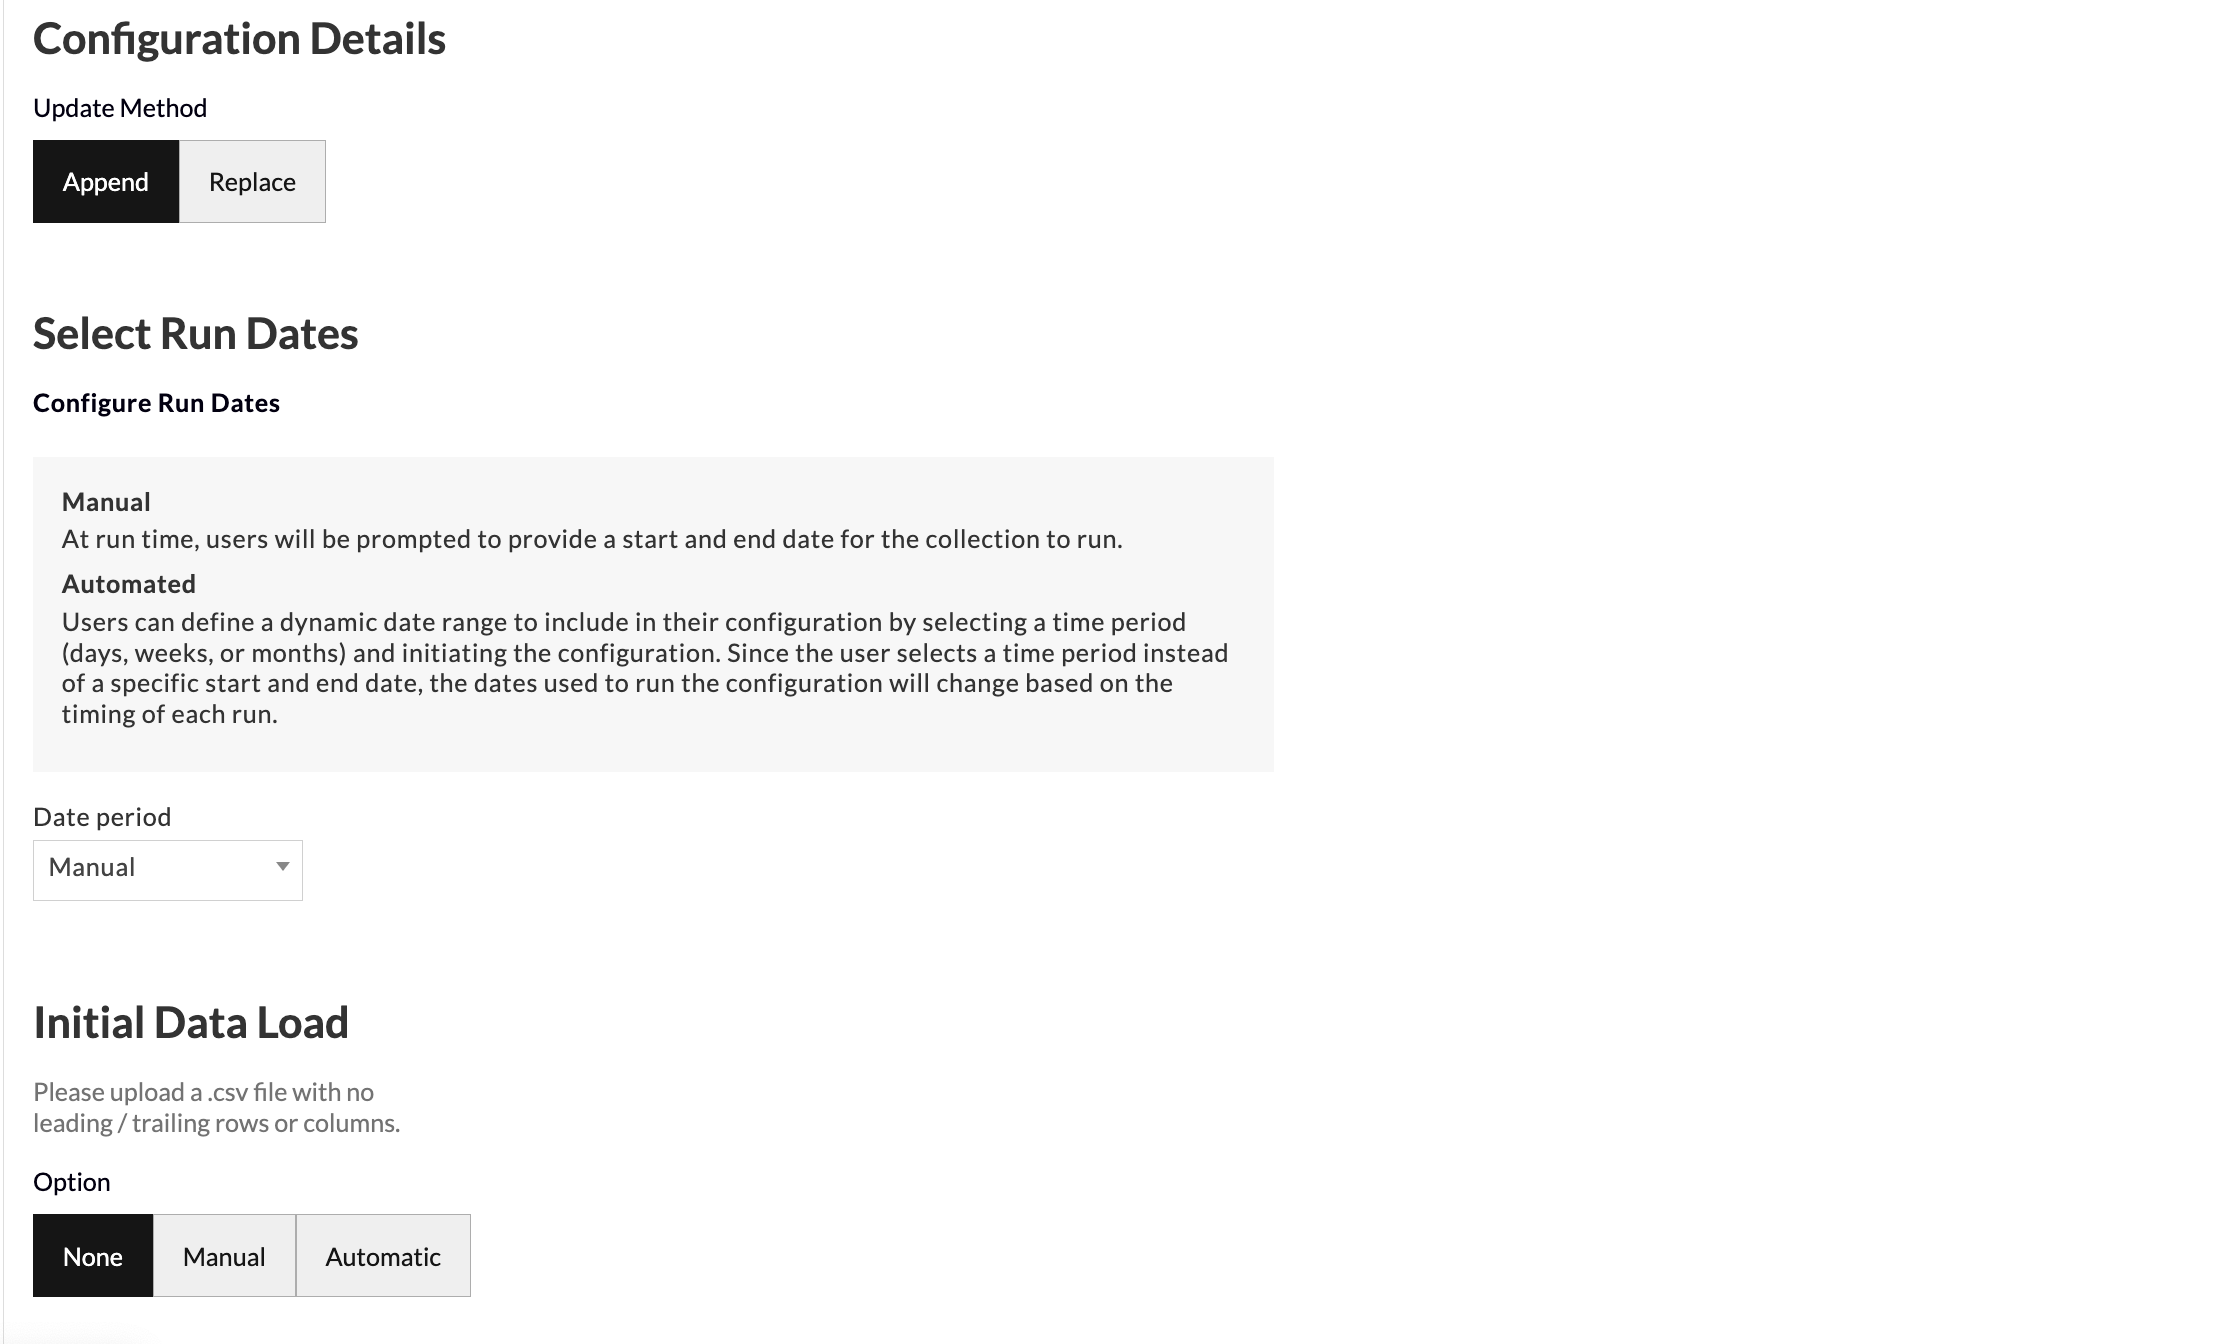
- Update Method allows you to select how you want your data to aggregate when you run future data pulls. Append keeps the historical data and adds the future data pulls below. Replace deletes the historical data and generates the new data in its place.
- Select Run Dates allows you to set the input date period method for your data collection as manual or automatic.
- When set to manual, at run time, users will be prompted to provide a start and end date for the collection to run.
- When set to automatic, users can define a dynamic date range to include in their configuration by selecting a time period (days, weeks, or months) and initiating the configuration. Since the user selects a time period instead of a specific start and end date, the dates used to run the configuration will change based on the timing of each run.
- Initial Data Load allows you to upload historical data in bulk as a one-off in the event that you have the data saved on your computer. You can upload your data as a CSV file with no leading/trailing rows or columns and Redbird will run future data collections using the configuration that you set up in previous steps.
- Click Done
Running a Collection
- Click on the node.
- In the right-side panel click Run
- If date selection is set to manual, then the workflow will be stopped for you to input dates. Click Review on the node.
- Select the Start date and End date of the period you would like to cover.
- Click Back to Workflow
- Click Continue on the node.