Moving Workflows
Moving workflow canvases or folders.
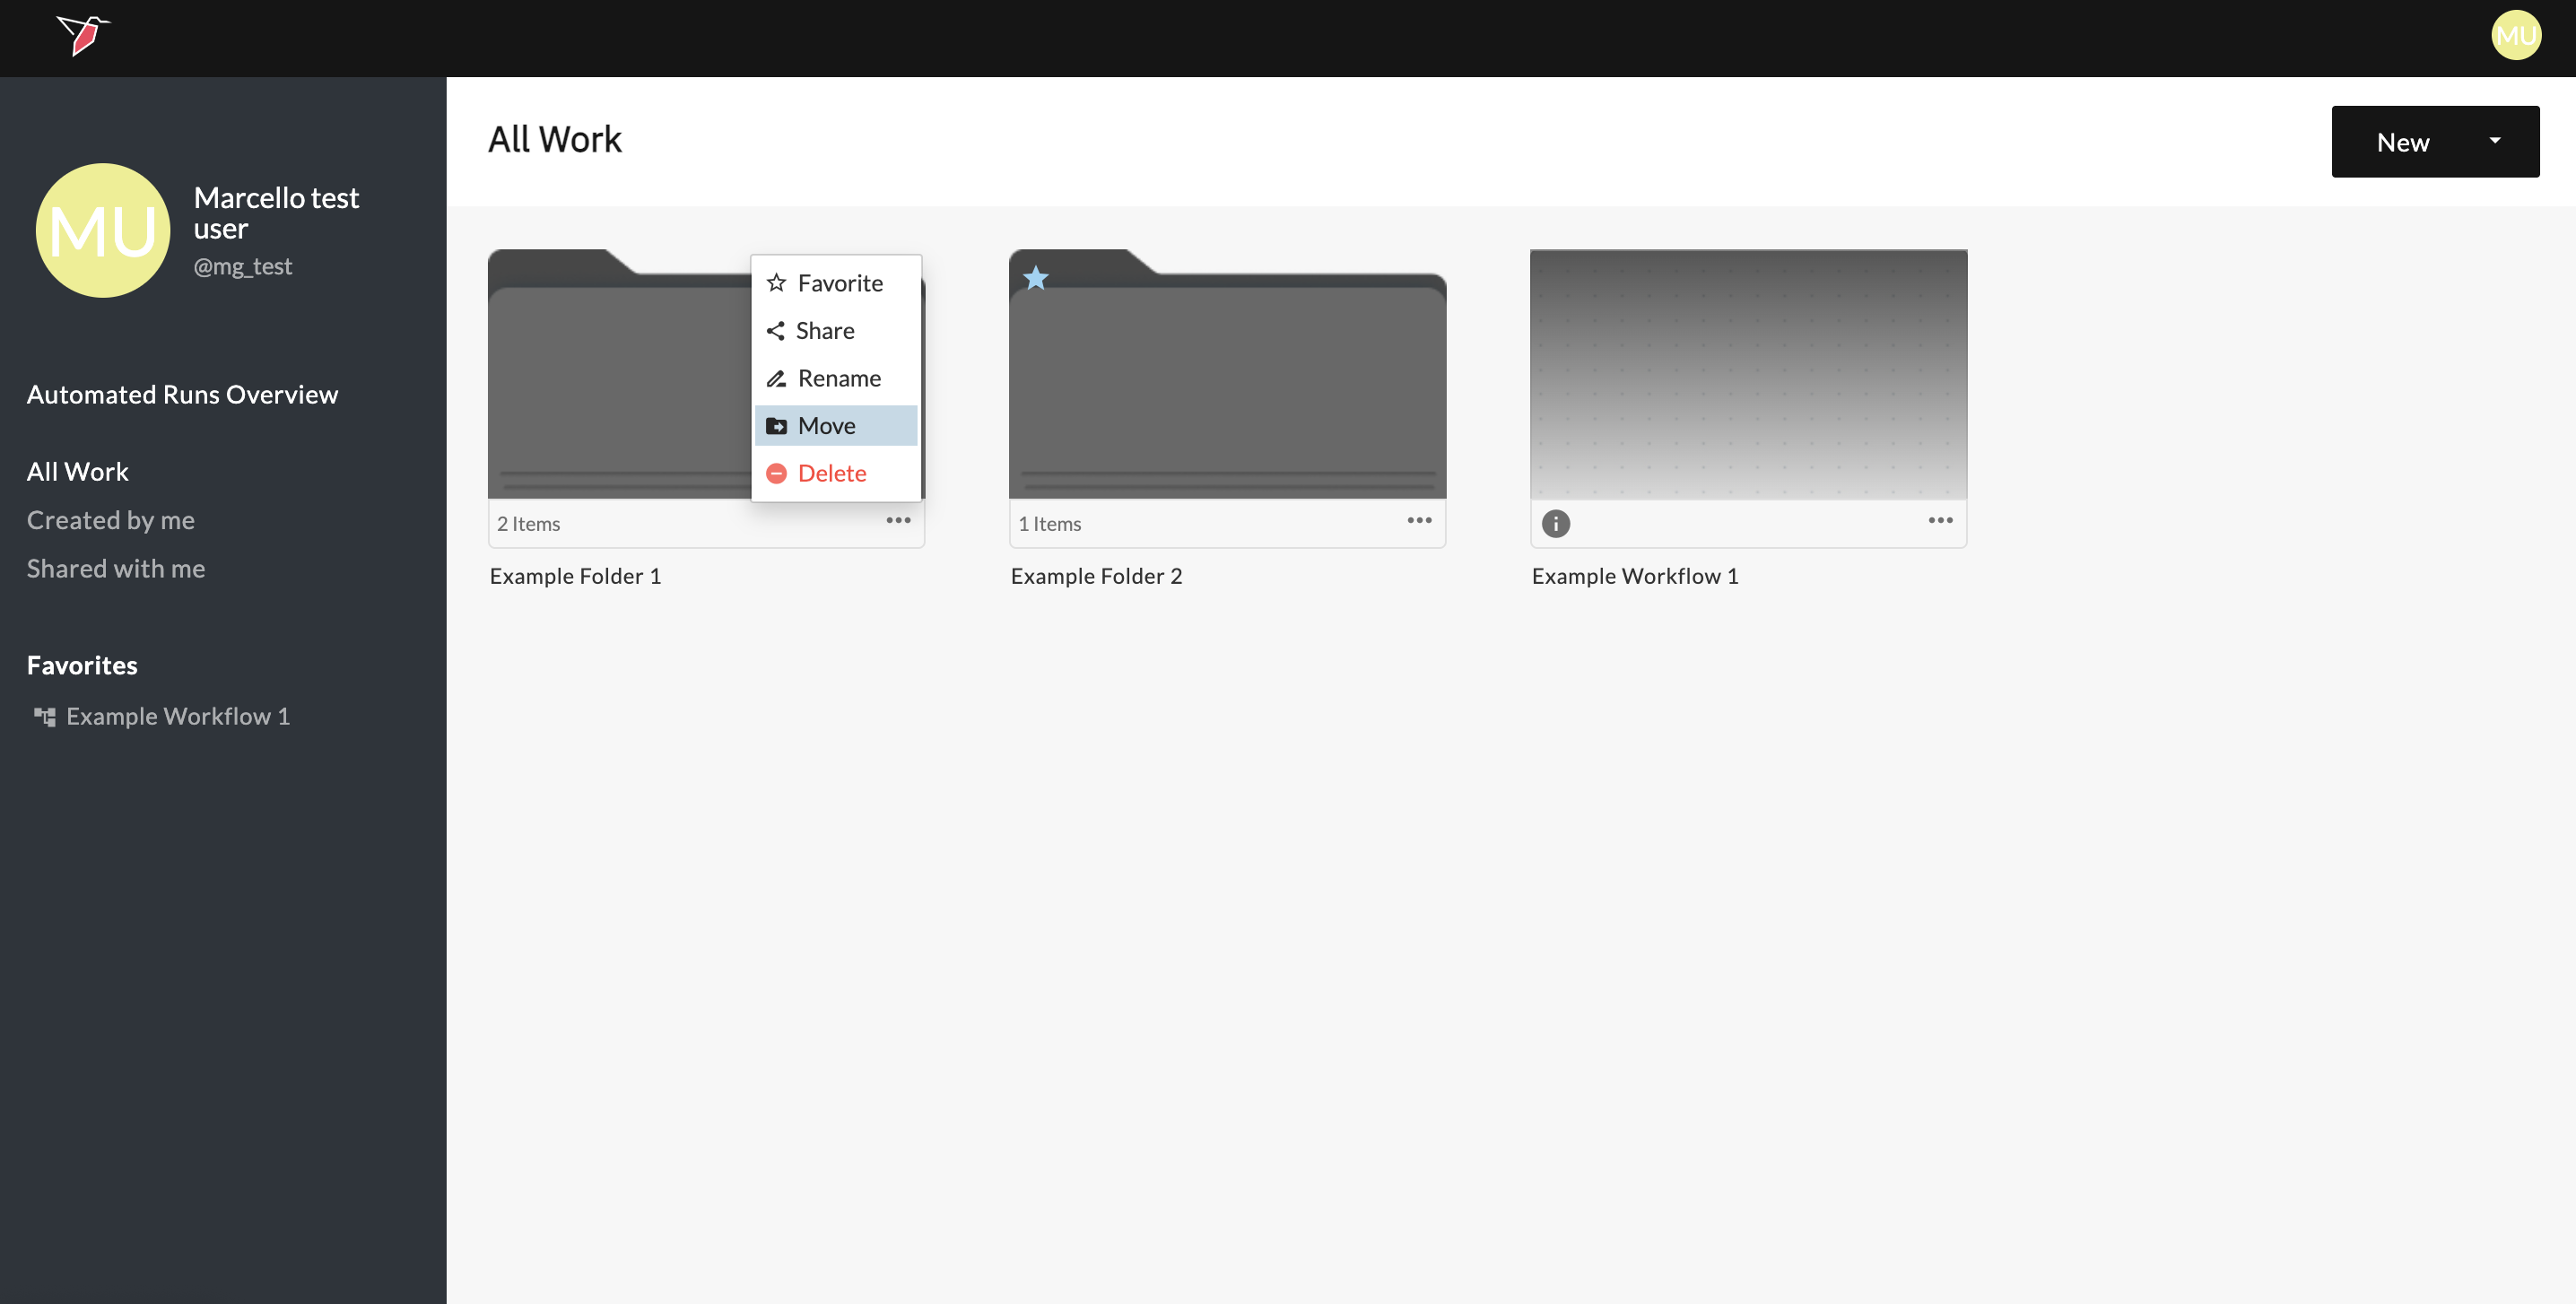
Within Redbird, you can move workflow canvases or folders. To do this:
- Click the three dots in the bottom-right corner of the folder or workflow canvas you want to move, then select Move.
-
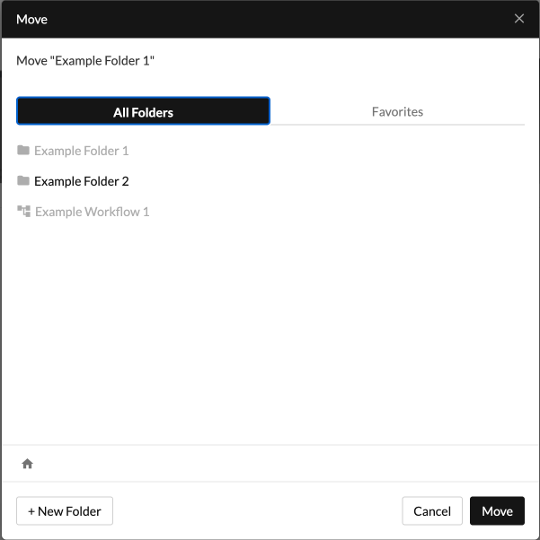
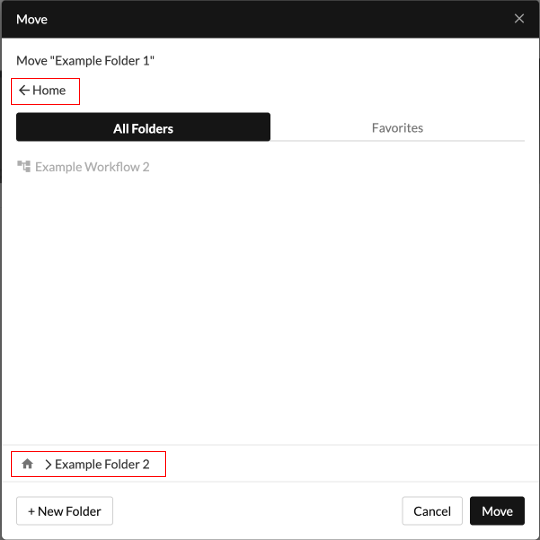
In the Move Object modal, you’ll see two tabs you can toggle between:
- All folders (default) — shows every folder you have access to. This view always starts at the root folder (your home page).
- Favorites — shows only your favorited folders.
-
In either view, you’ll see a list of folders you can navigate into. (You’ll also see any workflows inside those folders, but these are shown for information only and are greyed out.)
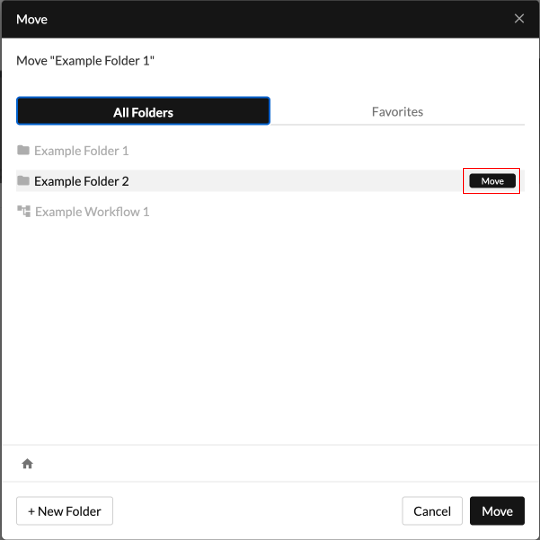
- As you hover over a folder, a Move button appears on the right. Clicking it moves the object directly into that folder.
- Alternatively, you can click once on a folder to open it and view its contents. The breadcrumb path at the bottom shows your current location and allows you to jump back to any folder along the path, while the back arrow at the top of the modal takes you to the previously viewed folder.
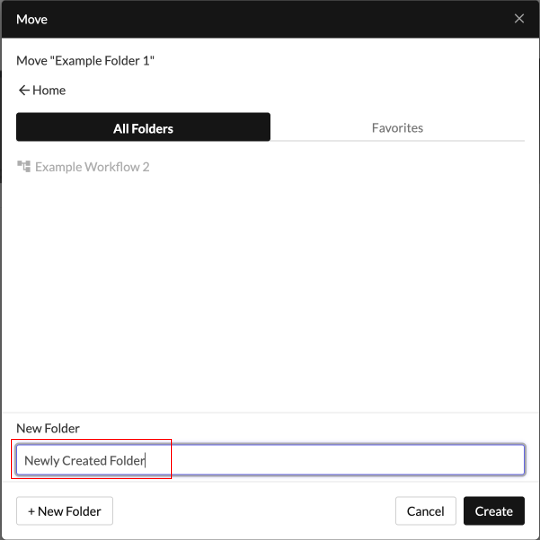
- If you want to create a new folder to move your item into, navigate to the destination folder and click + New Folder.

- Name the new folder in the input box.
- Once you’ve navigated to the folder you want, click Move in the bottom-right corner of the modal to complete the action.

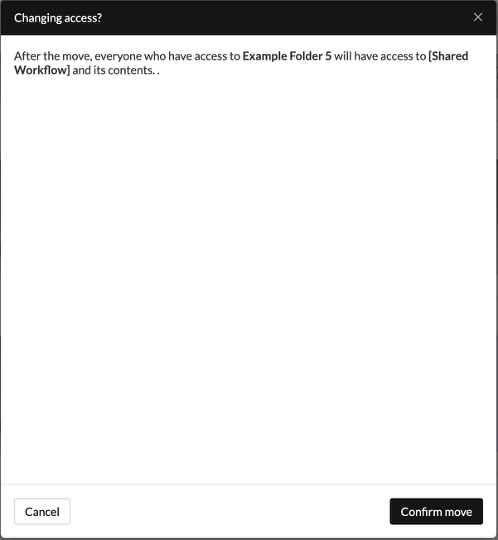
Note: If the object you’re moving has different permission levels from the destination folder—for example, if the destination folder includes users who do not currently have access to the object—you’ll see a warning message. Confirming the move will grant all users with access to the destination folder access to the object you’re moving.