Checkpoints
Overview
Checkpoints let you attach conditional logic to a node so it only runs when a defined condition is met. The condition is written in natural language and combines one or more signals using and/or logic, optionally with time-based logic.
Checkpoints are evaluated every time the node is run (manually, on a schedule, or via a triggered workflow run, see Running Nodes and Workflows). If the condition is not met, the node and any direct downstream nodes are not run.
Prerequisite: Signals
Checkpoints rely on signals. Signals are events emitted by nodes that other parts of the canvas can react to. The data or event logic for what counts as a signal firing (e.g., "the dataset has more than 100 rows", "the node has updated") is defined within the signal itself, not within the checkpoint.
There are two types of signals:
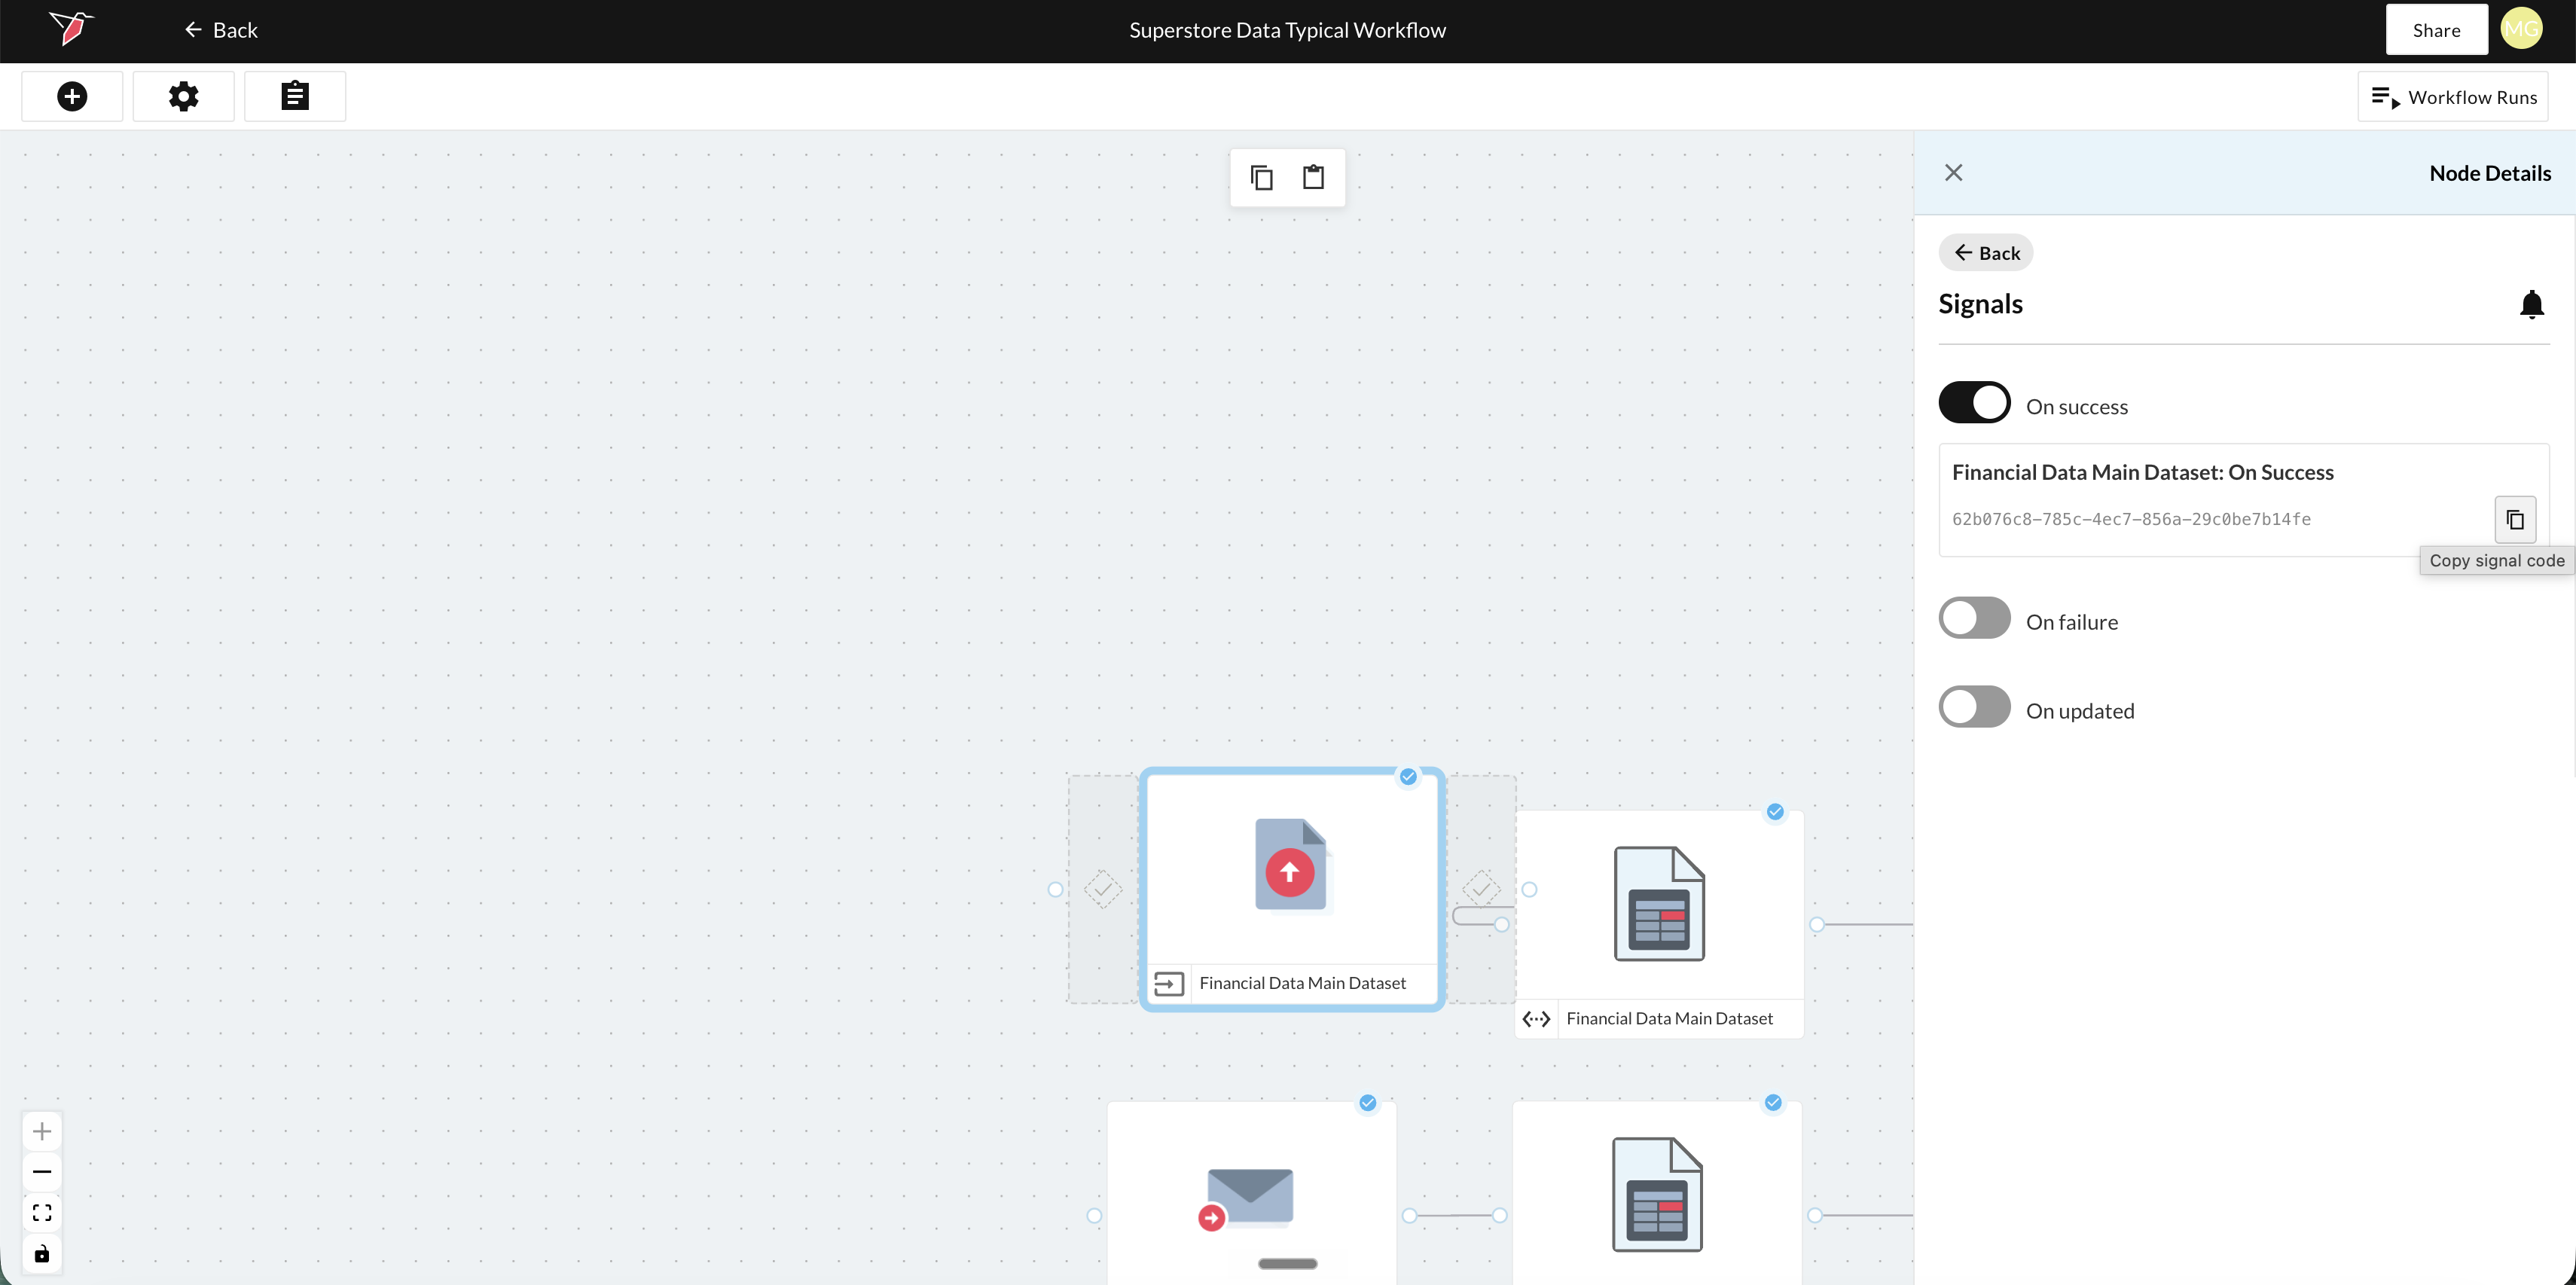
- Out-of-the-box node signals. Every node can emit signals for whether it has run successfully, been updated, or errored. To use these, click on the node, click Signals in the right-side panel, then enable the relevant signals by toggling them on. Each of those will create a unique code that can be copied and pasted into a checkpoint or if running a triggered workflow on the same canvas, these will be automatically available.
- Custom signals from AI DT nodes. AI DT nodes can be configured to emit signals based on custom logic (e.g., fire when the dataset has more than 100 rows). See AI DT documentation for setup details.
To use a signal in a checkpoint, the signal must be available to that checkpoint. This works one of two ways:
- The node emitting the signal is directly connected to the node where you're building the checkpoint. In this case, the signal appears automatically in the Signals panel.
- You copy the signal code from the source node and paste it into the checkpoint. This is how you reference signals from a different canvas, or from a node that isn't directly connected.
Redbird collects timestamp data for every signal fire, which means checkpoint conditions can include time-based logic across one or more signals (e.g., "run this node if this signal fired every day over the last week").
Note - A signal is created in AI DT when you run the step (or, for an individual node's out-of-the-box signal, when you toggle the signal on). However, it only begins actively firing once that node has been run. If you reference a signal in a checkpoint before its node has run, evaluation returns the message: "Signal: signal_name has been created but has not fired yet."
Adding a Checkpoint
A checkpoint can be placed in one of two positions relative to a node:
- Before node runs. Evaluated before the node executes. If the condition is not met, the node is skipped.
- After node runs. Evaluated after the node executes. Determines whether downstream nodes proceed based on the outcome.
To add a checkpoint:
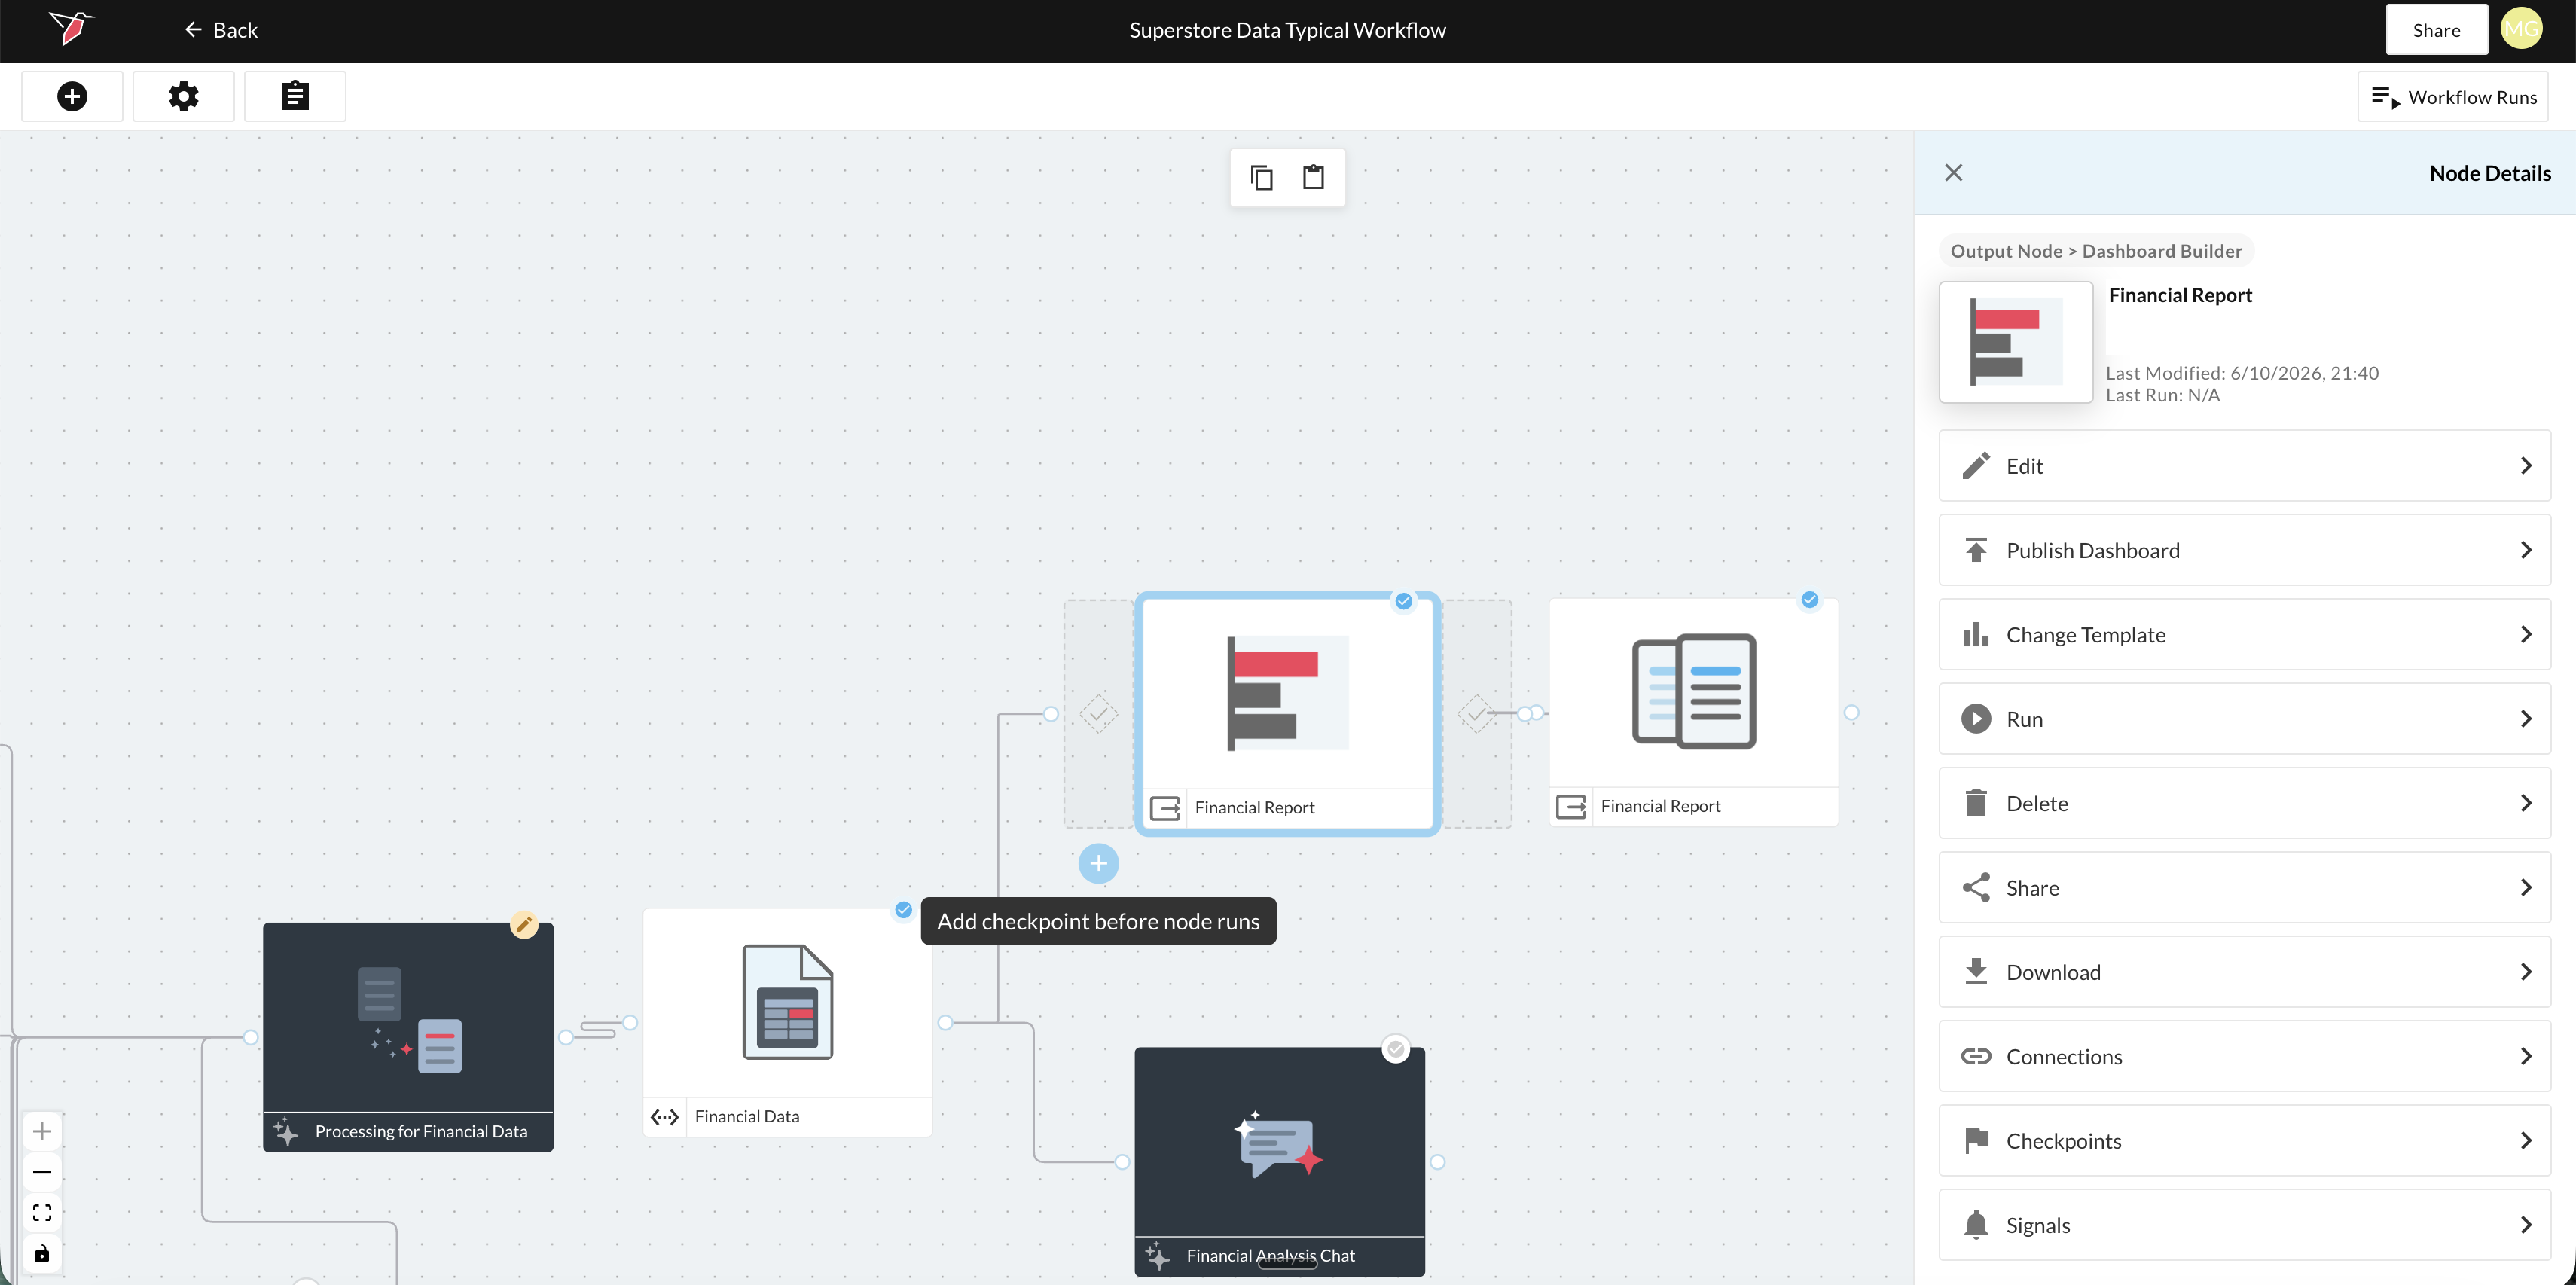
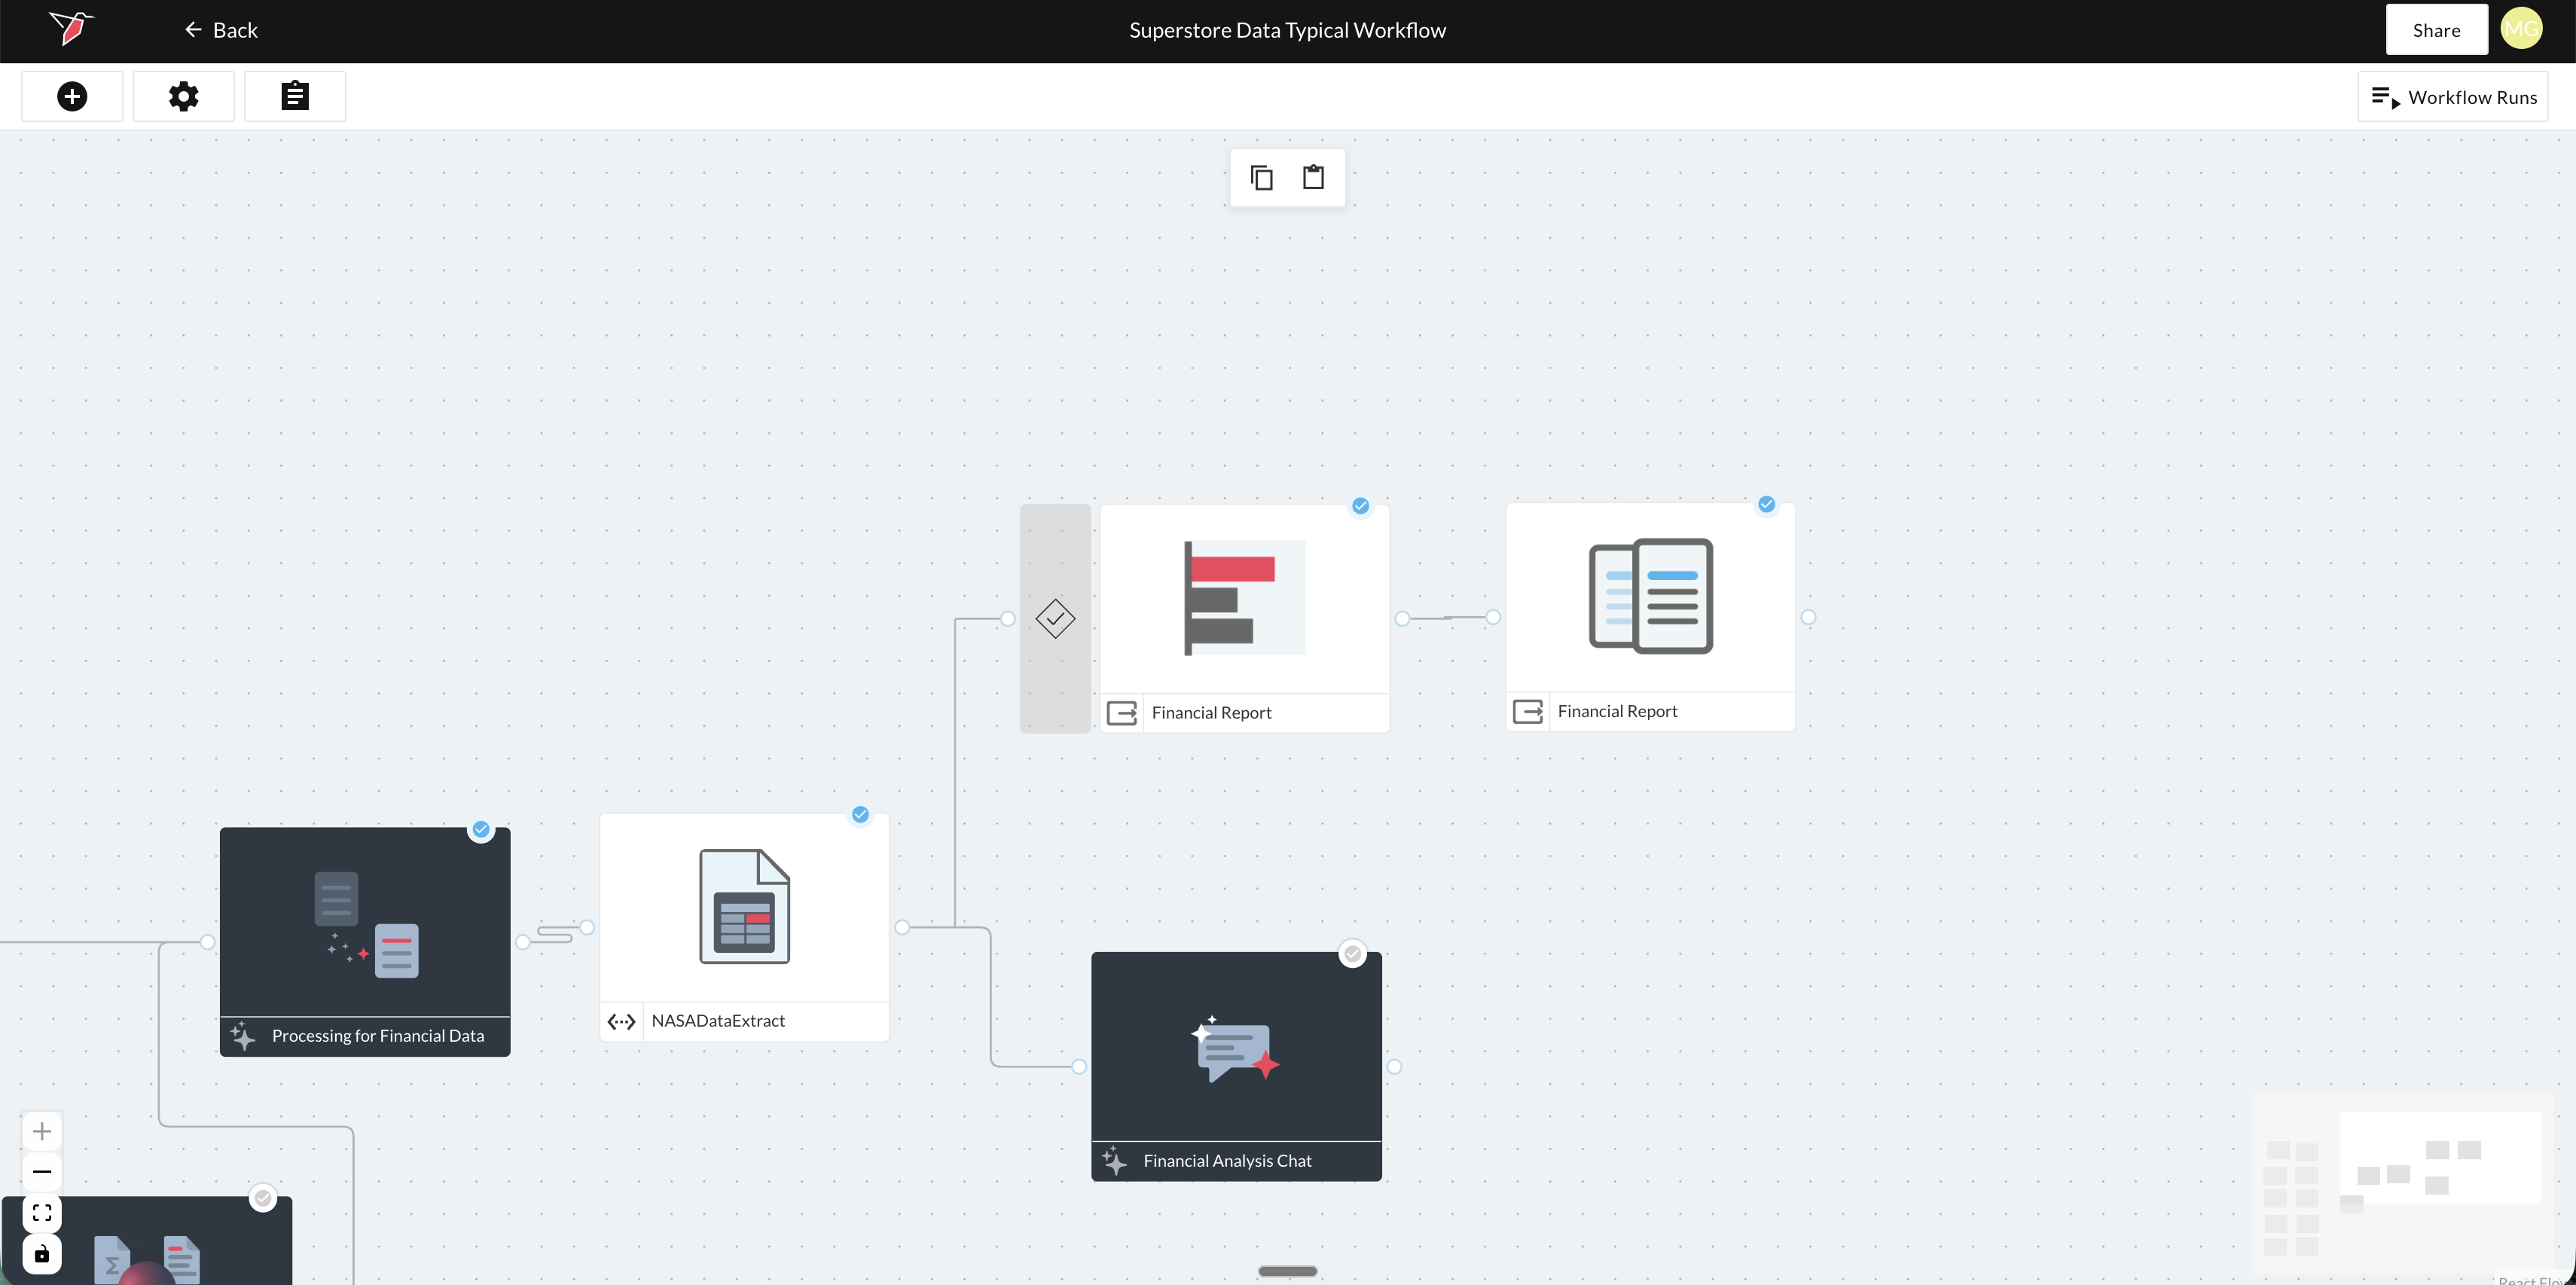
- Click on the node on the canvas. Two diamond-shaped flaps will appear on either side of the node. The left flap represents the "before" checkpoint position, and the right flap represents the "after" checkpoint position. Both appear hollow when no checkpoint has been added yet.
- Click the blue + icon at the bottom of the node and select either Add checkpoint before node runs or Add checkpoint after node runs.
Configuring the Checkpoint
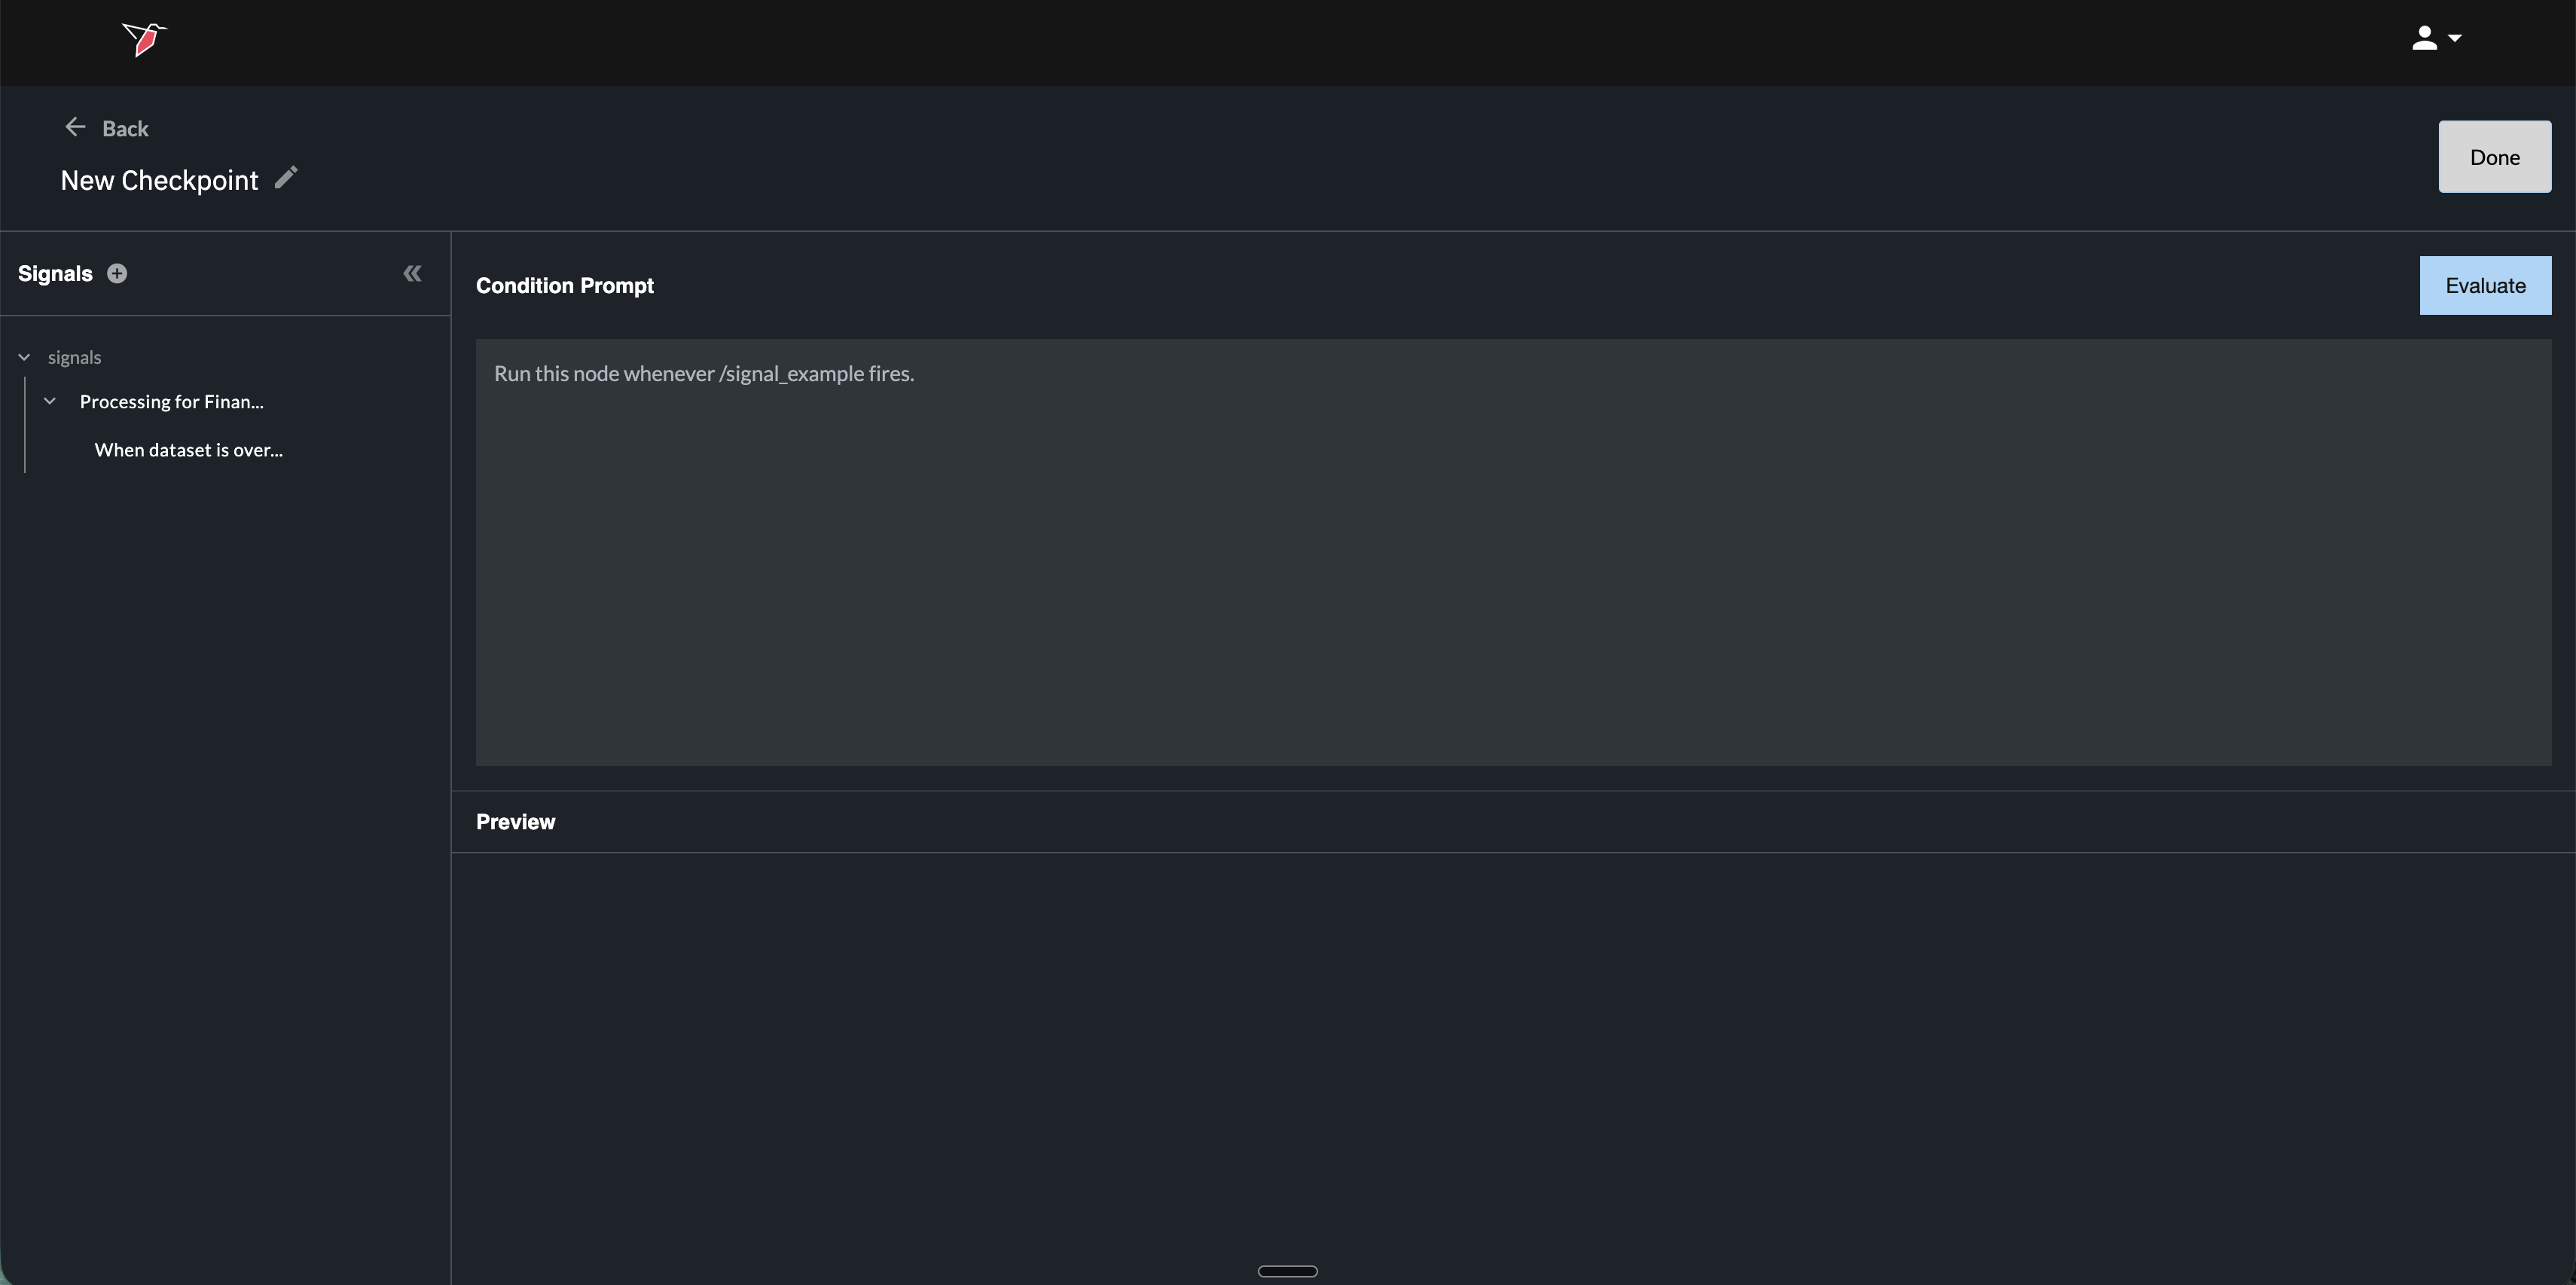
Clicking Add takes you to the New Checkpoint configuration screen.
Naming the checkpoint
Click the pencil icon next to the checkpoint name at the top to rename it.
Signals panel (left)
The Signals panel on the left shows all signals available to reference in this checkpoint.
- Expand the Signals section to see all signals directly connected to this node.
- To reference a signal that isn't directly connected (e.g., from a different canvas or an unconnected node), click the + icon next to Signals and paste in the signal code.
Condition prompt
Write the condition for the checkpoint in natural language in the Condition Prompt box. The condition can only combine signals using and/or logic and optional time-based logic. It cannot define new data or event logic; that must already be defined in the signals themselves.
- To reference a signal, type
/and select it from the dropdown. - Examples:
- "Run this node when [Signal A] fires."
- "Run this node if [Signal A] or [Signal B] fires"
- "Run this node when [Signal A] and [Signal B] fire, but not [Signal C]."
- "Run this node when [Signal A] has fired every day over the last week."
Example use case: You want a workflow to run weekly, but only if a daily data file has successfully landed in an inbox and been processed every day for the previous week. You would set up an out-of-the-box "Updated" signal on the dataset node (or a custom signal in AI DT), then write a checkpoint condition like "Run this node when [Dataset Updated Signal] has fired every day over the last week."
Evaluate and save
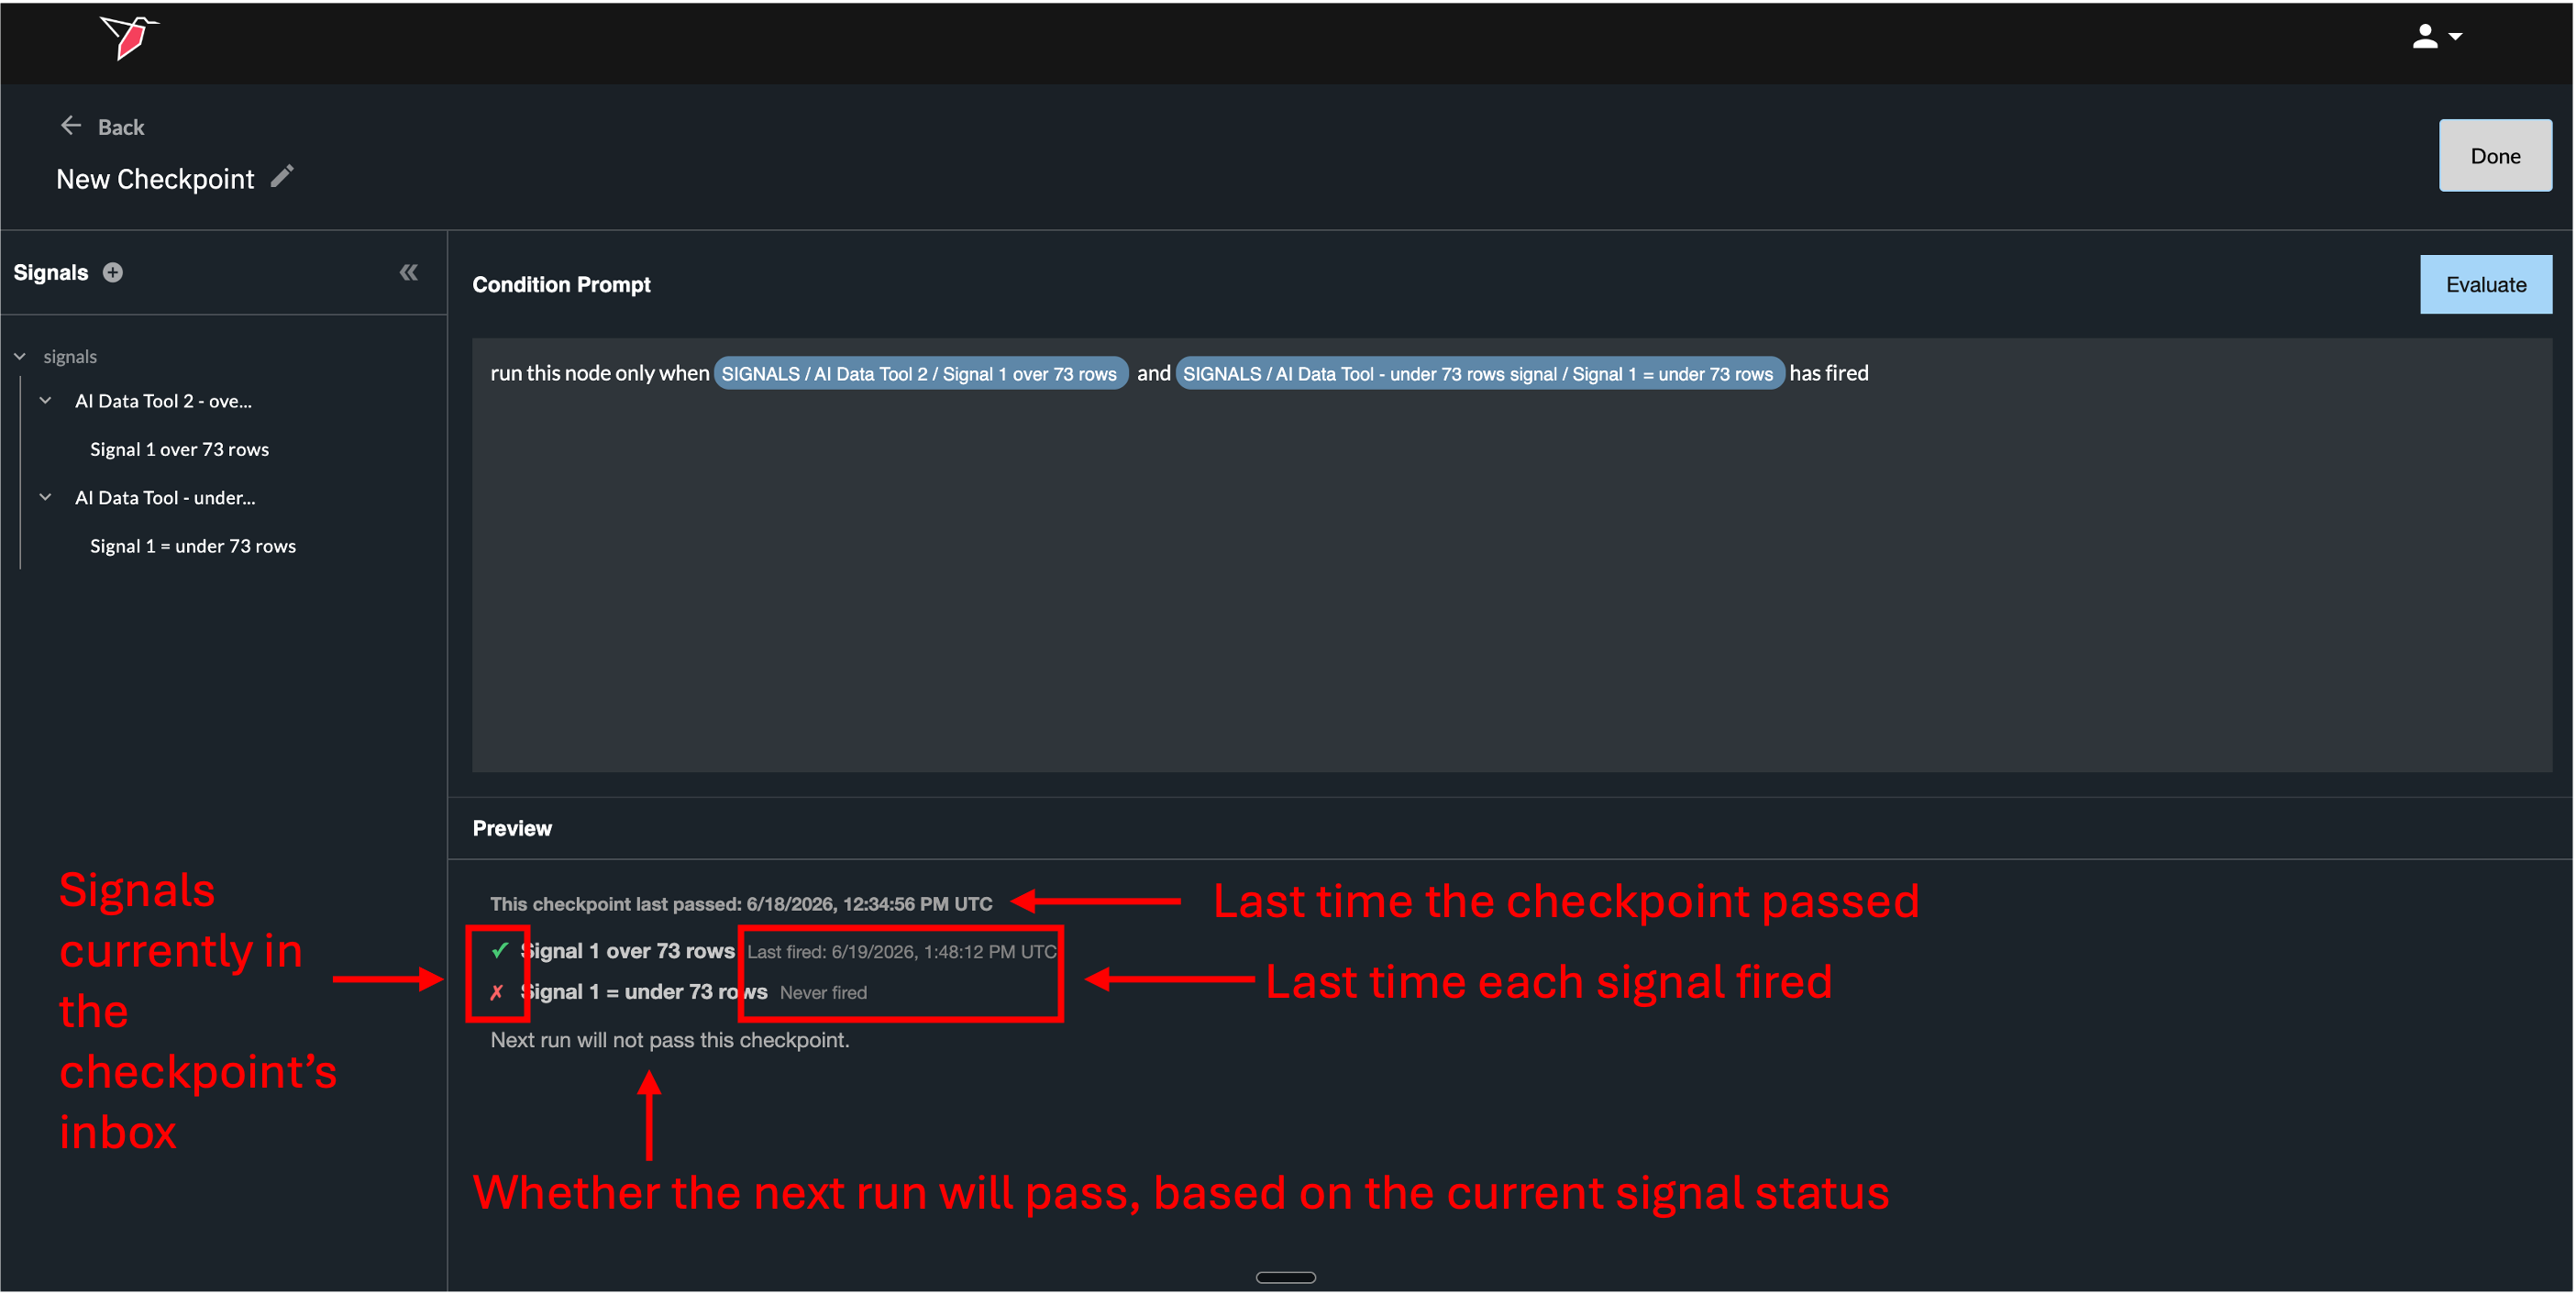
Click Evaluate to test the condition against the current state of the signals. This populates the Preview panel, which shows:
- This checkpoint last passed: the date and time the checkpoint last evaluated successfully.
- Subscribed signals: each signal referenced in the condition, marked with a tick if it has fired or a cross if it has not, along with the time it last fired (or "Never fired").
- Outcome: a summary line stating whether the next run will or will not pass the checkpoint, based on the current status of the signals.
Click Done to save the checkpoint and return to the canvas.
Once saved, the previously hollow flap on the node will appear filled in with a tick to indicate an active checkpoint is in place.
Note: A checkpoint begins collecting signals into its inbox as soon as they are added to the condition prompt (i.e., as soon as the checkpoint subscribes to them). The inbox is cleared each time the node runs, after which the checkpoint starts collecting newly fired signals again.
Once saved, the previously hollow flap on the node will appear filled in with a tick to indicate an active checkpoint is in place.
Managing Checkpoints from the Node Panel
Once a checkpoint has been added, you can manage it from the Checkpoints section of the node's right-hand panel.
- Click on the node.
- In the right-hand panel, click Checkpoints.
- Toggle between the Before node runs and After node runs tabs to see which checkpoints exist in each position.
[Screenshot: Checkpoints right panel]
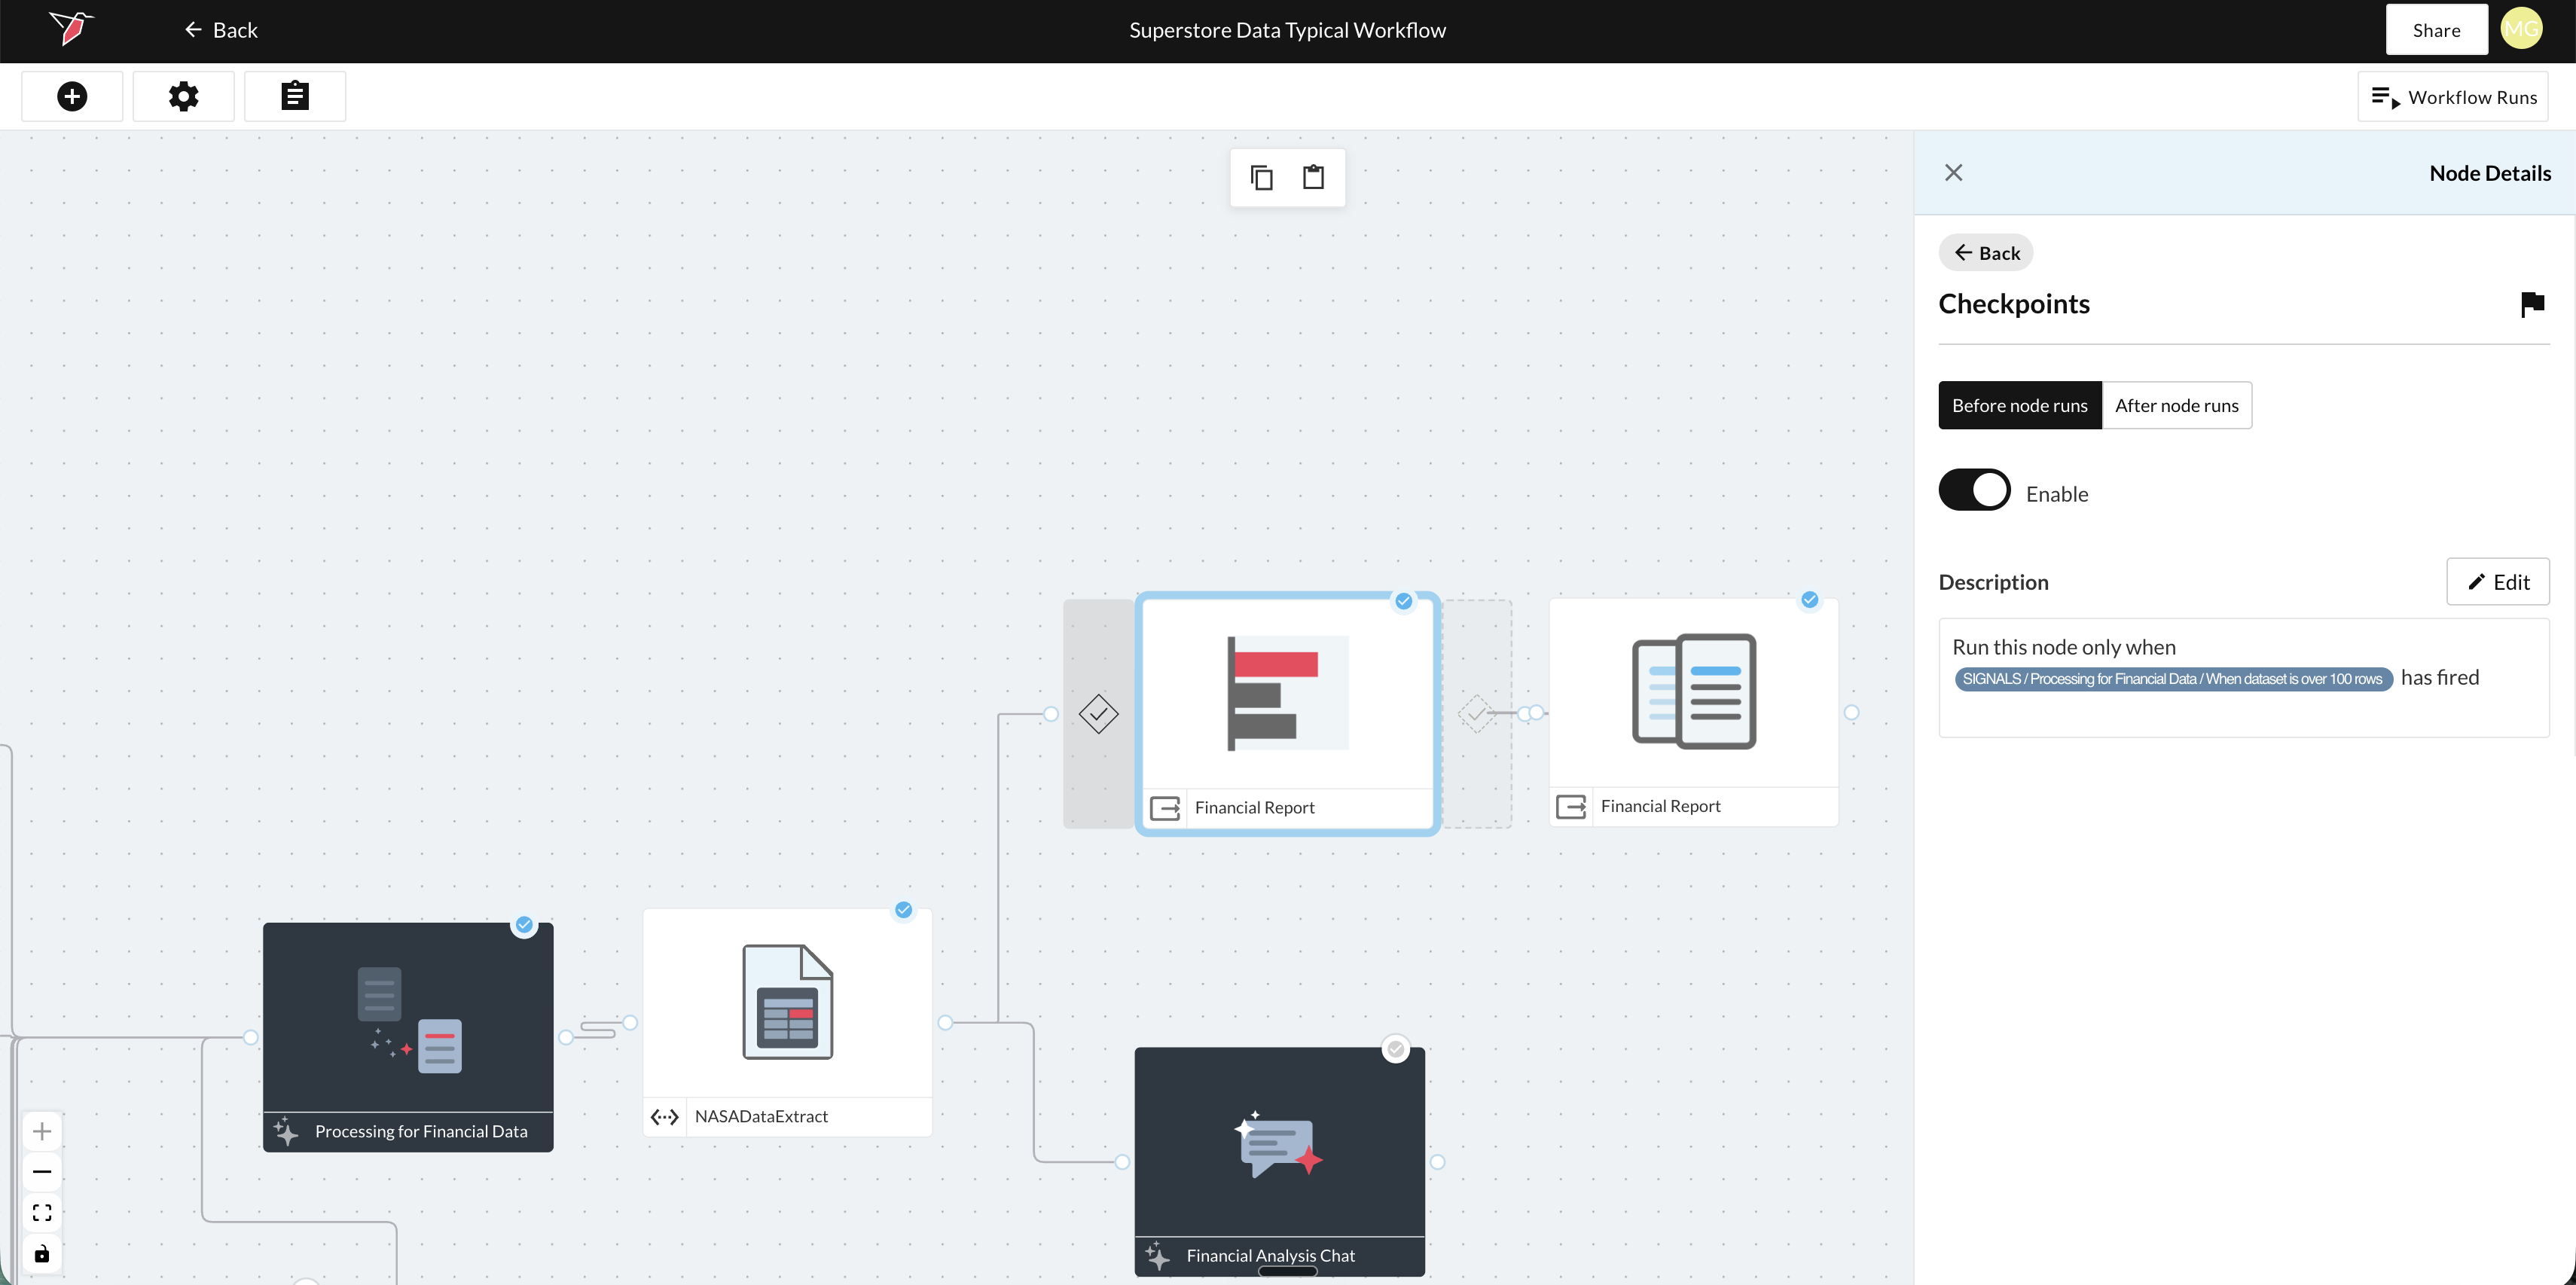
From this panel you can:
- Enable or disable a checkpoint using the Enable toggle.
- View the Description of the checkpoint.
- Click Edit to return to the configuration screen and modify the condition.
Other Ways to Edit or Remove a Checkpoint
- Edit: Double-click a checkpoint flap on the canvas to open the configuration screen directly.
- Disable: Click the - icon on a checkpoint flap. This has the same effect as toggling Enable off in the right-hand panel.
When a Signal Is Deleted
If a signal is deleted, any checkpoint or triggered run that referenced it is affected.
For checkpoints:
- An error icon appears on the checkpoint flap of any node that was using the signal.
- The signal is removed from the Signals panel on all checkpoint configuration screens.
- Clicking Evaluate on a condition that still references the deleted signal returns an error message indicating the signal was removed.
For triggered workflow runs:
- An error icon appears in the right-hand panel list of triggered runs.
- Affected runs show a deleted/error status on the Automated Workflow Runs summary list (accessed via the left side panel on the Redbird homepage).
How Checkpoints Affect Node Runs
When a node has an enabled checkpoint, the condition is evaluated every time the node is triggered to run. If the condition is not met, the node, and any direct downstream nodes are not run.
Once a node with a checkpoint has run, the signals that checkpoint had collected are cleared from its memory, and it resumes collecting newly fired signals from that point on.
Important: A checkpoint does not cause a node to run on its own. If the condition becomes true but no run is initiated, the node will not execute. The checkpoint is only evaluated at the point a run is triggered.
Checkpoints vs. Triggered Workflow Runs
Checkpoints and triggered workflow runs both reference signals and use similar natural-language logic, but they operate at different levels.
Node-level checkpoints
- Apply to a single node.
- Only gate whether a run proceeds; they do not initiate a run on their own.
Triggered workflow runs
- Apply to the entire canvas.
- A run is automatically initiated when the condition is met.
For more on triggered workflow runs and how to configure them, see Running Nodes and Workflows.